Regional overview
The Southern Drakensberg covers the Sani Pass, Cobham, Garden Castle, Drakensberg Gardens, and Bushman’s Nek side of the uKhahlamba-Maloti range. Compared with the northern Amphitheatre, the terrain is more broken into long valleys, cave basins, rolling grass ridges, and escarpment approaches, with the Lesotho border forming the high skyline.
The hiking character is broad rather than compact. Fit walkers can take on a major summit such as Rhino Peak / Rhino Horn, while moderate days explore Pillar Cave, Cobham waterfalls, Sani Pass side routes, and sections of the Giant’s Cup Trail. Several routes are in protected areas administered through Ezemvelo KZN Wildlife, and access or hut logistics may change seasonally.
The best general seasons are autumn, winter in settled weather, and spring. Summer is green but thunderstorm-prone; winter can be cold with snow and ice on high ground, especially near Sani Pass and the escarpment.
Selection rationale
The selection balances a strenuous summit, a Sani Pass route, a Garden Castle cave walk, a Cobham waterfall circuit, and a day section of the Giant’s Cup Trail. These routes represent the southern range’s summit, pass, cave, waterfall, and long-distance-trail characters while remaining feasible as day hikes for fit walkers.
Summary table
| # | Hike | Country | Route type | Distance | Gain | Max elevation | Difficulty | Photo status |
|---|---|---|---|---|---|---|---|---|
| 1 | Rhino Peak / Rhino Horn route | South Africa | Out-and-back | 19.8 km | 1,237 m | Approx. 3,056 m; needs GIS backfill | Hard | No exact Commons image verified |
| 2 | Sani Pass Balancing Rocks and escarpment approach | South Africa | Out-and-back | 9.5 km | 463 m | Moderate | Commons image verified | |
| 3 | Garden Castle to Pillar Cave | South Africa | Out-and-back | 8.5 km | 339 m | Moderate | No exact Commons image verified | |
| 4 | Cobham Waterfall Trail / Emerald Stream | South Africa | Loop | 7.1 km | 193 m | Moderate | No exact Commons image verified | |
| 5 | Giant’s Cup Trail Day 1: Sani Pass to Pholela Hut | South Africa | Point-to-point | 12.9 km | 432 m | Hard | Commons Sani image verified |
1. Rhino Peak / Rhino Horn route
Snapshot
Itinerary
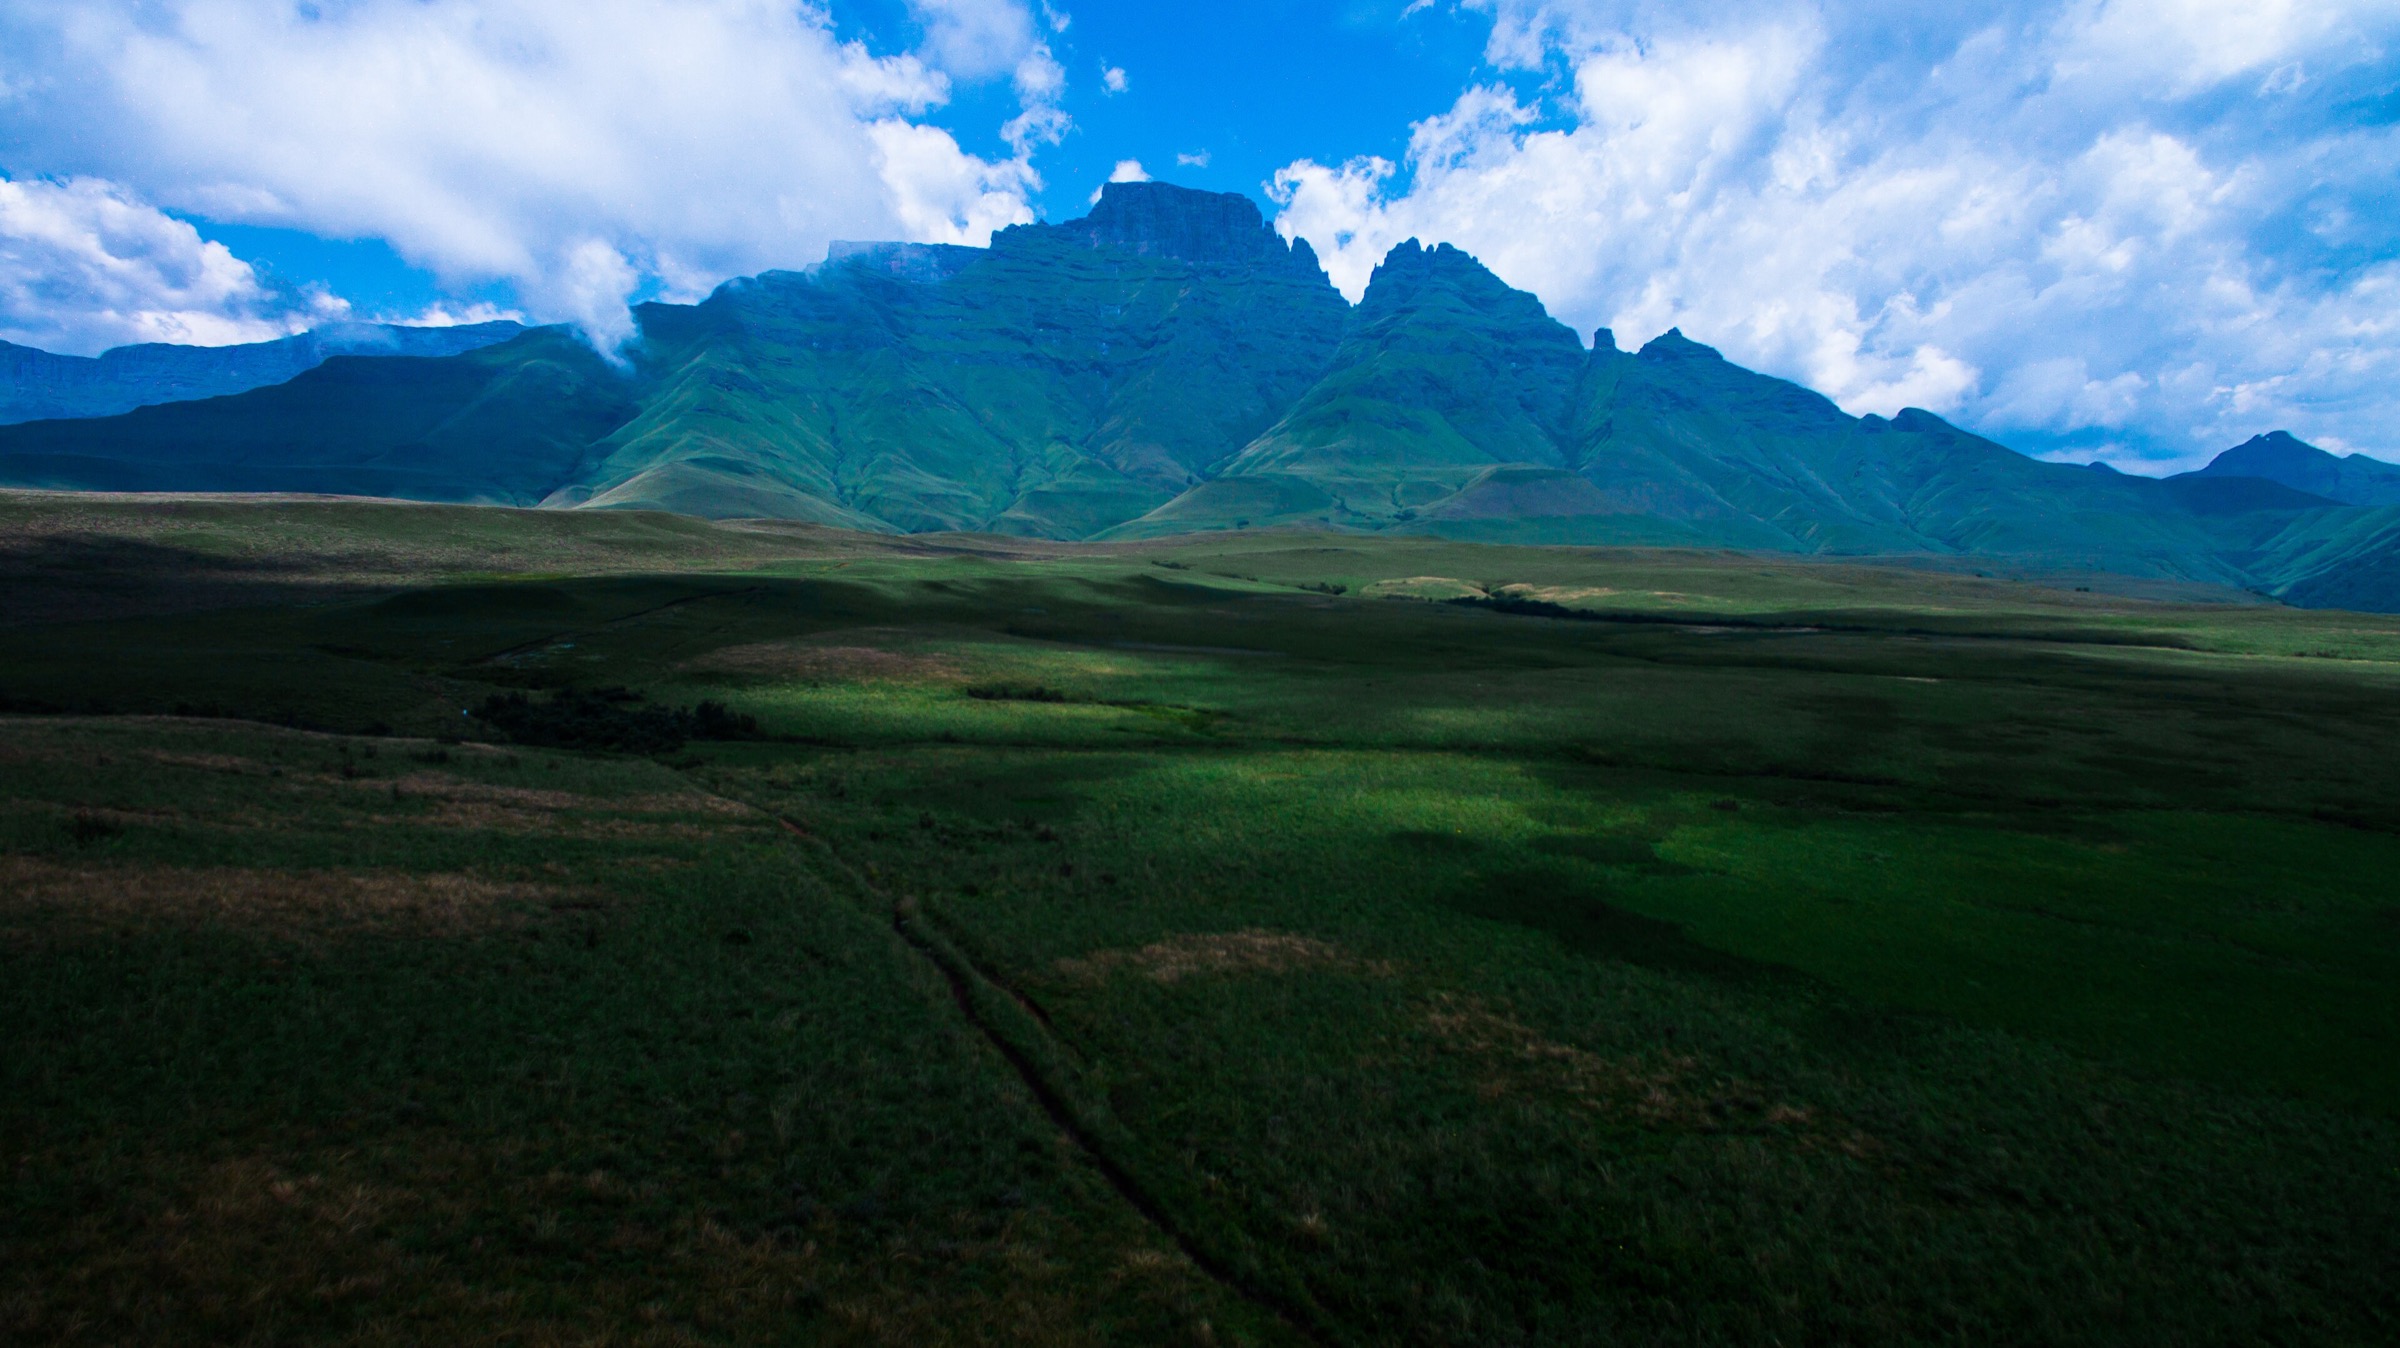
The route climbs from the Garden Castle / Drakensberg Gardens side towards the prominent Rhino Peak / Rhino Horn summit ridge. The approach follows valley and grass-slope paths before gaining higher, more exposed ground near the summit objective. The return follows the ascent line.
The full route is a long, strenuous day with sustained ascent. It should be treated as a mountain route rather than a casual viewpoint walk.
Why it is essential
Rhino Peak is the signature high objective of the Southern Drakensberg. Its distinctive profile and position above the southern valleys make it the natural summit representative for this catalogue unit.
Equipment
Mountain hiking equipment: sturdy boots, waterproof and windproof layers, warm layer, sun protection, food, water, map/GPS, navigation backup, and headtorch. Trekking poles are useful on long grass slopes. Microspikes may be needed after winter snow or freeze-thaw cycles.
Hazards and notes
The route is long, exposed, and weather-sensitive. Mist can make navigation difficult, and lightning risk is serious on open slopes. Snow or ice can make the upper route unsuitable for normal hikers. Current access arrangements and protected-area rules should be checked locally.
Photos
Photo status: No exact licence-compatible image found in this pass.
| Image | Source | Author | Licence | Reuse notes | Attribution |
|---|---|---|---|---|---|
| Unresolved | commons.wikimedia.org | Unresolved | Unresolved | Commons search target recorded; no exact reusable candidate verified | Unresolved |
GPX / KML links
| Source | URL | Format | Licence / terms | Reuse status |
|---|---|---|---|---|
| AllTrails: Rhino Horn | alltrails.com | Route page / app map | AllTrails terms apply; GPX export terms not verified | Source-map only; do not reuse geometry without separate export-rights check |
| OpenStreetMap search | openstreetmap.org | OSM map/search | OSM data is ODbL | Candidate geometry cross-check only |
External links
2. Sani Pass Balancing Rocks and escarpment approach
Snapshot
Itinerary
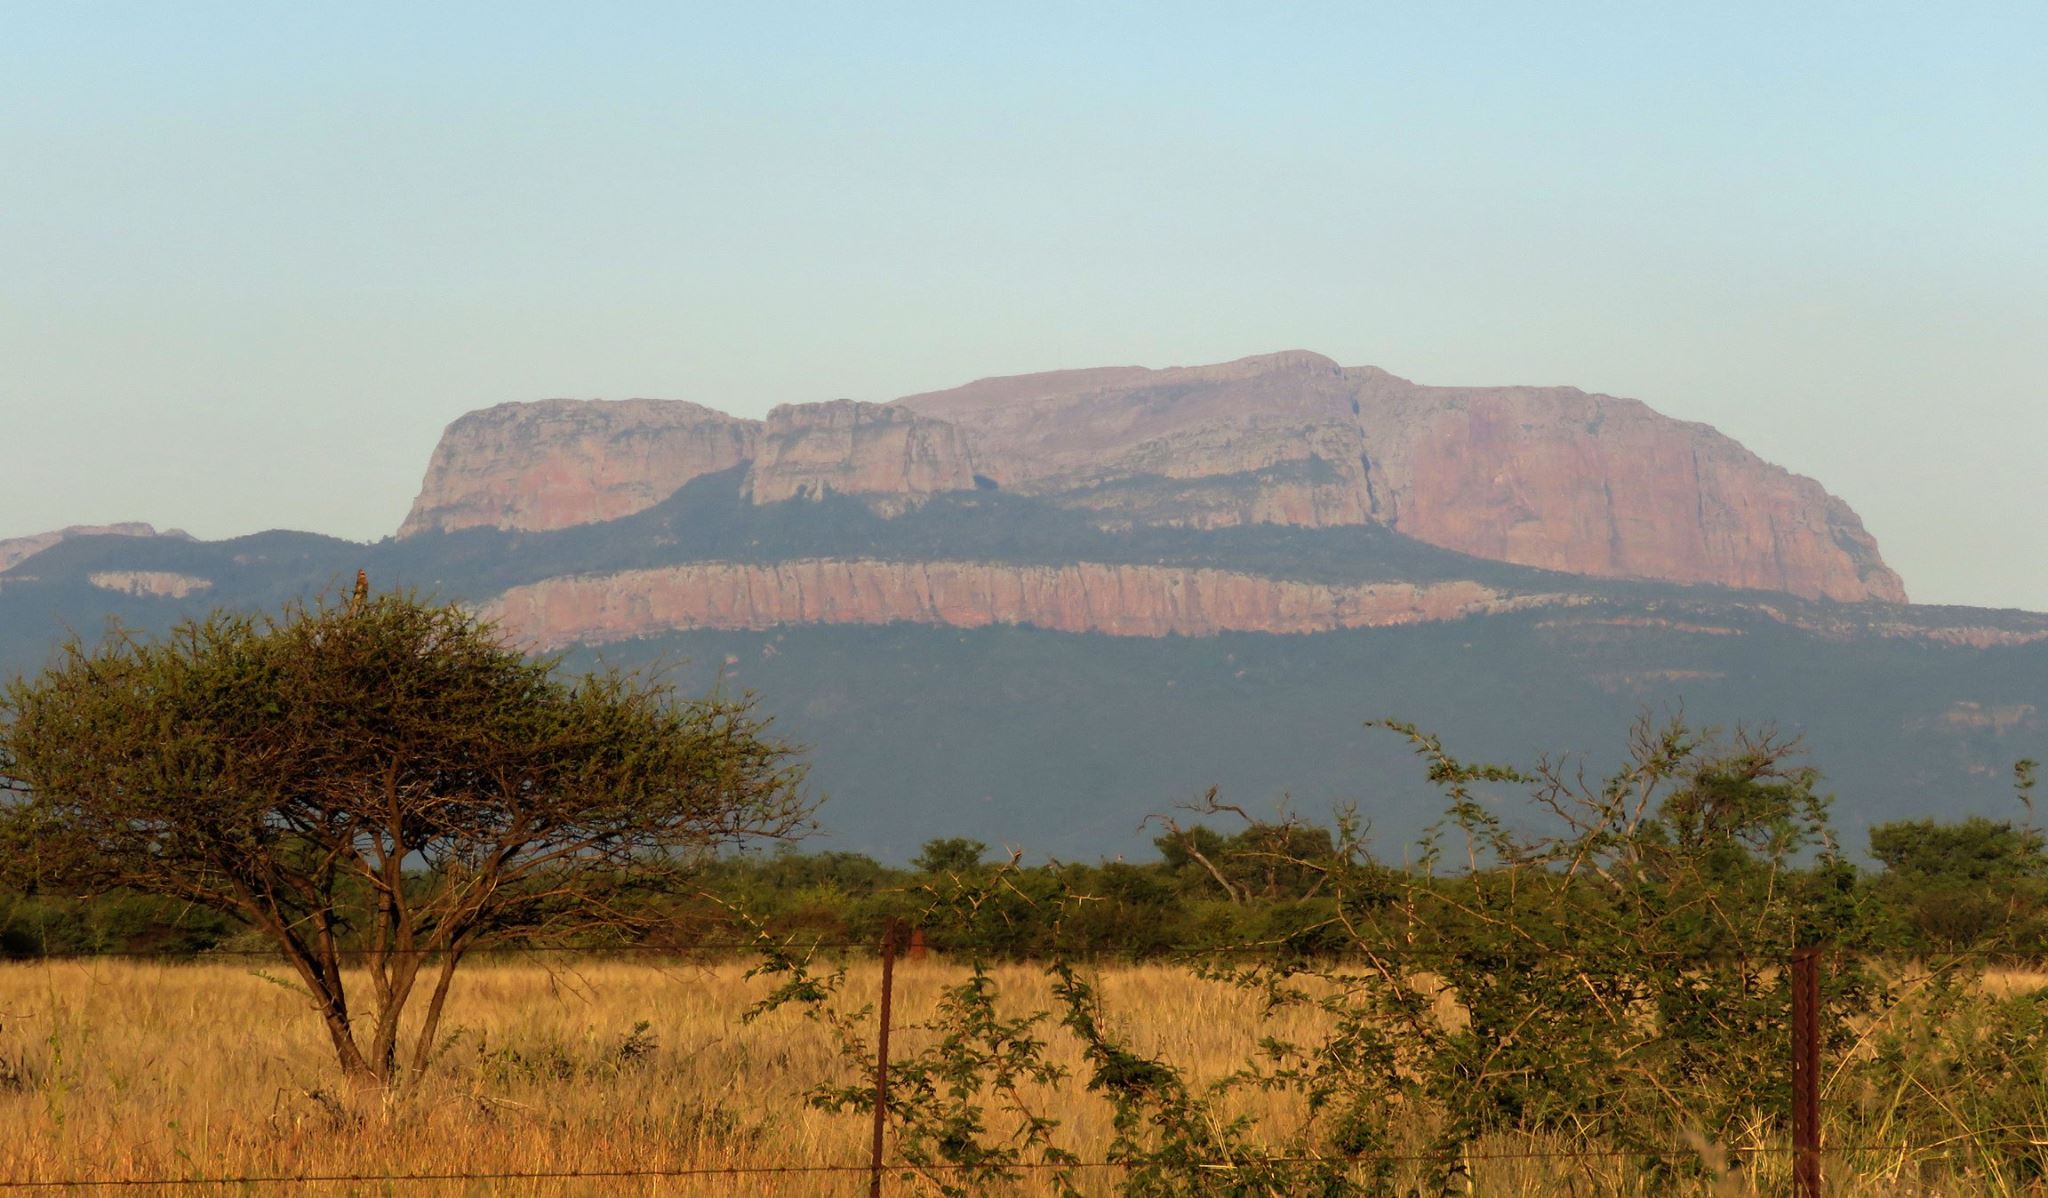
The route follows the Sani Pass side landscape to the Balancing Rocks / escarpment-approach area. It gives a walking experience of the pass environment without committing to a full road ascent or border crossing. The return follows the same line.
Why it is essential
Sani Pass is the best-known southern gateway between KwaZulu-Natal and the Lesotho highlands. A day walk here represents the pass, escarpment, and borderland character that defines the Southern Drakensberg.
Equipment
Standard to mountain hiking equipment: hiking boots, weatherproof layer, warm layer, sun protection, water, food, and map/GPS. A windproof layer is important because the pass funnels weather.
Hazards and notes
Weather changes rapidly around Sani Pass. Mist, lightning, high wind, and winter ice can affect the route. If any route variant approaches the border-control zone or the upper pass road, passport, road, and border requirements must be checked separately; this entry does not verify a border crossing.
Photos
| Image | Source | Author | Licence | Reuse notes | Attribution |
|---|---|---|---|---|---|
| Sani Pass cliff (Unsplash) | commons.wikimedia.org | Joseph Argus | CC0 | Commercial reuse and modification appear allowed; attribution not legally required but recommended | Joseph Argus, CC0, via Wikimedia Commons |
| Sani Pass heading into Lesotho | commons.wikimedia.org | Vaiz Ha | CC BY 2.0 | Commercial reuse and modification appear allowed with attribution | Vaiz Ha, CC BY 2.0, via Wikimedia Commons |
GPX / KML links
| Source | URL | Format | Licence / terms | Reuse status |
|---|---|---|---|---|
| AllTrails: Sani Pass Balancing Rocks | alltrails.com | Route page / app map | AllTrails terms apply; GPX export terms not verified | Source-map only; do not reuse geometry without separate export-rights check |
| OpenStreetMap search | openstreetmap.org | OSM map/search | OSM data is ODbL | Candidate geometry cross-check only |
External links
3. Garden Castle to Pillar Cave
Snapshot
Itinerary
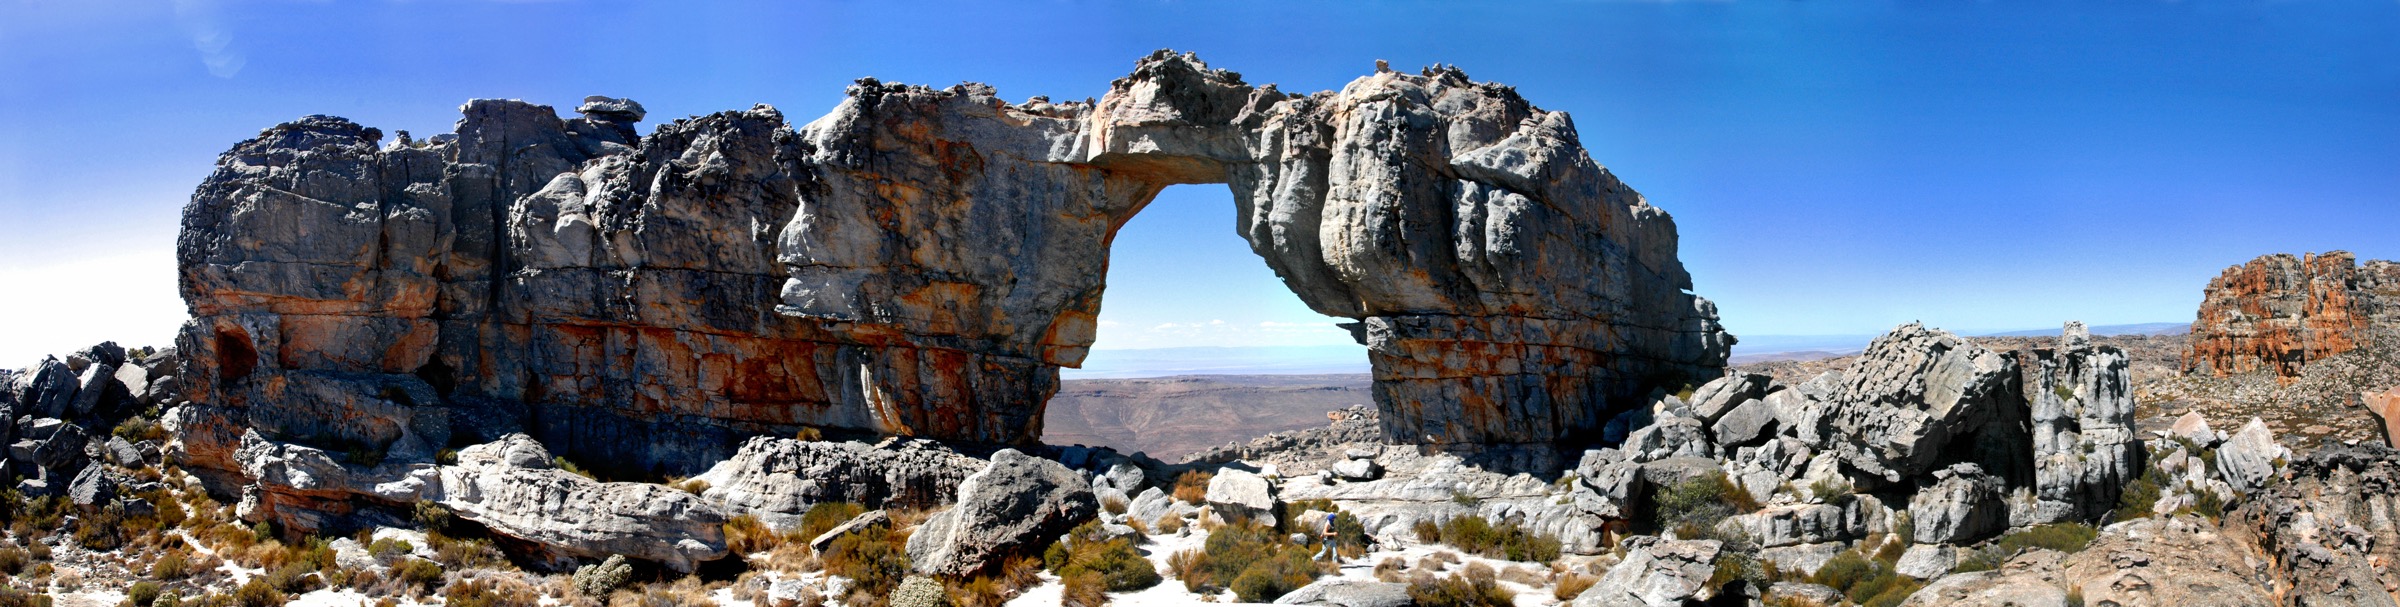
From the Garden Castle side, the path follows open valley terrain towards Pillar Cave. The route gives views into the southern valleys and reaches the cave area before returning the same way. It is a moderate day route but still requires mountain-weather awareness.
Why it is essential
Pillar Cave is a classic Garden Castle objective and introduces the sandstone-shelter character of the Southern Drakensberg without the length or exposure of Rhino Peak.
Equipment
Standard to mountain hiking equipment: hiking boots, weatherproof layer, warm layer, sun protection, water, food, and map/GPS. Carry a headtorch only as an emergency item; the cave should not be treated as a casual camping objective unless local rules and bookings allow it.
Hazards and notes
Summer storms, slippery stream crossings, and faint side paths are the main issues. Cave access, camping, and cultural-site rules should be confirmed with the local protected-area office. Do not disturb rock shelters or any archaeological material.
Photos
Photo status: No exact licence-compatible image found in this pass.
| Image | Source | Author | Licence | Reuse notes | Attribution |
|---|---|---|---|---|---|
| Unresolved | commons.wikimedia.org | Unresolved | Unresolved | Commons search target recorded; no exact reusable candidate verified | Unresolved |
GPX / KML links
| Source | URL | Format | Licence / terms | Reuse status |
|---|---|---|---|---|
| AllTrails: Pillar Cave | alltrails.com | Route page / app map | AllTrails terms apply; GPX export terms not verified | Source-map only; do not reuse geometry without separate export-rights check |
| OpenStreetMap search | openstreetmap.org | OSM map/search | OSM data is ODbL | Candidate geometry cross-check only |
External links
4. Cobham Waterfall Trail / Emerald Stream
Snapshot
Itinerary
The Cobham Waterfall Trail uses the lower Cobham path network to link streamside walking, waterfall viewpoints, and rolling grassland. The route is usually walked as a loop from the camp / day-visitor area and returns without approaching the high escarpment.
Why it is essential
Cobham is one of the most representative Southern Drakensberg valley areas. This moderate waterfall loop gives the range’s lower grassland-and-stream character and balances the more strenuous Sani and Rhino Peak routes.
Equipment
Standard hiking equipment: hiking shoes or boots, weatherproof layer, water, food, sun protection, and map/GPS. Trekking poles are optional.
Hazards and notes
Wet rock near waterfalls, summer storms, and high stream levels are the main issues. Keep to marked paths where possible. Current Cobham access rules, fees, and dog restrictions should be checked locally.
Photos
Photo status: No exact licence-compatible image found in this pass.
| Image | Source | Author | Licence | Reuse notes | Attribution |
|---|---|---|---|---|---|
| Unresolved | commons.wikimedia.org | Unresolved | Unresolved | Commons search target recorded; no exact reusable candidate verified | Unresolved |
GPX / KML links
| Source | URL | Format | Licence / terms | Reuse status |
|---|---|---|---|---|
| AllTrails: Cobham Waterfall Trail | alltrails.com | Route page / app map | AllTrails terms apply; GPX export terms not verified | Source-map only; do not reuse geometry without separate export-rights check |
| OpenStreetMap search | openstreetmap.org | OSM map/search | OSM data is ODbL | Candidate geometry cross-check only |
External links
5. Giant’s Cup Trail Day 1: Sani Pass to Pholela Hut
Snapshot
Itinerary
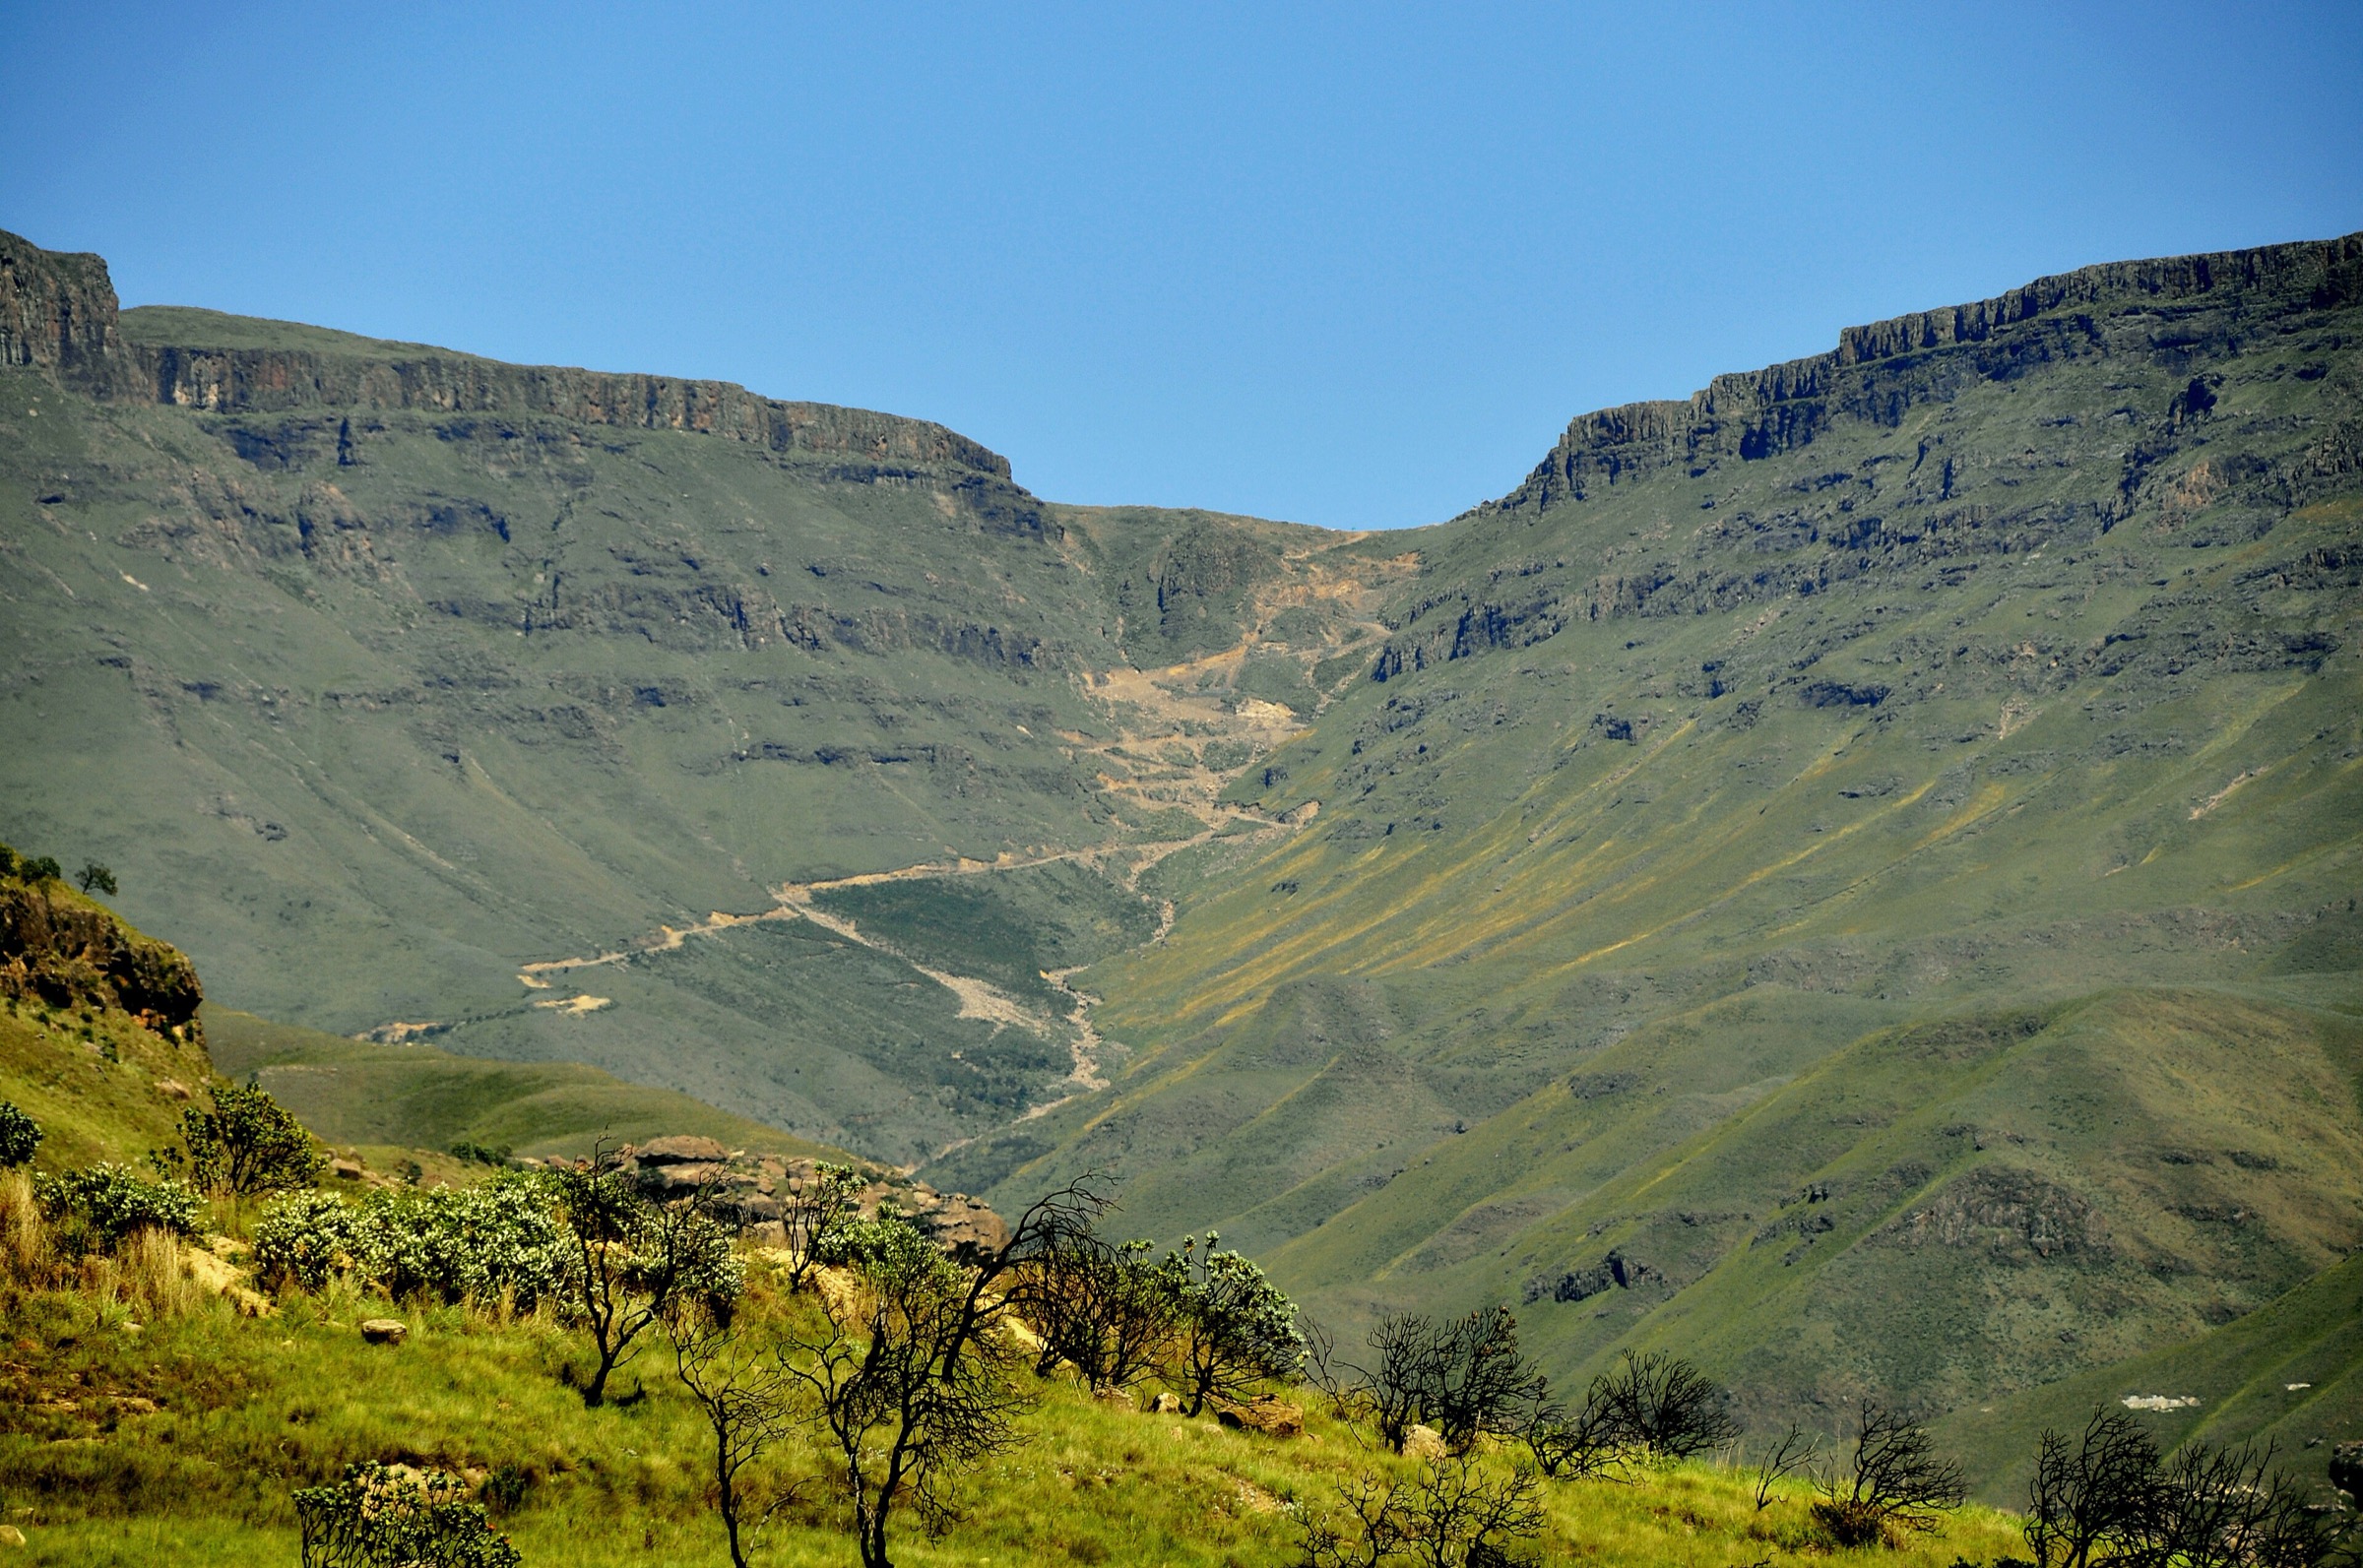
This day-hike selection uses the first day of the Giant’s Cup Trail, starting in the Sani Pass area and finishing at Pholela Hut. It follows rolling southern Drakensberg terrain below the escarpment, crossing open grassland, stream lines, and valley slopes before reaching the hut.
As a day hike, it requires arranged transport at one end or a support vehicle. It is not presented here as the full multi-day Giant’s Cup Trail.
Why it is essential
The Giant’s Cup Trail is the Southern Drakensberg’s classic long-distance hiking line. A single day section gives catalogue coverage of that historic route without including a multi-day trek.
Equipment
Mountain hiking equipment: sturdy boots, weatherproof layer, warm layer, sun protection, food, water, map/GPS, navigation backup, and headtorch. Carry enough water if streams are low or treatment is not planned.
Hazards and notes
The route is exposed to sun, wind, lightning, and mist. Point-to-point logistics are essential. Hut bookings, trail fees, and current Ezemvelo arrangements for the Giant’s Cup Trail must be confirmed before publication or travel.
Photos
| Image | Source | Author | Licence | Reuse notes | Attribution |
|---|---|---|---|---|---|
| Sani Pass sunset | commons.wikimedia.org | PuellaMarina | CC BY-SA 4.0 | Broad Sani Pass image; commercial reuse and modification appear allowed with attribution and share-alike | PuellaMarina, CC BY-SA 4.0, via Wikimedia Commons |
GPX / KML links
| Source | URL | Format | Licence / terms | Reuse status |
|---|---|---|---|---|
| AllTrails: Giant’s Cup Trail Day 1 Sani Pass to Pholela Hut | alltrails.com | Route page / app map | AllTrails terms apply; GPX export terms not verified | Source-map only; do not reuse geometry without separate export-rights check |
| OpenStreetMap search | openstreetmap.org | OSM map/search | OSM data is ODbL | Candidate geometry cross-check only |
External links
- AllTrails — Giant’s Cup Trail: Day 1 Sani Pass to Pholela Hut
- AllTrails — full Giant’s Cup Trail
- Ezemvelo KZN Wildlife — general Drakensberg information
Missing data and follow-up
- Maximum elevations are unresolved for the Sani Pass Balancing Rocks route, Pillar Cave, Cobham Waterfall Trail, and Giant’s Cup Day 1. Rhino Peak maximum elevation is approximate and needs GIS/source backfill.
- No official downloadable GPX files were confirmed; AllTrails route pages are listed as source maps only.
- No exact licence-compatible Commons images were verified for Rhino Peak, Pillar Cave, or Cobham in this pass.
- Current Ezemvelo entry fees, hut bookings, cave rules, dog restrictions, temporary closures, and Giant’s Cup Trail logistics need local confirmation.
- Border and road requirements for any Sani Pass variant must be verified separately if the selected line enters the controlled pass or border zone.
External links
| Source | URL |
|---|---|
| Ezemvelo KZN Wildlife | kznwildlife.com |
| AllTrails — Rhino Horn | alltrails.com |
| AllTrails — Sani Pass Balancing Rocks | alltrails.com |
| AllTrails — Pillar Cave | alltrails.com |
| AllTrails — Cobham Waterfall Trail | alltrails.com |
| AllTrails — Giant’s Cup Trail: Day 1 Sani Pass to Pholela Hut | alltrails.com |