Regional overview
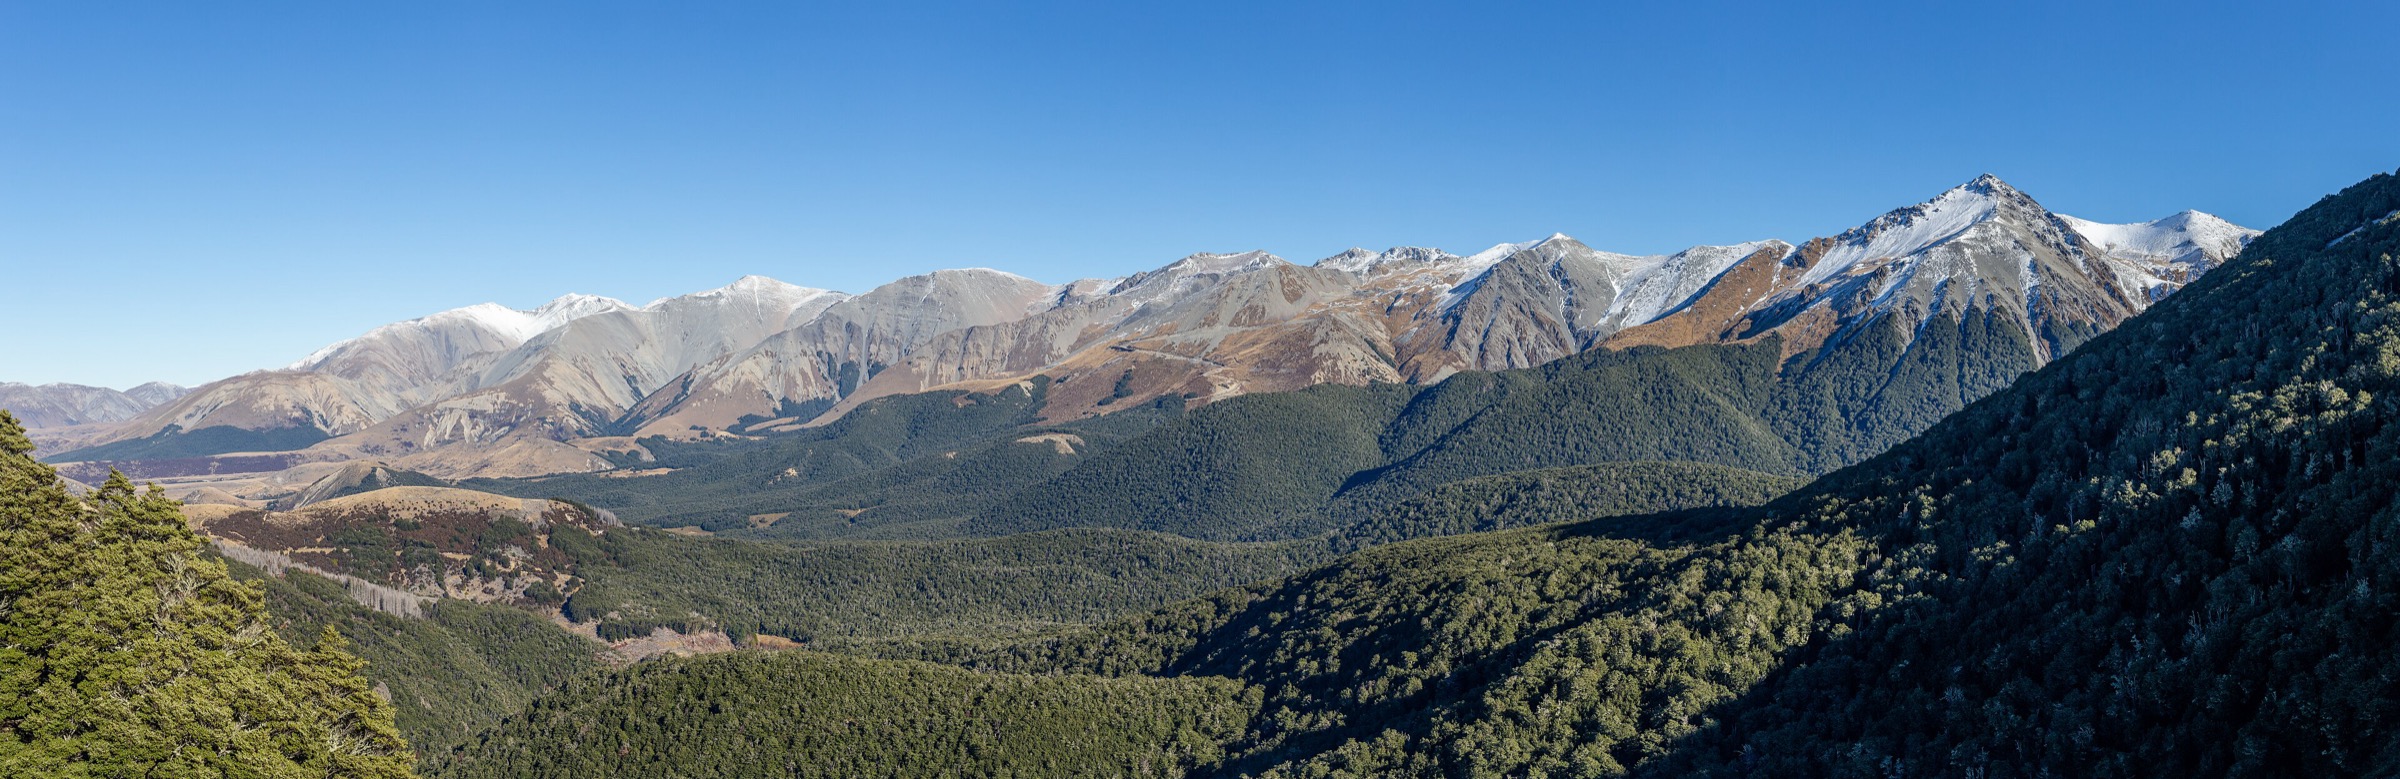
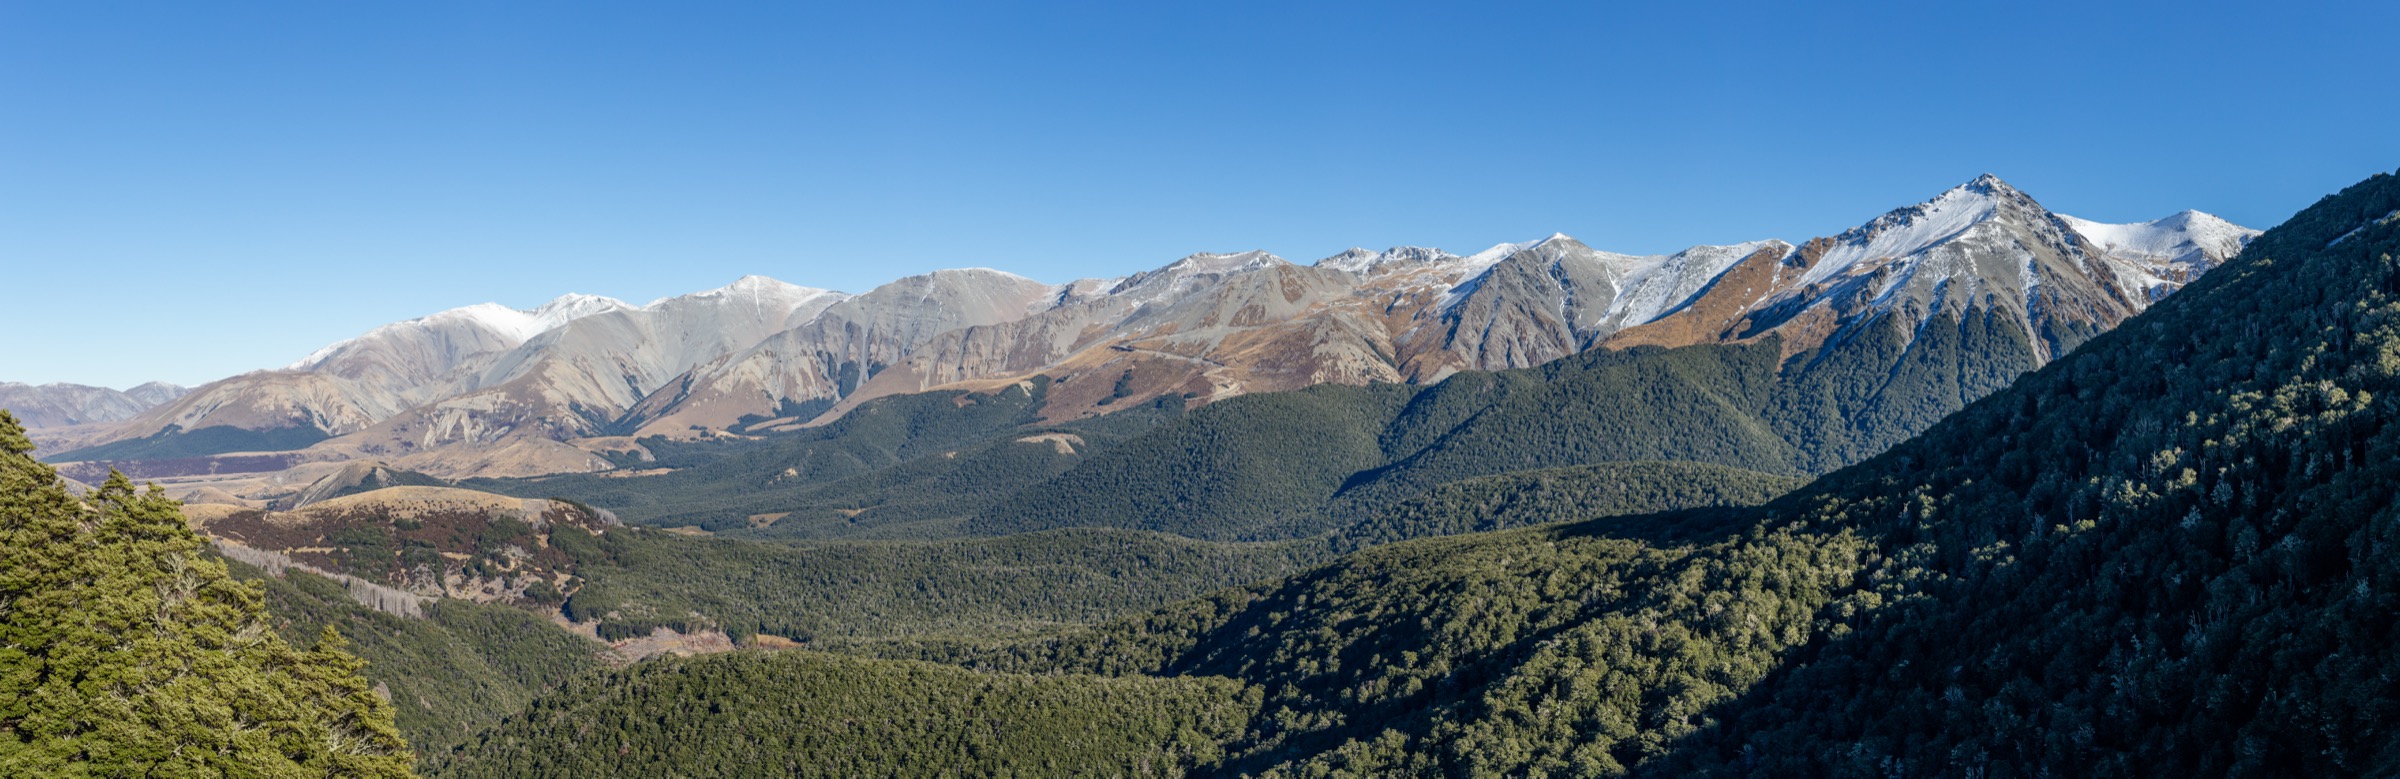
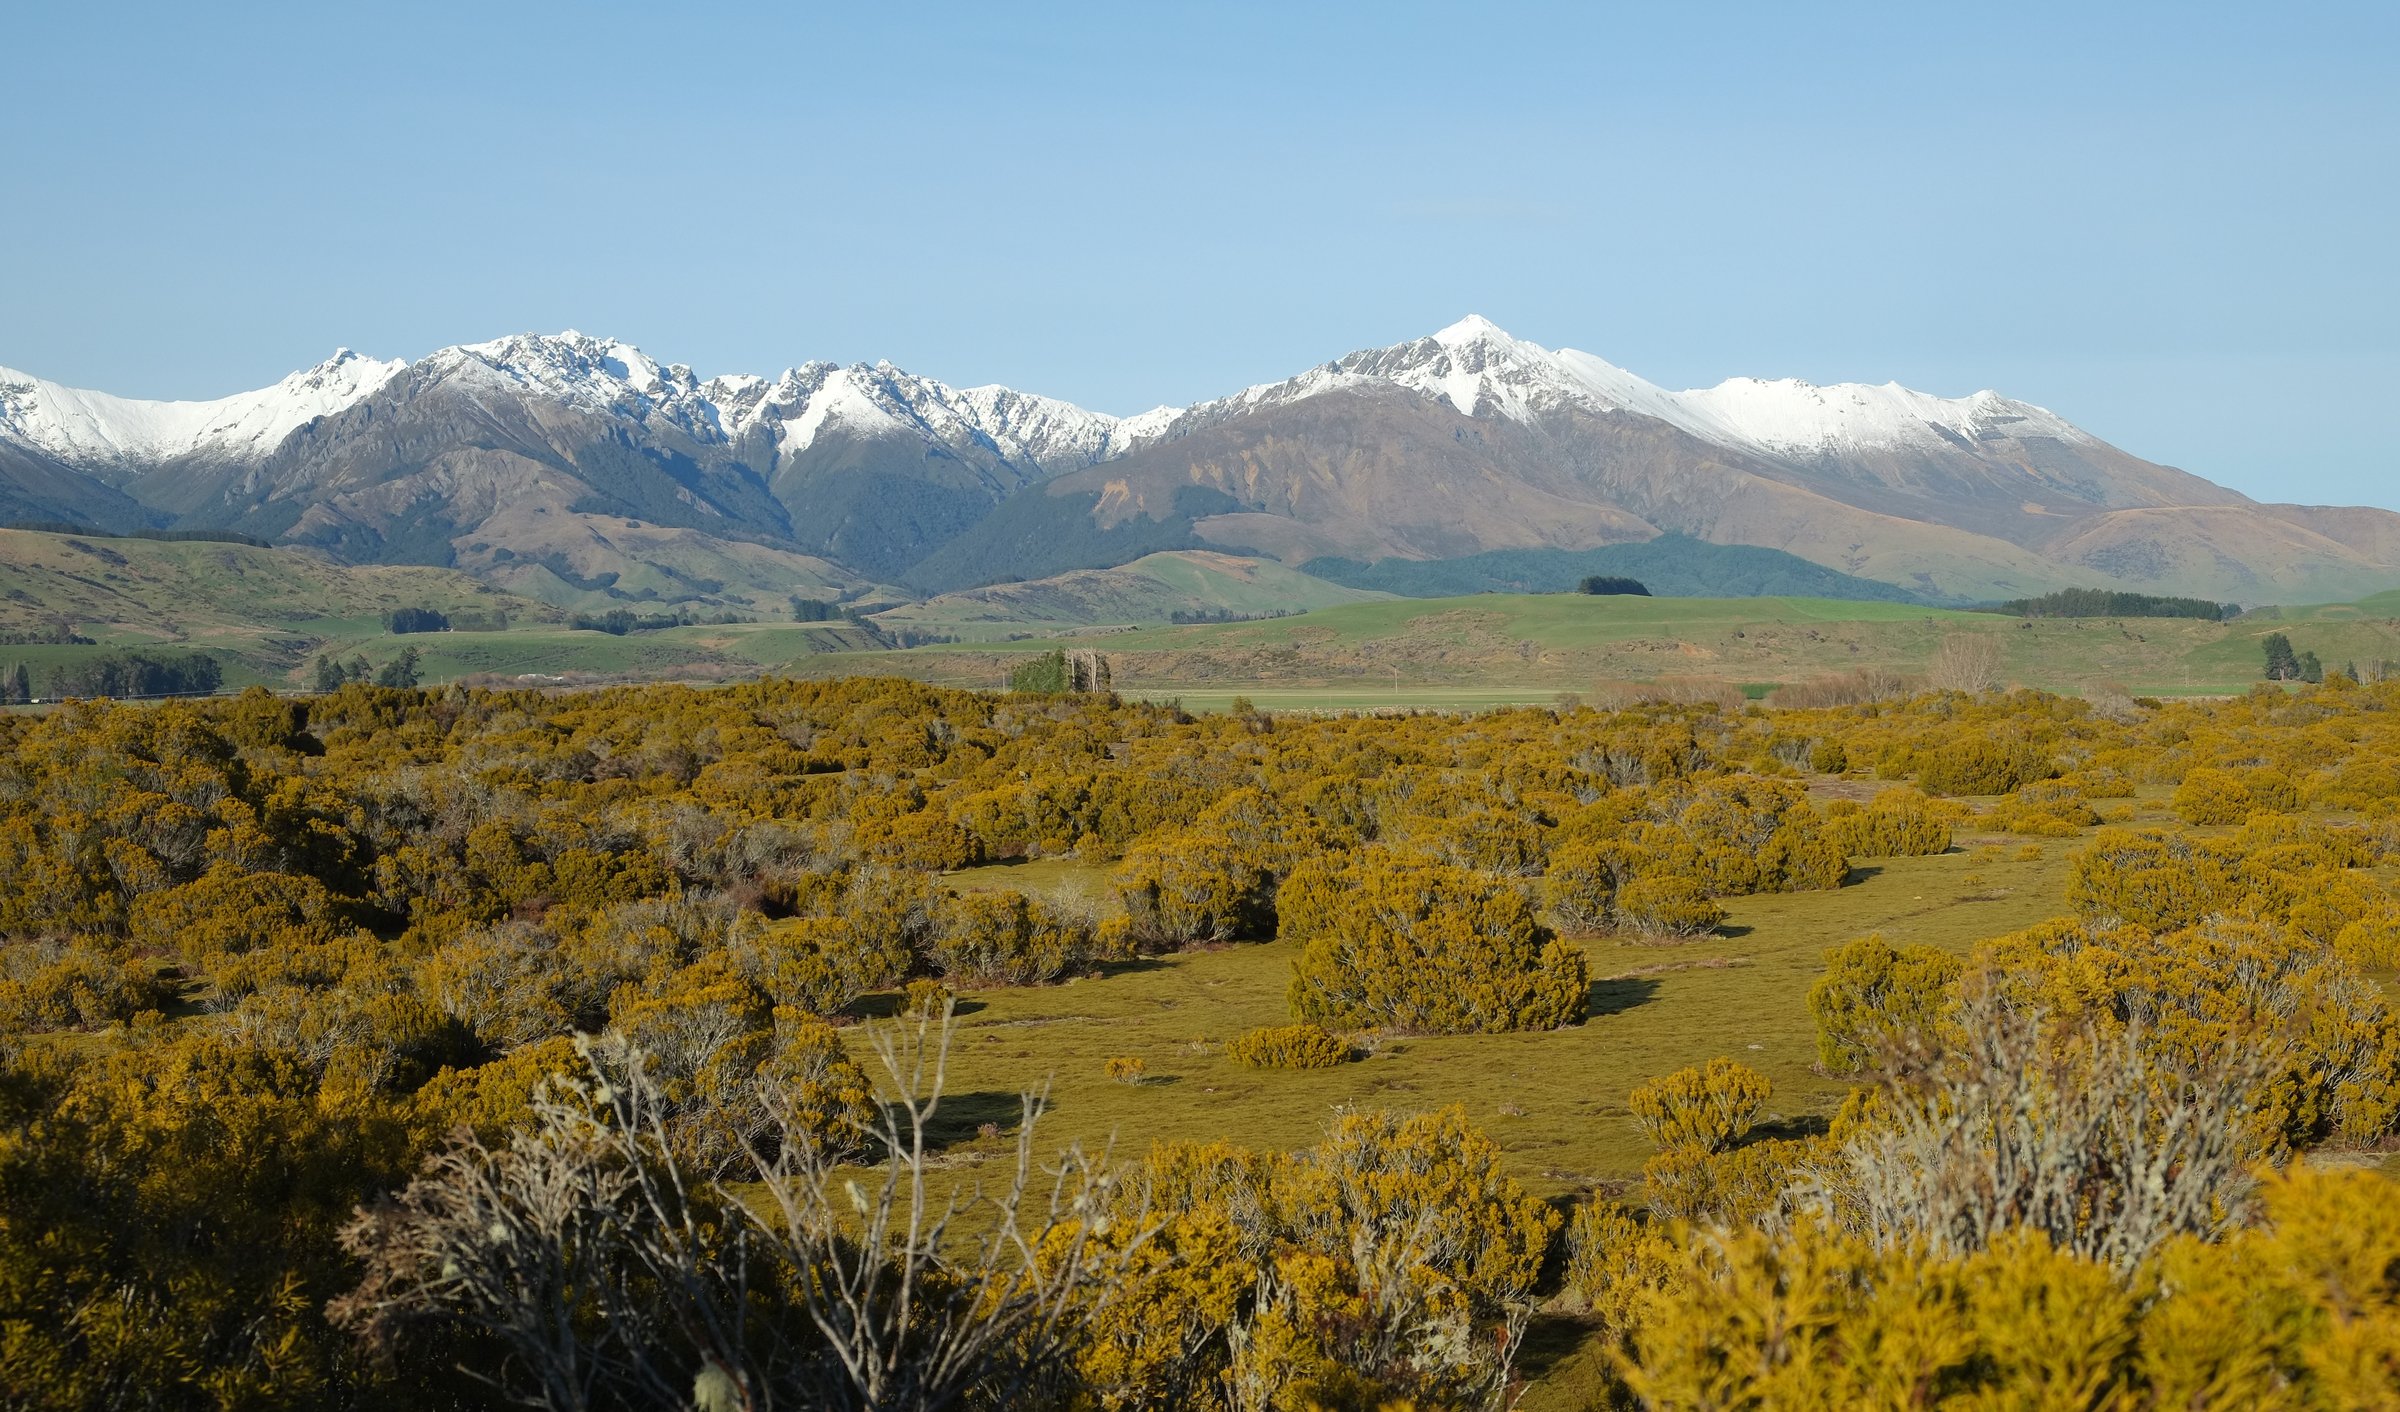
The central Takitimu Mountains are defined by beech forest, red tussock, peat wetlands, river terraces, hut-to-hut valleys and private pastoral boundaries. DOC says formed legal access is limited, mainly via Dunrobin Valley Road / Aparima River Track and Princhester Road, and private-land permission is needed in several places. The best season is settled summer to autumn; snow, avalanche terrain, high rivers and deer-hunting season all affect planning.
The Central Takitimus are a backcountry tramping area, not a compact day-walk network. DOC and Te Araroa verify several route sections around Dunrobin Valley, Aparima Hut, Princhester Saddle, Waterloo Burn, Becketts Hut, Aparima Forks and Spence Burn. Some selections are point-to-point day stages or long out-and-back objectives for experienced trampers.
Selection rationale
The five hikes cover the main central corridor: the Aparima River entry, the Princhester Saddle / Waterloo Station line, the Becketts Hut and Waterloo Burn connection, the Aparima Forks branch and the Spence Burn branch. These are the best verified day-sized building blocks of the central range.
Summary table
| # | Hike | Country | Route type | Distance | Gain | Max elevation | Difficulty |
|---|---|---|---|---|---|---|---|
| 1 | Aparima River Track to Aparima Hut | New Zealand | Out-and-back | 12 km return | 126 m secondary | 462 m secondary | Advanced / moderate |
| 2 | Princhester Saddle Route to Aparima Huts | New Zealand | Point-to-point | 16 km one way | 743 m secondary | 815 m secondary | Expert |
| 3 | Aparima Hut to Princhester Saddle Track via Becketts Hut | New Zealand | Point-to-point / out-and-back to Becketts | 11.5 km one way | Advanced | ||
| 4 | Aparima Hut to Aparima Forks Hut | New Zealand | Out-and-back or hut-to-hut | 7.6 km one way secondary | 263 m secondary | 627 m secondary | Advanced / hard |
| 5 | Aparima Hut to Spence Hut via Spence Burn Junction | New Zealand | Out-and-back or hut-to-hut | 11.6 km one way secondary | 477 m secondary | 769 m secondary | Expert / hard |
1. Aparima River Track to Aparima Hut
Snapshot
Itinerary
From the bridge over Pleasant Creek, follow DOC markers on the true right of the Aparima River through red tussock, beech forest, peat wetlands and river terraces. A swing bridge near Aparima Hut completes the approach. Return the same way for a day hike.
Why it is essential
This is the most direct public walking entry into the central Takitimus and the key access route to the Aparima hut network.
Equipment
- Boots or sturdy shoes, waterproofs, warm layer.
- Food, water, map/GPS.
- Headtorch for late starts.
Hazards and notes
- The last short section near the hut crosses private land; stay on the marked track.
- Dogs are not allowed on the walking track.
- Carry warm clothing and navigation even on this lower route.
GPX / KML links
| Source | URL | Format / access | Reuse status |
|---|---|---|---|
| DOC: Aparima River Track | doc.govt.nz | Official route page / map | DOC terms; no GPX found; source map only |
| Te Araroa trail maps | teararoa.org.nz | GPX/KML source page | Terms unresolved; source geometry only until rights checked |
| AllTrails: Dunrobin Valley Road to Aparima Hut via Aparima River Track | alltrails.com | Route page | AllTrails terms apply; GPX reuse not confirmed |
External links
- DOC — Aparima River Track
- DOC — Aparima Hut
- AllTrails — Dunrobin Valley Road to Aparima Hut via Aparima River Track
2. Princhester Saddle Route to Aparima Huts

Snapshot
Itinerary
From the Lower Princhester Hut / road-end area, the route climbs through beech forest to the saddle between the Bog Burn and Waterloo Burn catchments, descends to the northern boundary of Waterloo Station, then follows the permitted poled line down the station’s western boundary to Aparima Hut.
Why it is essential
This is the classic central Takitimu crossing and one of the main Te Araroa / DOC lines through the range.
Equipment
- Full tramping kit, navigation.
- Waterproofs, warm layers.
- Food, headtorch.
- PLB recommended.
Hazards and notes
- Care is required to stay on the permitted track line through Waterloo Station.
- The route is a serious backcountry day: expect tussock, wet ground, unbridged water and poor-weather navigation.
- No dogs.
GPX / KML links
| Source | URL | Format / access | Reuse status |
|---|---|---|---|
| DOC: Princhester Saddle Route | doc.govt.nz | Official route page / map | DOC terms; no GPX found; source map only |
| Te Araroa trail maps | teararoa.org.nz | GPX/KML source page | Terms unresolved; source geometry only until rights checked |
| AllTrails: Lower Princhester Hut to Aparima Hut | alltrails.com | Route page | AllTrails terms apply; GPX reuse not confirmed |
External links
- DOC — Princhester Saddle Route
- Te Araroa — Murihiku / Southland trail notes
- AllTrails — Lower Princhester Hut to Aparima Hut
3. Aparima Hut to Princhester Saddle Track via Becketts Hut
Snapshot
Itinerary
From Aparima Hut, follow the route up Waterloo Burn toward Becketts Hut and onward to the Princhester Saddle Route. For a day out-and-back, Becketts Hut makes the most practical turnaround; the full route is a hut-to-hut or shuttle stage.
Why it is essential
This is the central connector between Aparima Hut, Becketts Hut and Princhester Saddle, linking the two main public entry corridors.
Equipment
- Full tramping kit, navigation.
- Warm/wet-weather layers, headtorch.
- PLB recommended.
Hazards and notes
- This route crosses access-sensitive pastoral land and rough backcountry.
- Stay on the permitted route and carry independent navigation.
GPX / KML links
| Source | URL | Format / access | Reuse status |
|---|---|---|---|
| DOC: Aparima Hut to Princhester Saddle Track | doc.govt.nz | Official route page / map | DOC terms; no GPX found; source map only |
| Te Araroa trail maps | teararoa.org.nz | GPX/KML source page | Terms unresolved; source geometry only until rights checked |
External links
4. Aparima Hut to Aparima Forks Hut
Snapshot
Itinerary
From Aparima Hut, continue up the Aparima system toward Aparima Forks Hut. DOC verifies Aparima Forks as a hut objective from Aparima Hut and the Upper Aparima / Spence Burn route describes the final approach from the Spence Burn junction area to the forks.
Why it is essential
This route reaches the upper Aparima headwater character: smaller hut, wetland/river terrain and a more remote feel than the lower Aparima River Track.
Equipment
- Boots, waterproofs, warm layer.
- Map/GPS, headtorch.
- Food, water treatment.
Hazards and notes
- Route times and distances differ between official hut timing and secondary route geometry.
- Use current DOC mapping and Te Araroa notes before publication.
GPX / KML links
| Source | URL | Format / access | Reuse status |
|---|---|---|---|
| DOC: Aparima Hut | doc.govt.nz | Hut / source route context | DOC terms; source only |
| DOC: Upper Aparima / Spence Burn Route | doc.govt.nz | Official route context | DOC terms; no GPX found; source map only |
| AllTrails: Aparima Hut to Aparima Forks Hut | alltrails.com | Route page | AllTrails terms apply; GPX reuse not confirmed |
External links
- DOC — Aparima Hut
- DOC — Upper Aparima / Spence Burn Route
- AllTrails — Aparima Hut to Aparima Forks Hut
5. Aparima Hut to Spence Hut via Spence Burn Junction
Snapshot
Itinerary
Follow the Aparima Huts / Spence Burn Junction Route, then take the Spence Hut branch described by DOC. The route drops to the Aparima River, fords, climbs and sidles the valley, then follows the Spence Burn side toward Spence Hut.
Why it is essential
This is the more remote upper-valley branch from the Aparima hub and represents the central Takitimus beyond the main Te Araroa line.
Equipment
- Full tramping kit, river-crossing skill.
- Navigation, headtorch.
- PLB recommended.
Hazards and notes
- River crossings, steep sidling, wet forest and slow travel make this an experienced-tramper objective.
- Treat the out-and-back as a strenuous long day unless staying at huts.
GPX / KML links
| Source | URL | Format / access | Reuse status |
|---|---|---|---|
| DOC: Aparima Huts / Spence Burn Junction Route | doc.govt.nz | Official route page / map | DOC terms; no GPX found; source map only |
| DOC: Upper Aparima / Spence Burn Route | doc.govt.nz | Official route context | DOC terms; no GPX found; source map only |
| AllTrails: Aparima Hut to Spence Hut | alltrails.com | Route page | AllTrails terms apply; GPX reuse not confirmed |
External links
- DOC — Aparima Huts / Spence Burn Junction Route
- DOC — Upper Aparima / Spence Burn Route
- AllTrails — Aparima Hut to Spence Hut
External links
| Source | URL |
|---|---|
| DOC — Aparima River Track | doc.govt.nz |
| DOC — Aparima Hut | doc.govt.nz |
| DOC — Princhester Saddle Route | doc.govt.nz |
| DOC — Aparima Hut to Princhester Saddle Track | doc.govt.nz |
| DOC — Becketts Hut | doc.govt.nz |
| DOC — Upper Aparima / Spence Burn Route | doc.govt.nz |
| DOC — Aparima Huts / Spence Burn Junction Route | doc.govt.nz |
| Te Araroa — trail maps | teararoa.org.nz |
| Te Araroa — Murihiku / Southland trail notes | teararoa.org.nz |
| AllTrails — Dunrobin Valley Road to Aparima Hut via Aparima River Track | alltrails.com |
| AllTrails — Lower Princhester Hut to Aparima Hut | alltrails.com |
| AllTrails — Aparima Hut to Aparima Forks Hut | alltrails.com |
| AllTrails — Aparima Hut to Spence Hut | alltrails.com |