Regional overview
Makahu Saddle is the compact high-level road-end on the east side of the Kaweka Range, and the standard starting point for the main range’s most exposed day country. The Makahu Saddle car park sits at about 1,020 m on the Kaweka Forest Park boundary, reached on Makahu Road off SH5 via Puketitiri. DOC recommends 4WD for the road, and a river ford 7.5 km before the road end can change quickly after heavy rain or snowmelt; Kaweka Road can also be affected by winter conditions. Mackintosh car park to the south is currently closed for forestry operations, which pushes more traffic onto the Makahu Saddle side of the range.
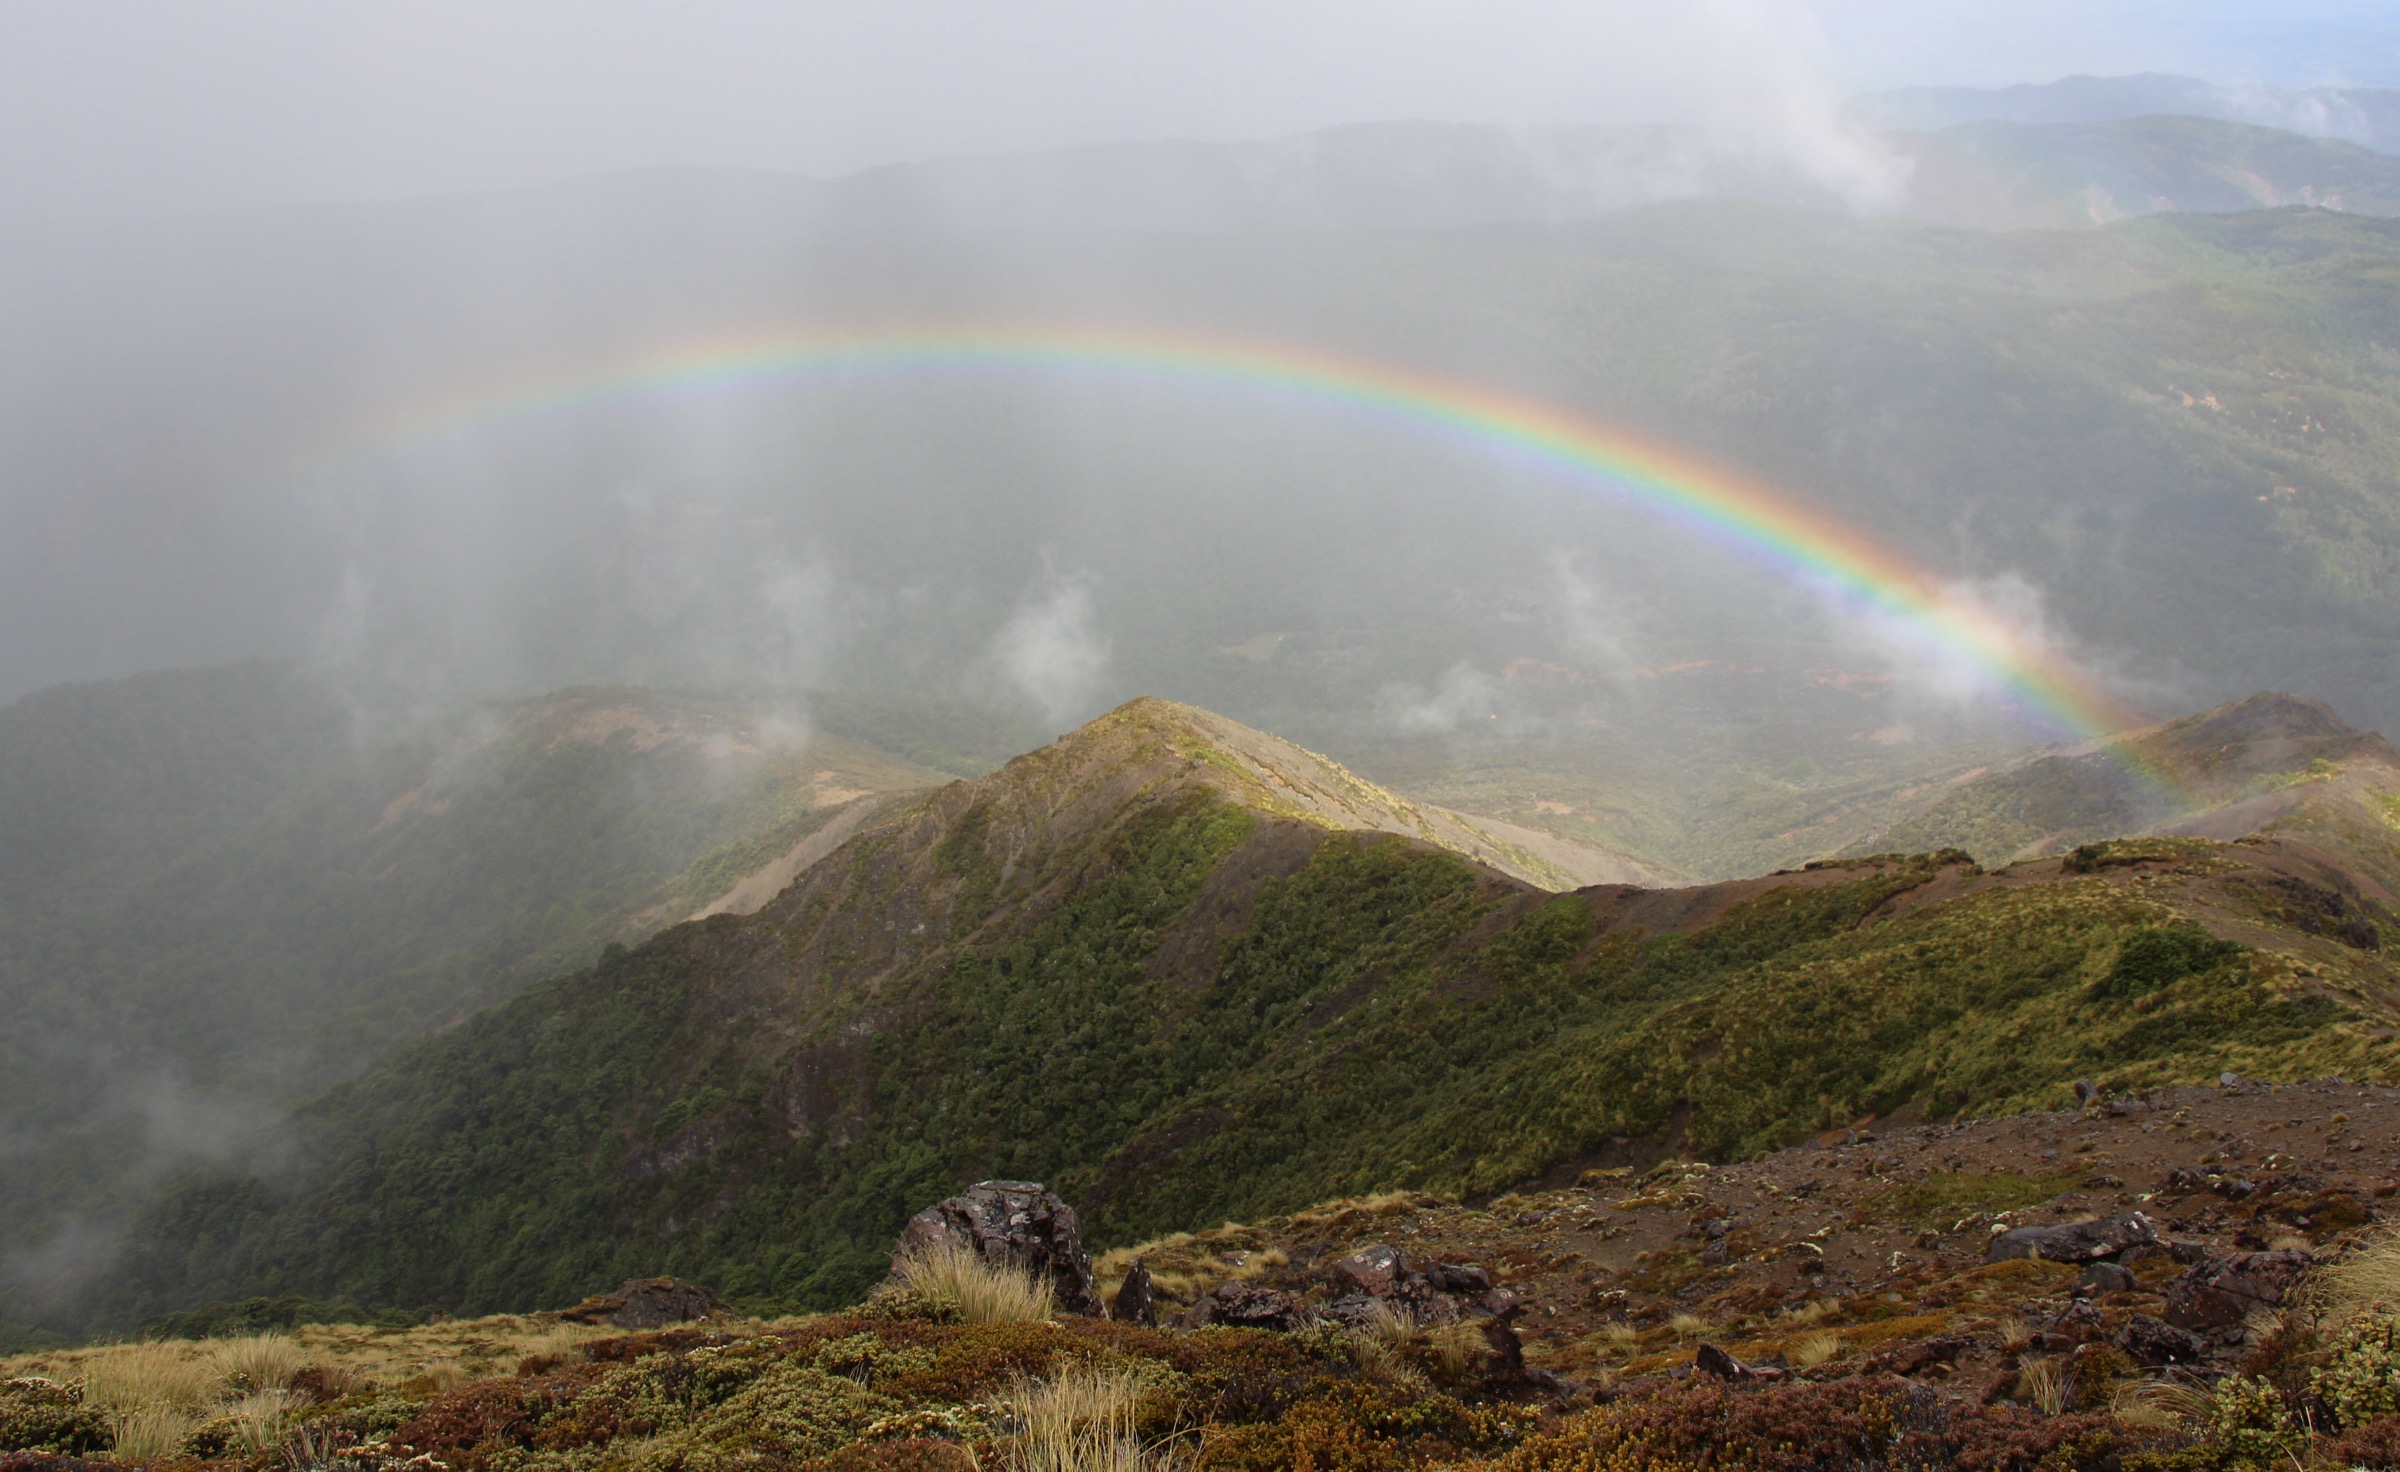
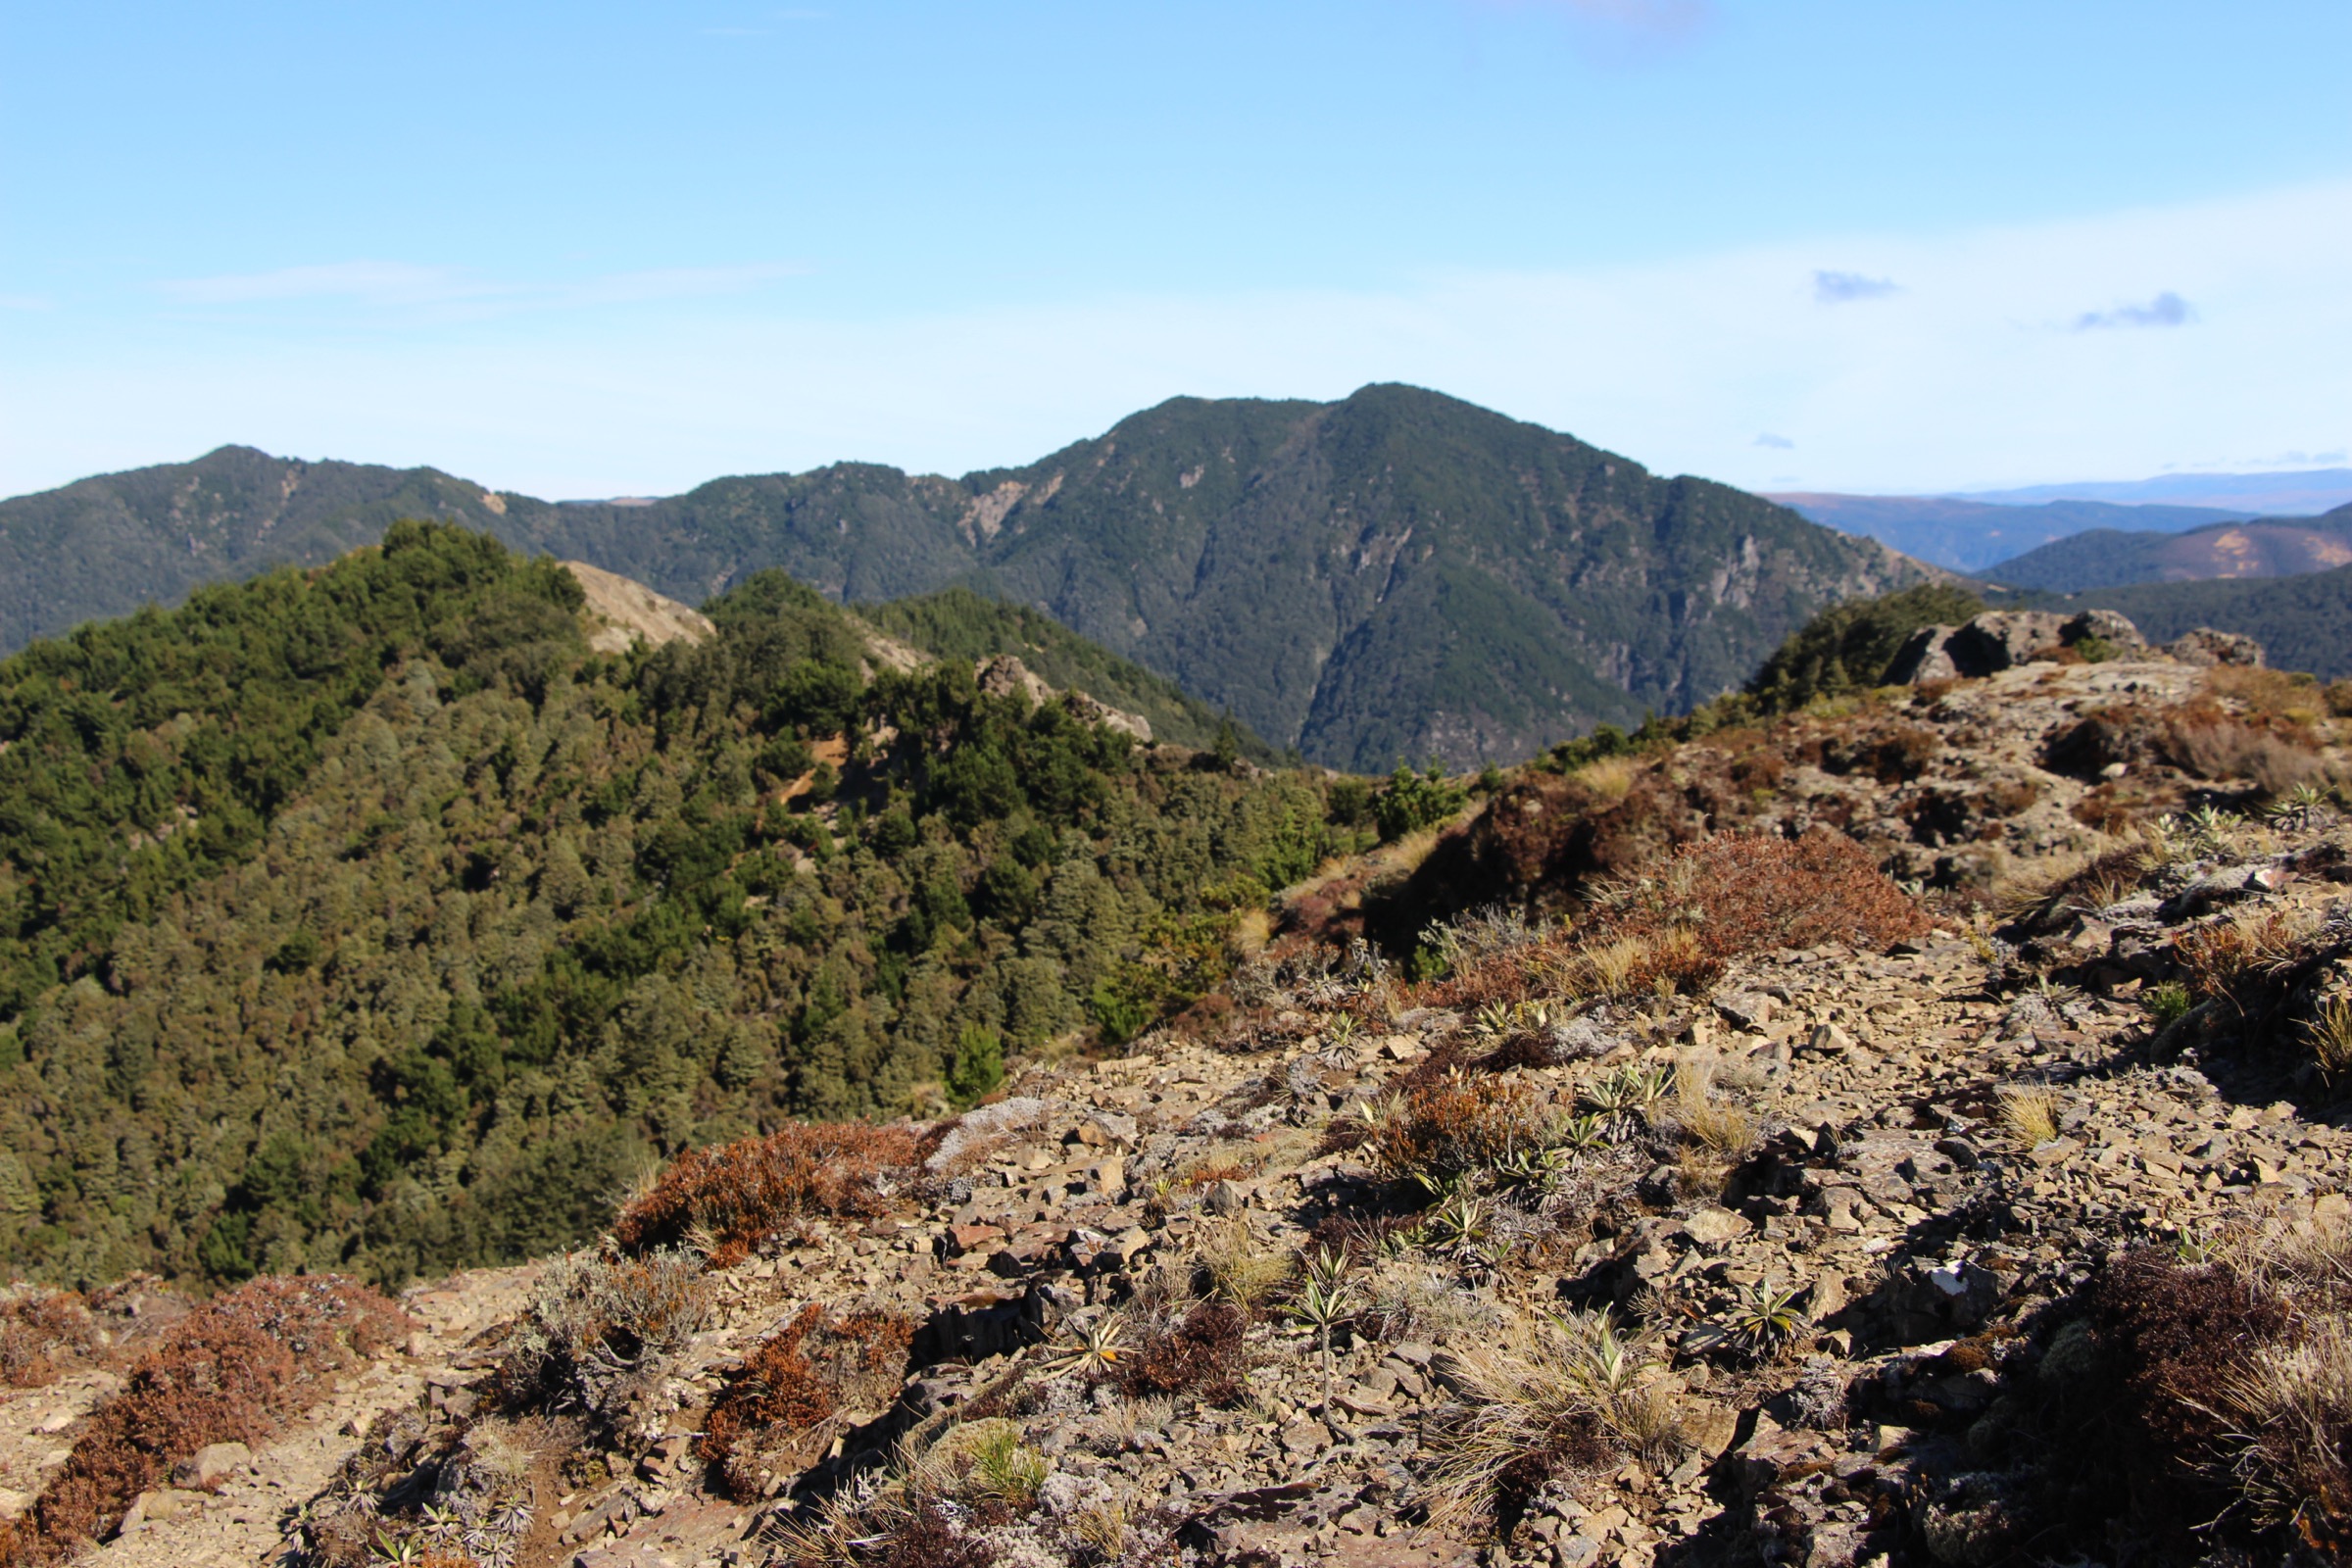
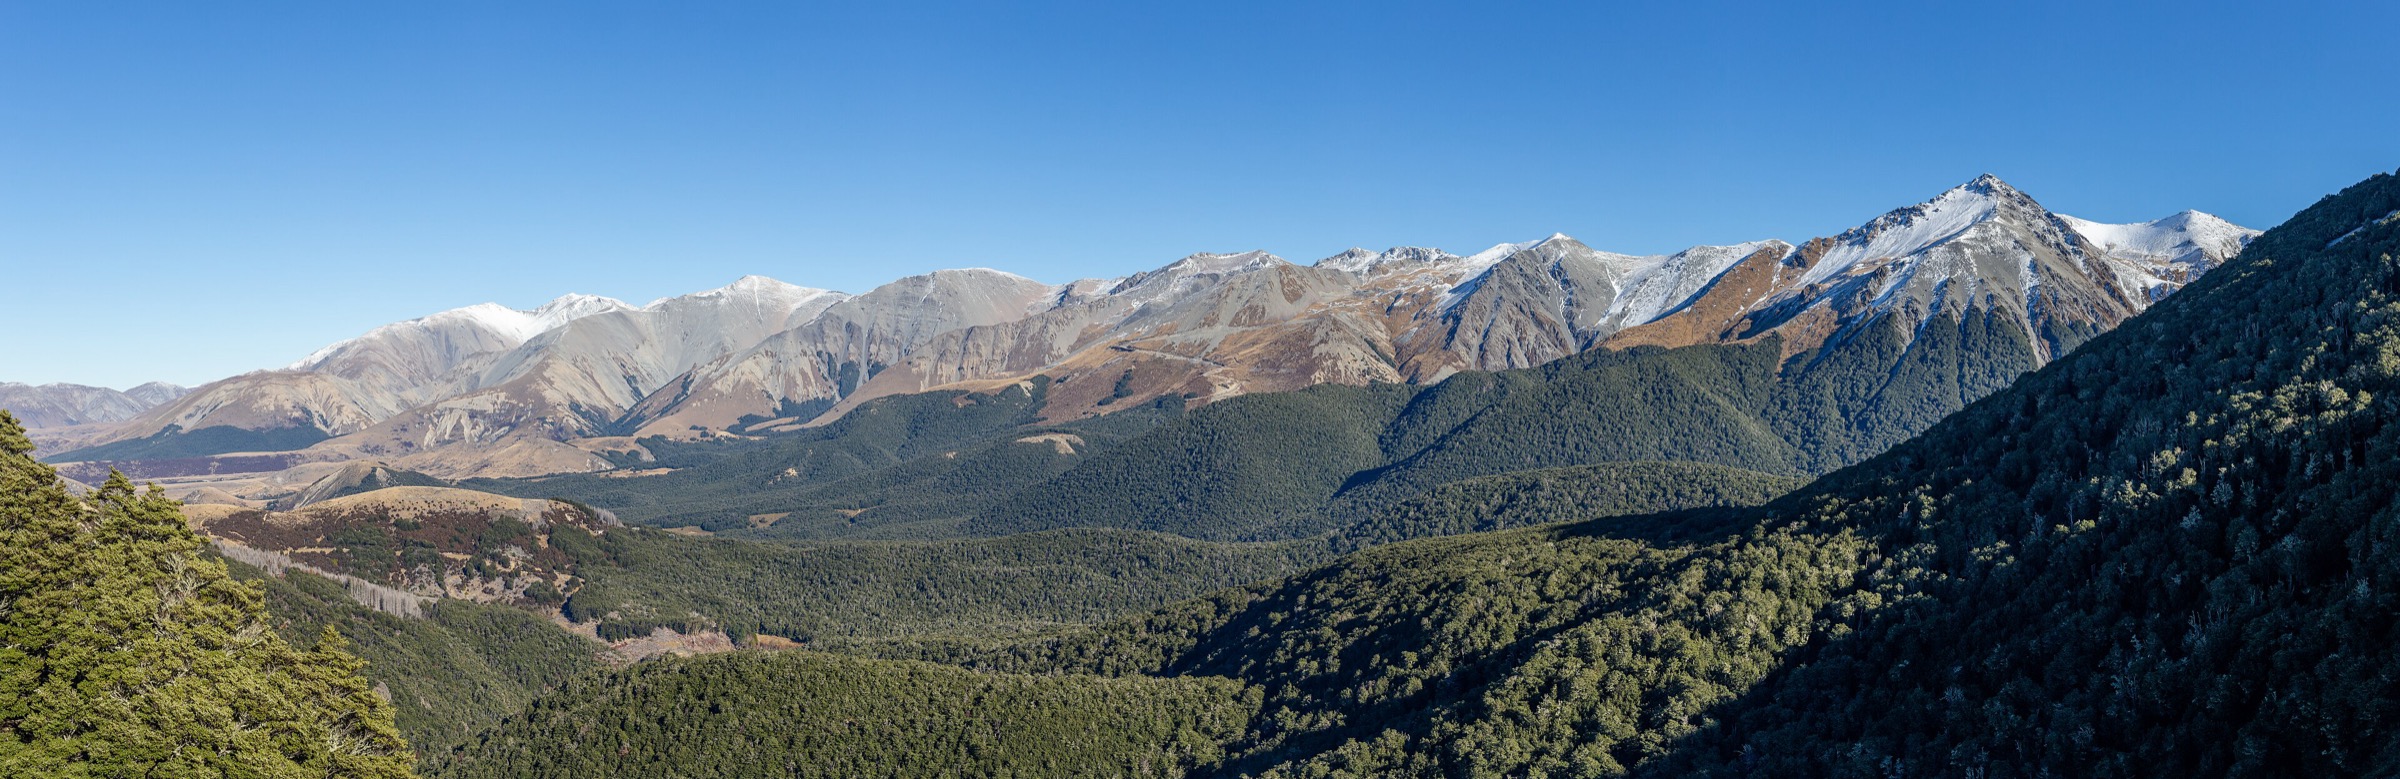
From the car park, four short-to-medium approaches climb quickly onto the poled sub-alpine tops between 1,300 and 1,700 m: north-west up Makahu Spur toward Dominie Bivouac and Kaweka J, west across the main range crest to Back Ridge Hut, south-west along the high country to Studholme Saddle Hut, and north on the marked track through Kaweka Flats Bivouac to Middle Hill Hut. DOC’s park description is unusually blunt about the exposure here: north-west gales are frequent on the main range, wind speeds above 180 km/h are not uncommon on the tops, and cold southerly changes can bring snow year-round. Dominie Bivouac at 1,480 m is the highest hut in Kaweka Forest Park, and the small huts at Back Ridge and Studholme Saddle are designed for shelter rather than comfort. Makahu Saddle Hut itself sits just above the car park at about 980 m as a base for weekend and longer trips.
Most of the routes below reach exposed sub-alpine tops within an hour of the car park, and their walking character is steep, poled and severely wind-affected rather than polished. Start early, carry full mountain kit including a Personal Locator Beacon and a warm layer even in high summer, and be willing to turn back at the bushline in poor visibility. Longer traverses across the main range (Kaweka J → Kaweka North, Back Ridge → Kiwi Saddle, Studholme Saddle → Mackintosh) are covered in the Central Kawekas and Southern Kaweka catalogue entries and sit outside the scope of this Makahu Saddle Area day-hike round.
Selection rationale
Five routes are presented from the Makahu Saddle car park, all as day-scale objectives from the road end. Kaweka J via Makahu Spur is the range’s defining summit and the essential top-country day. Dominie Bivouac is the short but very steep climb to the highest hut in the park and the natural first stage of the Kaweka J route. Back Ridge Hut gives the direct main-range crossing to the west side, on the exposed rocky top country DOC flags as the most weather-affected in the park. Studholme Saddle Hut is the equivalent day-scale line south, along the high route to the tributary of Kiwi Creek where the hut was relocated in April 2024. Middle Hill Hut via Kaweka Flats is the forest-and-flats counterpoint — a lower, marked forest-edge track that is workable when the tops are closed by weather. Longer main-range traverses via Kaweka North, the Kaweka Ridge Track, or the Studholme–Kiwi Saddle loop belong to the neighbouring catalogue entries.
Summary
| # | Hike | Trailhead | Route type | Distance | Time | Grade |
|---|---|---|---|---|---|---|
| 1 | Kaweka J via Makahu Spur | Makahu Saddle car park | Out-and-back | ~8.5 km return | 4–6 h | Hard |
| 2 | Dominie Bivouac from Makahu Saddle | Makahu Saddle car park | Out-and-back | ~5.3 km return | 2.5–3 h | Hard |
| 3 | Back Ridge Hut crossing | Makahu Saddle car park | Point-to-point / hut day | ~7.1 km one way | 3–4 h one way (DOC) | Hard |
| 4 | Studholme Saddle Hut southern high route | Makahu Saddle car park | Point-to-point / hut day | ~8.4 km one way | 3 h one way (DOC) | Hard |
| 5 | Middle Hill Hut via Kaweka Flats | Makahu Saddle car park | Point-to-point / hut day | 5.7 km one way (DOC) | 3 h one way (DOC) | Hard |
1. Kaweka J via Makahu Spur
Snapshot
Itinerary
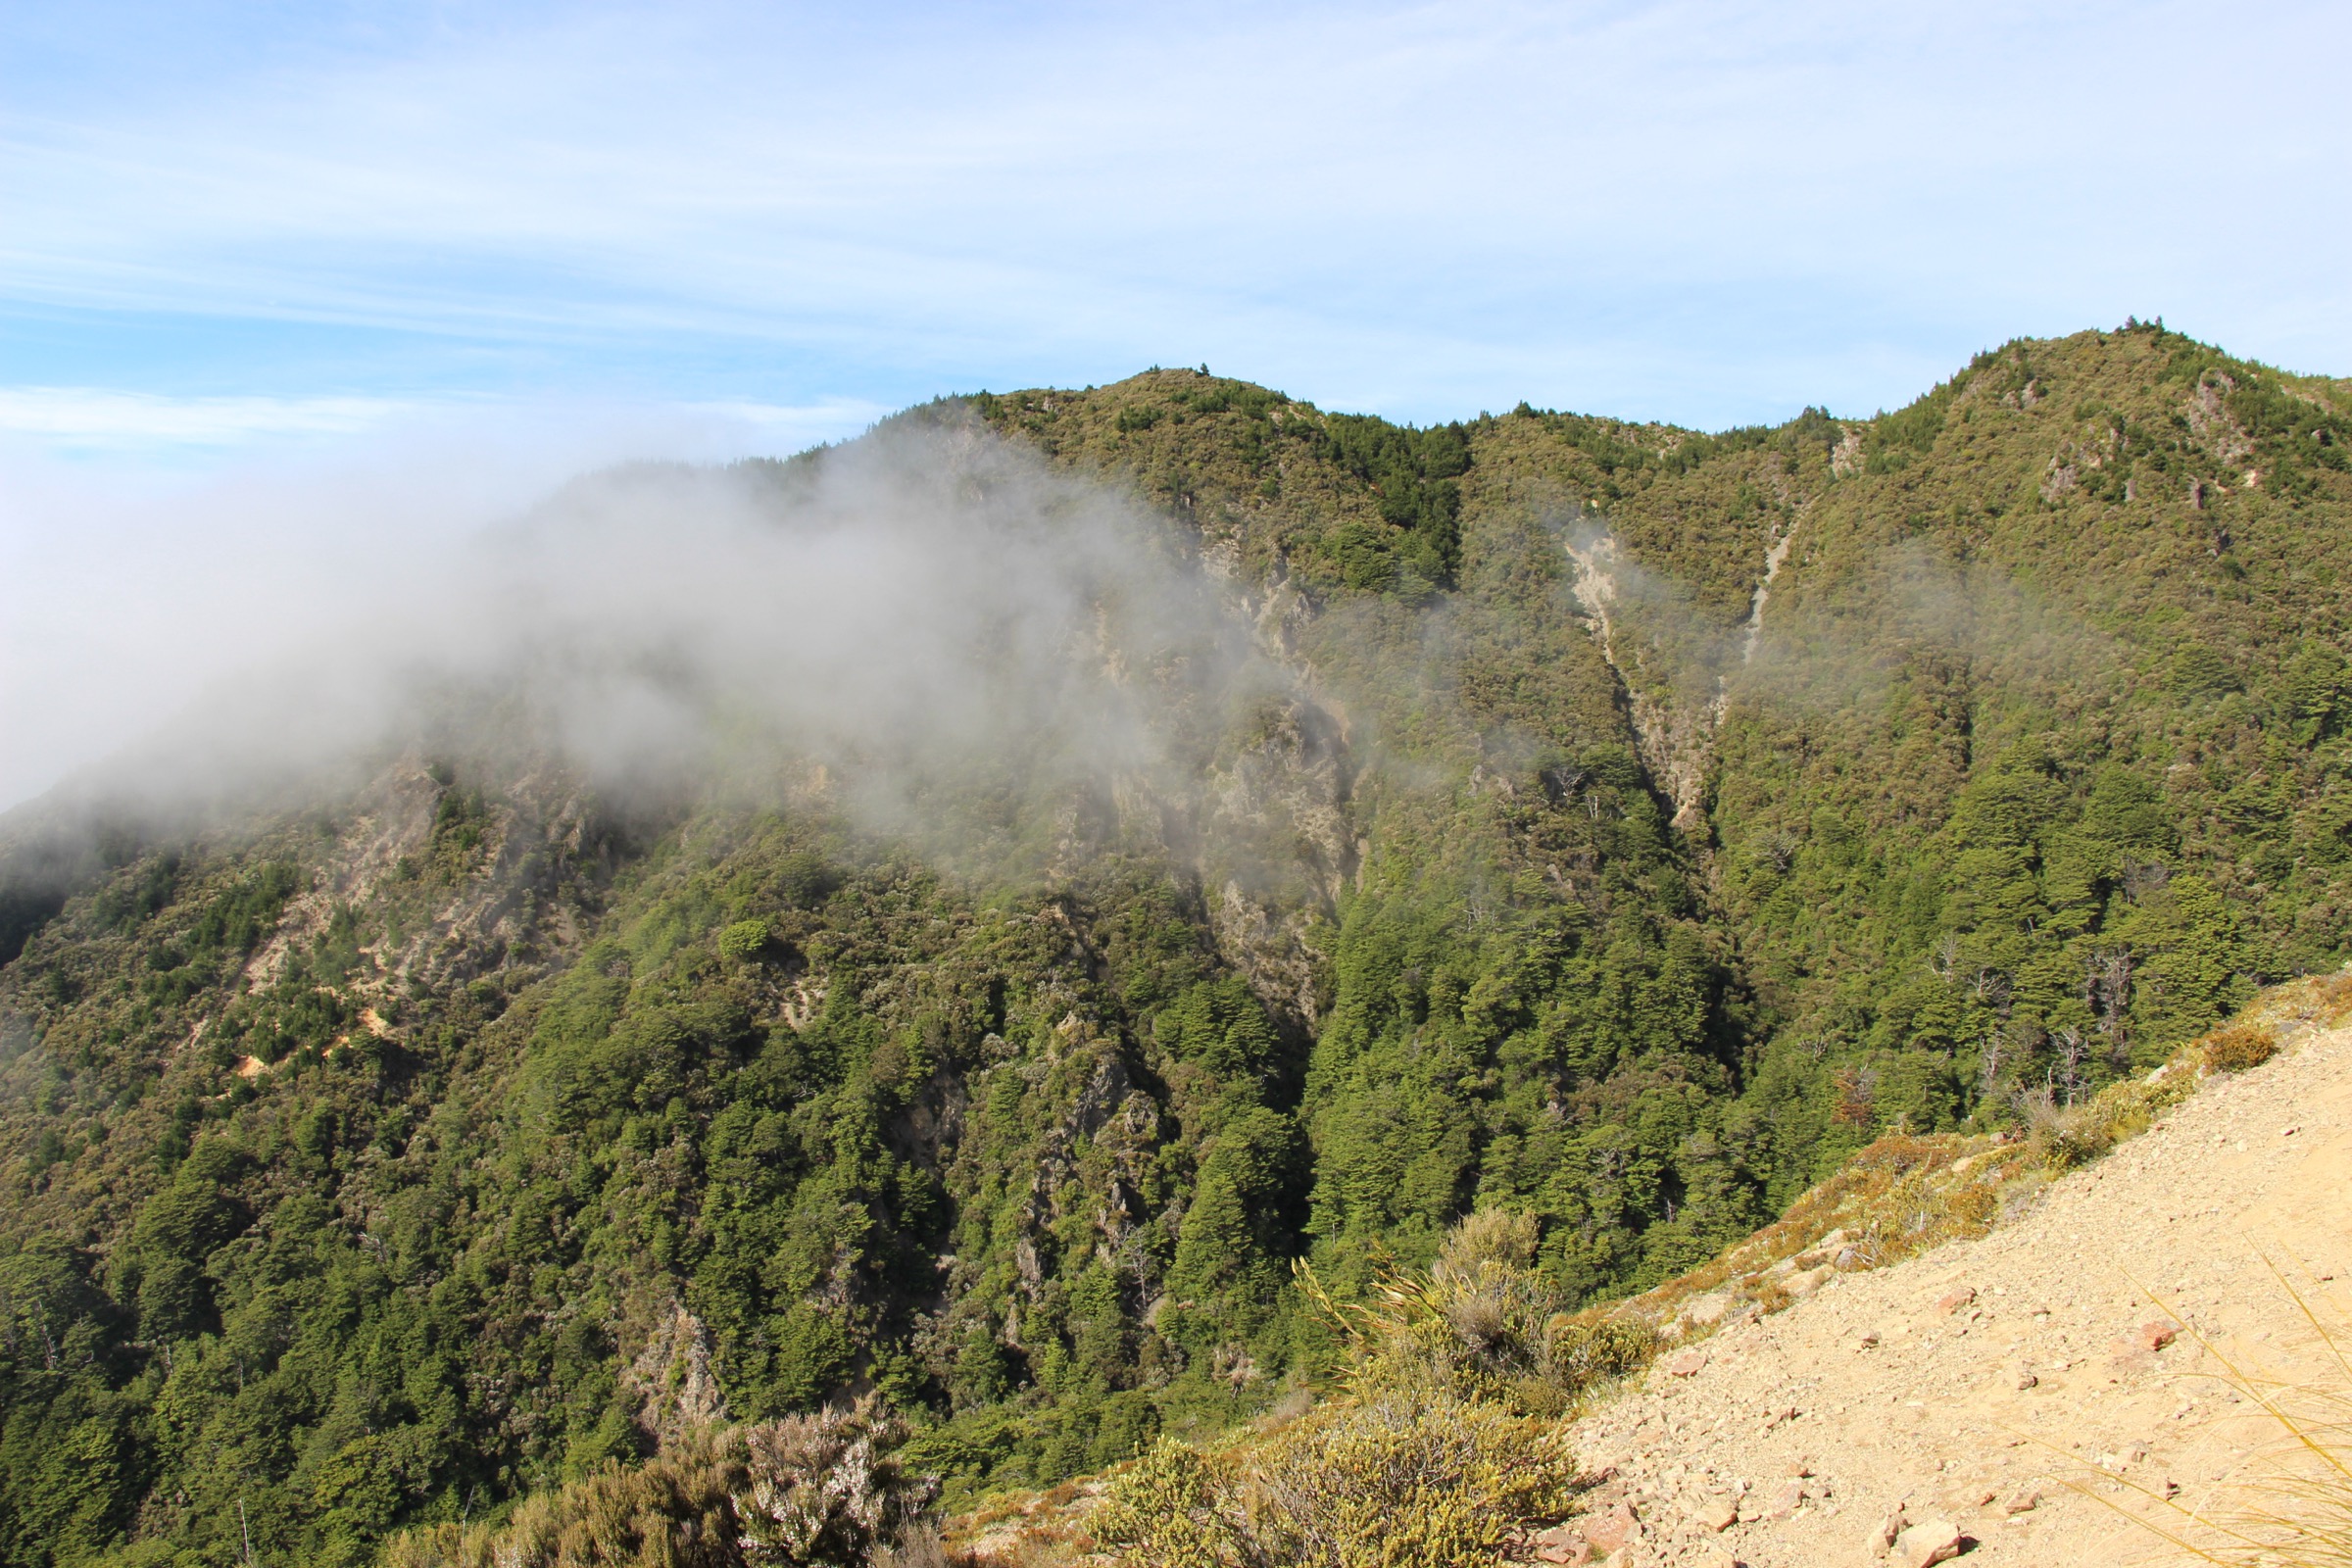
From the Makahu Saddle car park, the poled Makahu Spur climbs steeply through beech gullies to the bushline, passes the Dominie Bivouac at 1,480 m after about 80 minutes, and continues over open, poled ground onto the main Kaweka crest. Kaweka J at about 1,724 m is the range’s high point and the standard turnaround for a day. Return is by the same route. Fit parties with settled weather and time can continue on the ridge toward Kaweka North before turning back, but that variant belongs to the Central Kawekas catalogue.
Why it is essential
Kaweka J is the defining summit of the range and Makahu Spur is the shortest and most direct approach — the standard day route that most parties travel to reach the main tops on this side of the park.
Equipment
- Mountain boots
- Windproof and waterproof shell
- Warm mid-layer, hat, gloves
- Map / GPS and headlamp
- 2 L water, food for a full day
- Personal Locator Beacon
Hazards and notes
- Severe wind exposure on the crest — DOC flags NW gales frequently exceeding 180 km/h on the main range
- Snow risk through winter and often well into spring
- No shelter above Dominie Bivouac — turn back at Dominie in poor visibility rather than pushing on
- Ford on Makahu Road 7.5 km from the road end can rise quickly after rain
- Mackintosh car park to the south is closed for forestry — do not plan a Kaweka J → Mackintosh through-trip on that basis
2. Dominie Bivouac from Makahu Saddle
Snapshot
Itinerary
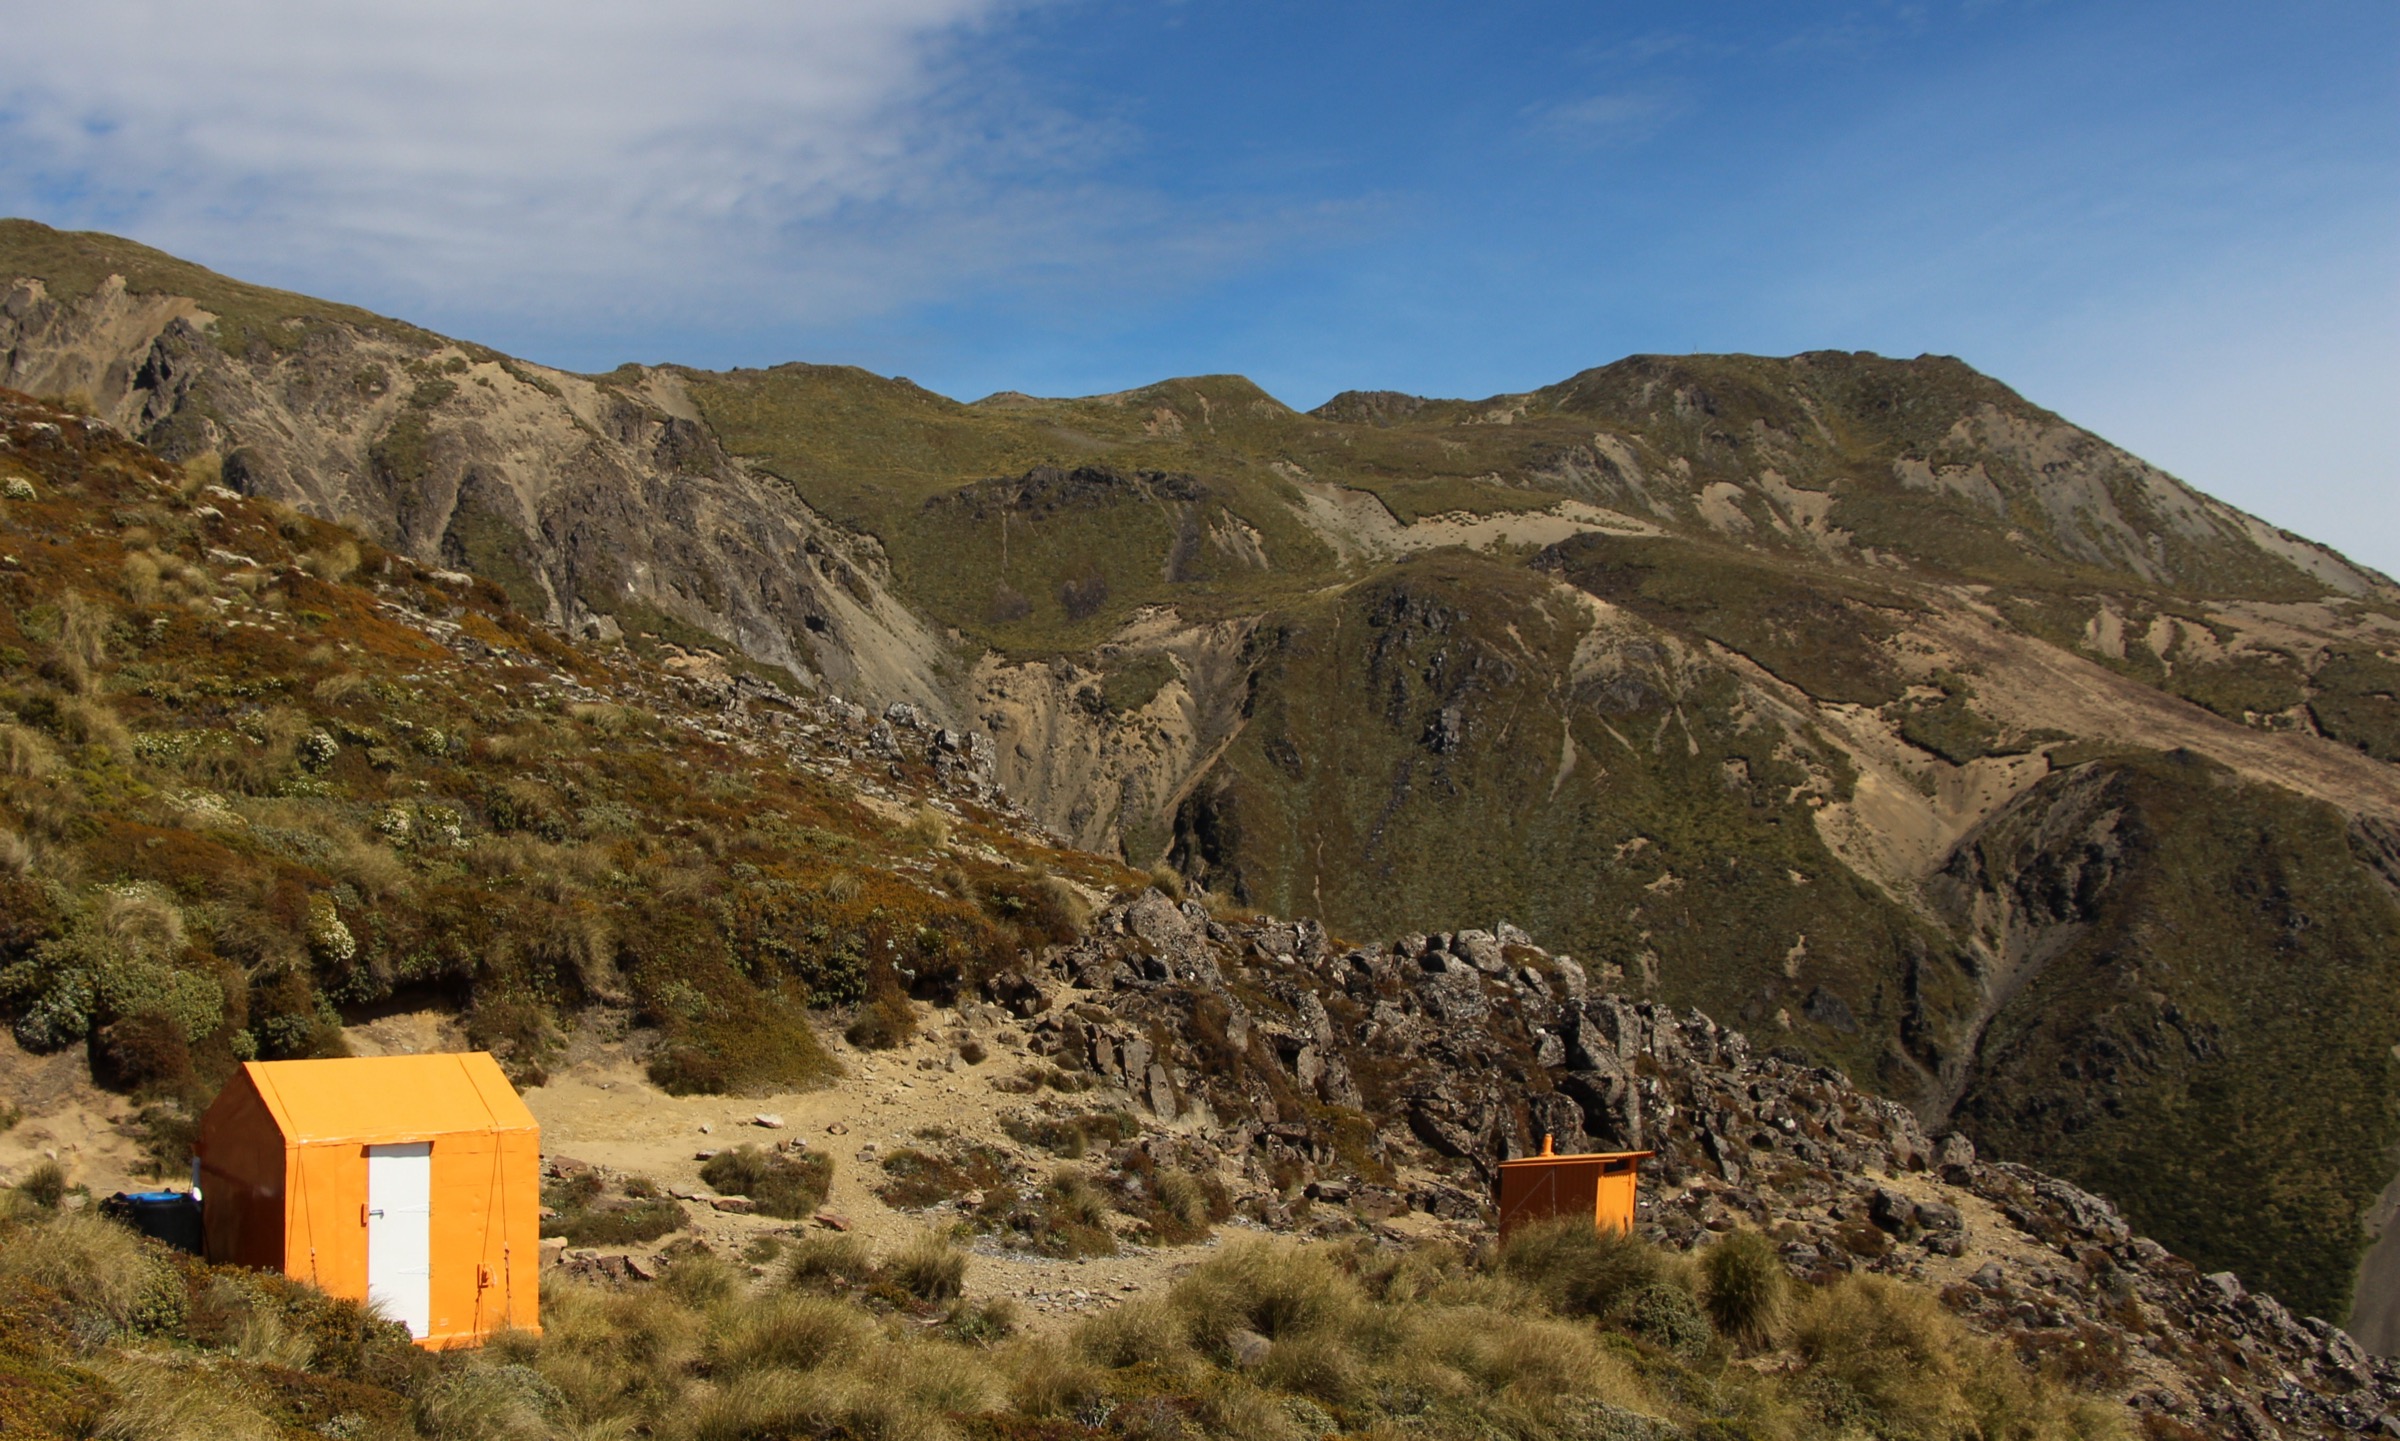
The Makahu Spur track climbs directly from the car park through beech and manuka-kanuka scrub onto the ridge, then breaks out onto open sub-alpine tops for the final push to Dominie Bivouac at 1,480 m. DOC gives 80 minutes for the ascent. The bivouac holds two bunks, tank water and a long-drop; there is no fireplace. Return is on the same route, or the day can be extended to Kaweka J (see the previous entry) if weather and time allow.
Why it is essential
Dominie is the highest hut in Kaweka Forest Park and gives a fast, short introduction to the main-range sub-alpine tops without committing to the full Kaweka J summit day. It is the natural intermediate objective on this side of the range — long enough to reach real high country, short enough to bail out cleanly if weather turns.
Equipment
- Boots
- Windproof and waterproof shell
- Warm mid-layer
- Water, food
- Map / GPS and headlamp
- Personal Locator Beacon for the exposed section above the bushline
Hazards and notes
- Very steep climb — the spur gains about 480 m in under 3 km
- Exposure above the bushline — sudden wind and visibility drops
- No fireplace at the bivouac — plan clothing accordingly if using it as a lunch stop
- Pack out all rubbish and food — DOC signage is explicit
3. Back Ridge Hut crossing
Snapshot
Itinerary
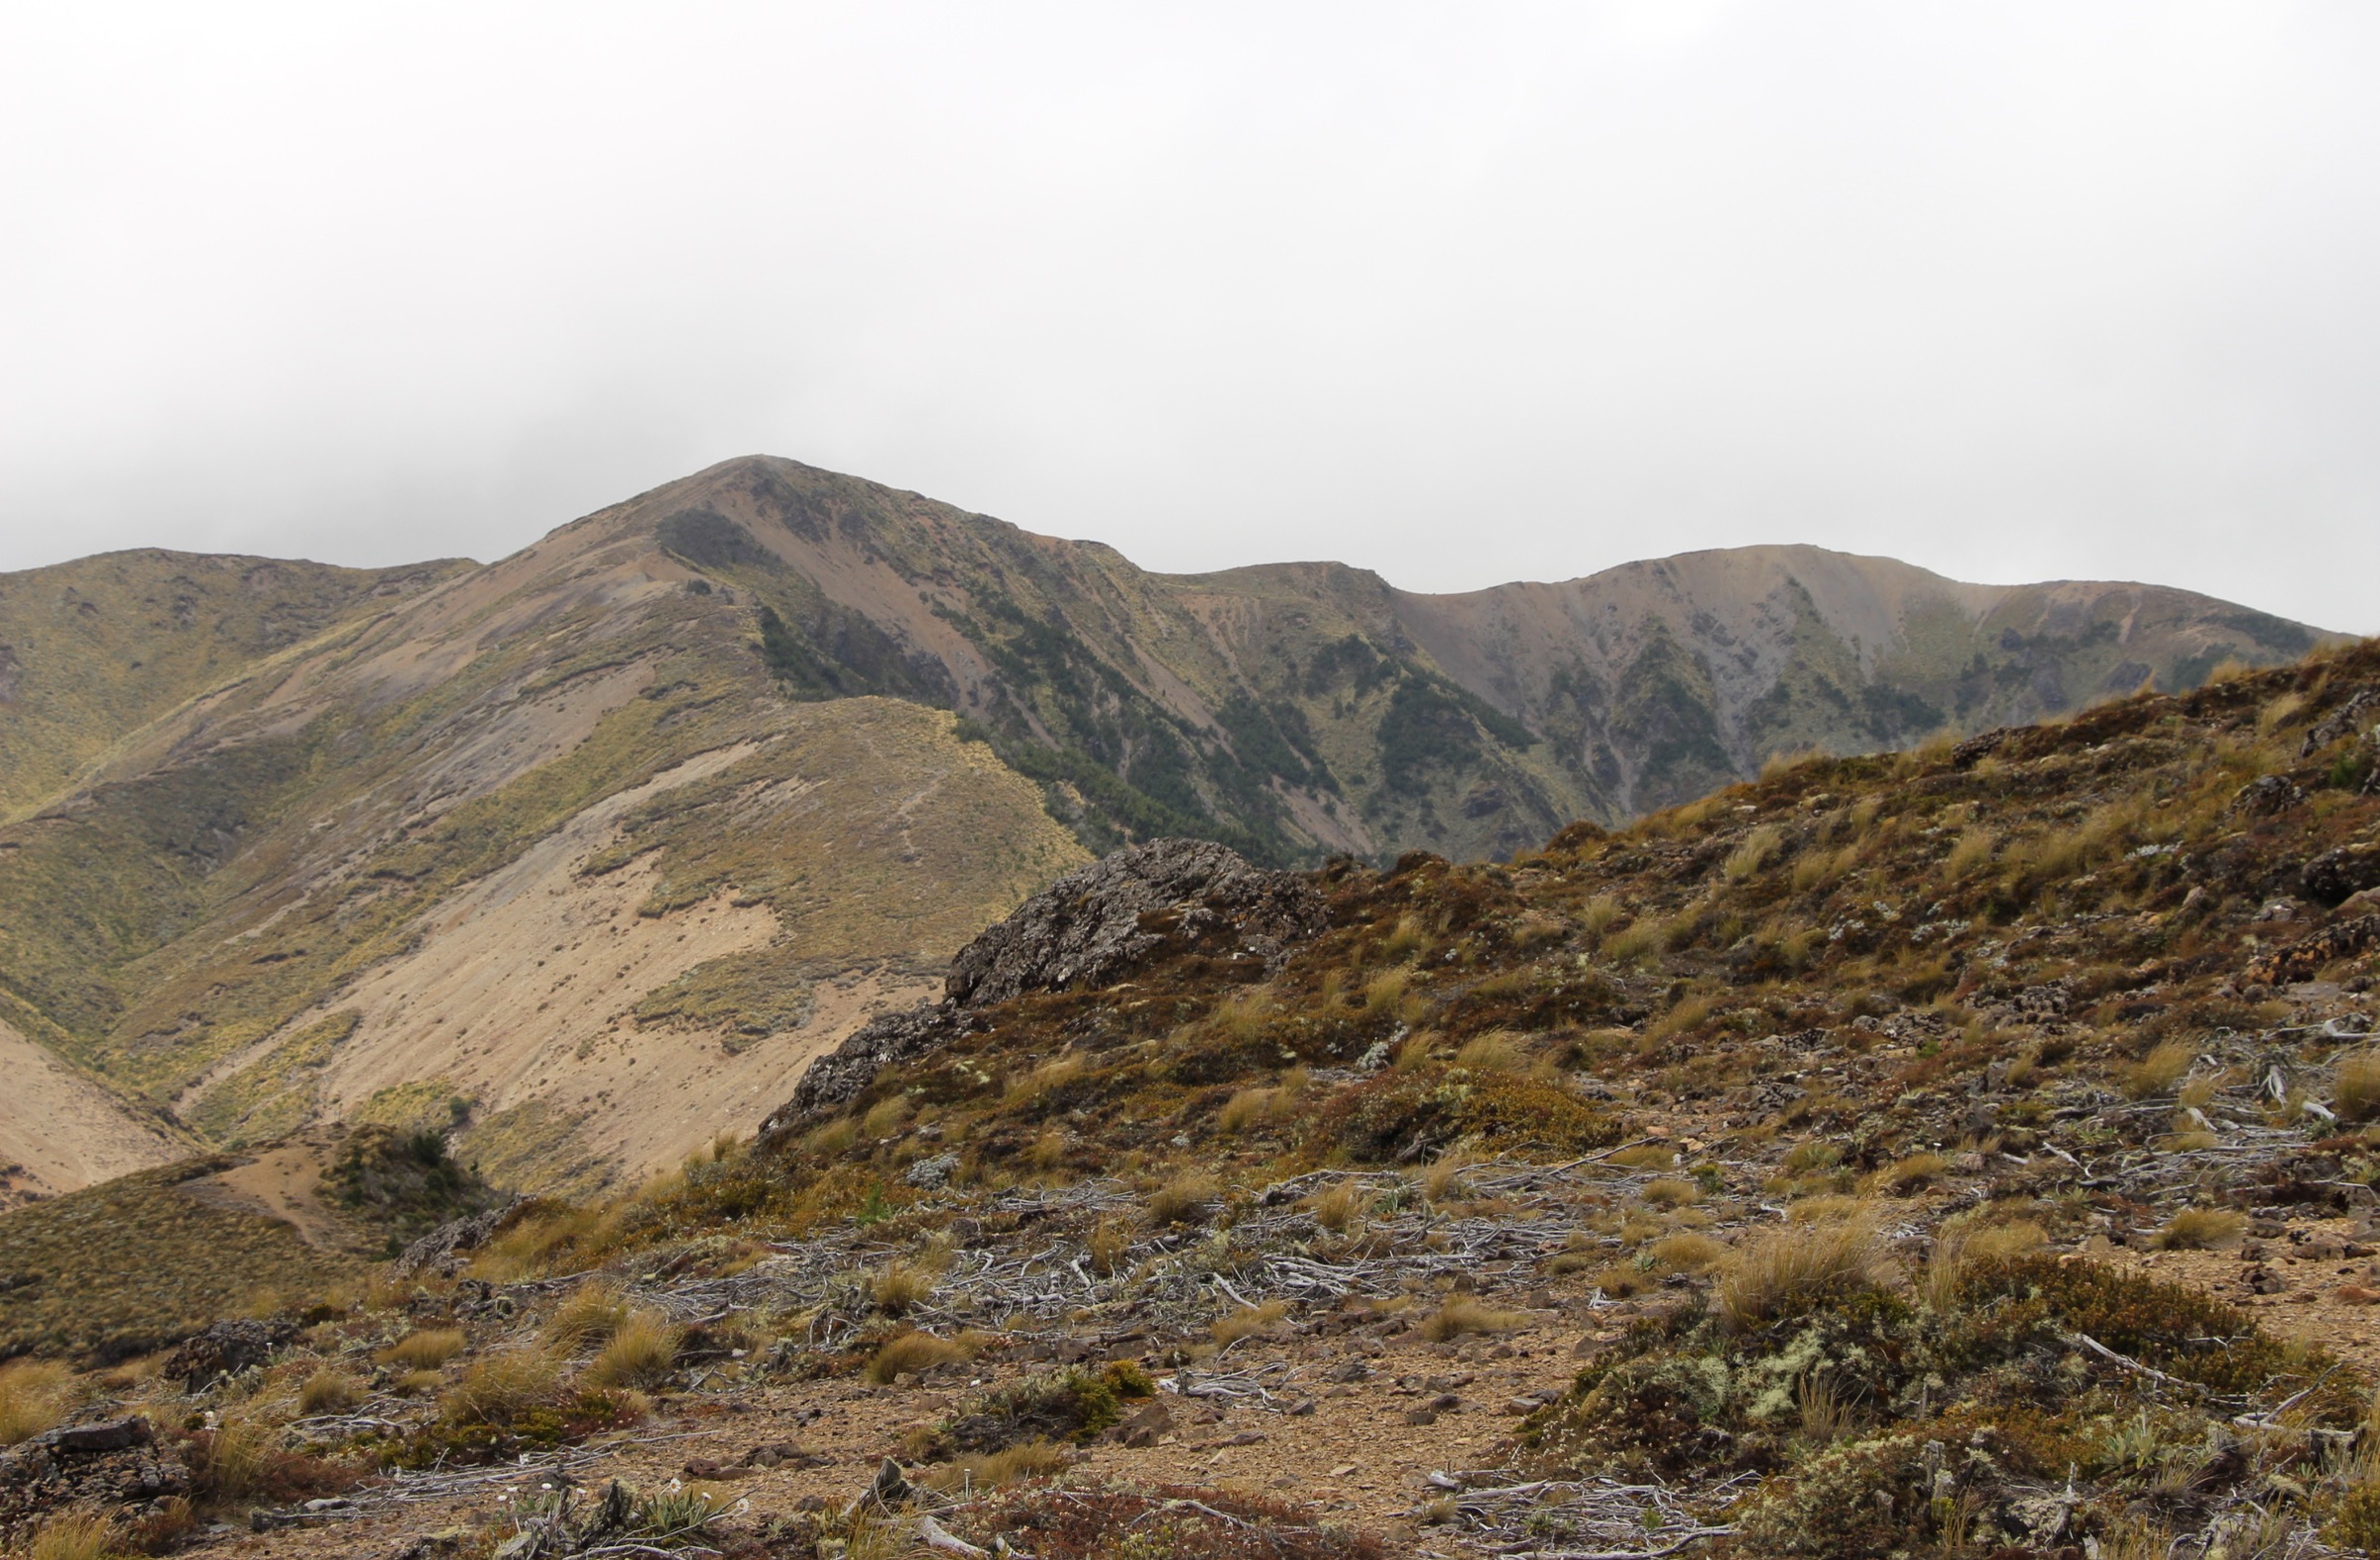
The route climbs Makahu Spur to the main Kaweka crest, then follows the marked and poled top track toward Kaweka J before descending a west-facing spur across bare rocky ground to Back Ridge Hut, a four-bunk SF70-design shelter below the summit. DOC’s description is explicit: there are no marked tracks leading away to the north or south of the hut, and the terrain around the hut is steep, eroded, and exposed to frequent north-west gales. Return is on the same route unless the party is linked into a longer main-range itinerary.
Why it is essential
Back Ridge is the shortest fully-marked crossing of the main Kaweka Range from Makahu Saddle, and the reference route for anyone who wants to experience the range’s exposed high tops without the full Kaweka J → Kaweka North extension. It is one of the most weather-sensitive day objectives in the park.
Equipment
- Full mountain day kit — mountain boots, hard shell, softshell, warm mid-layer, hat and gloves
- 2 L water, food for a full day
- Map, compass and GPS with the route pre-loaded
- Headlamp with spare batteries
- Personal Locator Beacon
Hazards and notes
- Bare rocky ground on the descent west of the crest, with poor traction in wet weather
- NW gales frequently exceed 180 km/h on the main range
- No side tracks from the hut — do not attempt off-track exits north or south
- Weather-dependent return — if visibility drops on the crest, wait at the hut rather than attempting the crest crossing back
- Winter snow on the tops can persist well after the rest of the park has cleared
4. Studholme Saddle Hut southern high route
Snapshot
Itinerary
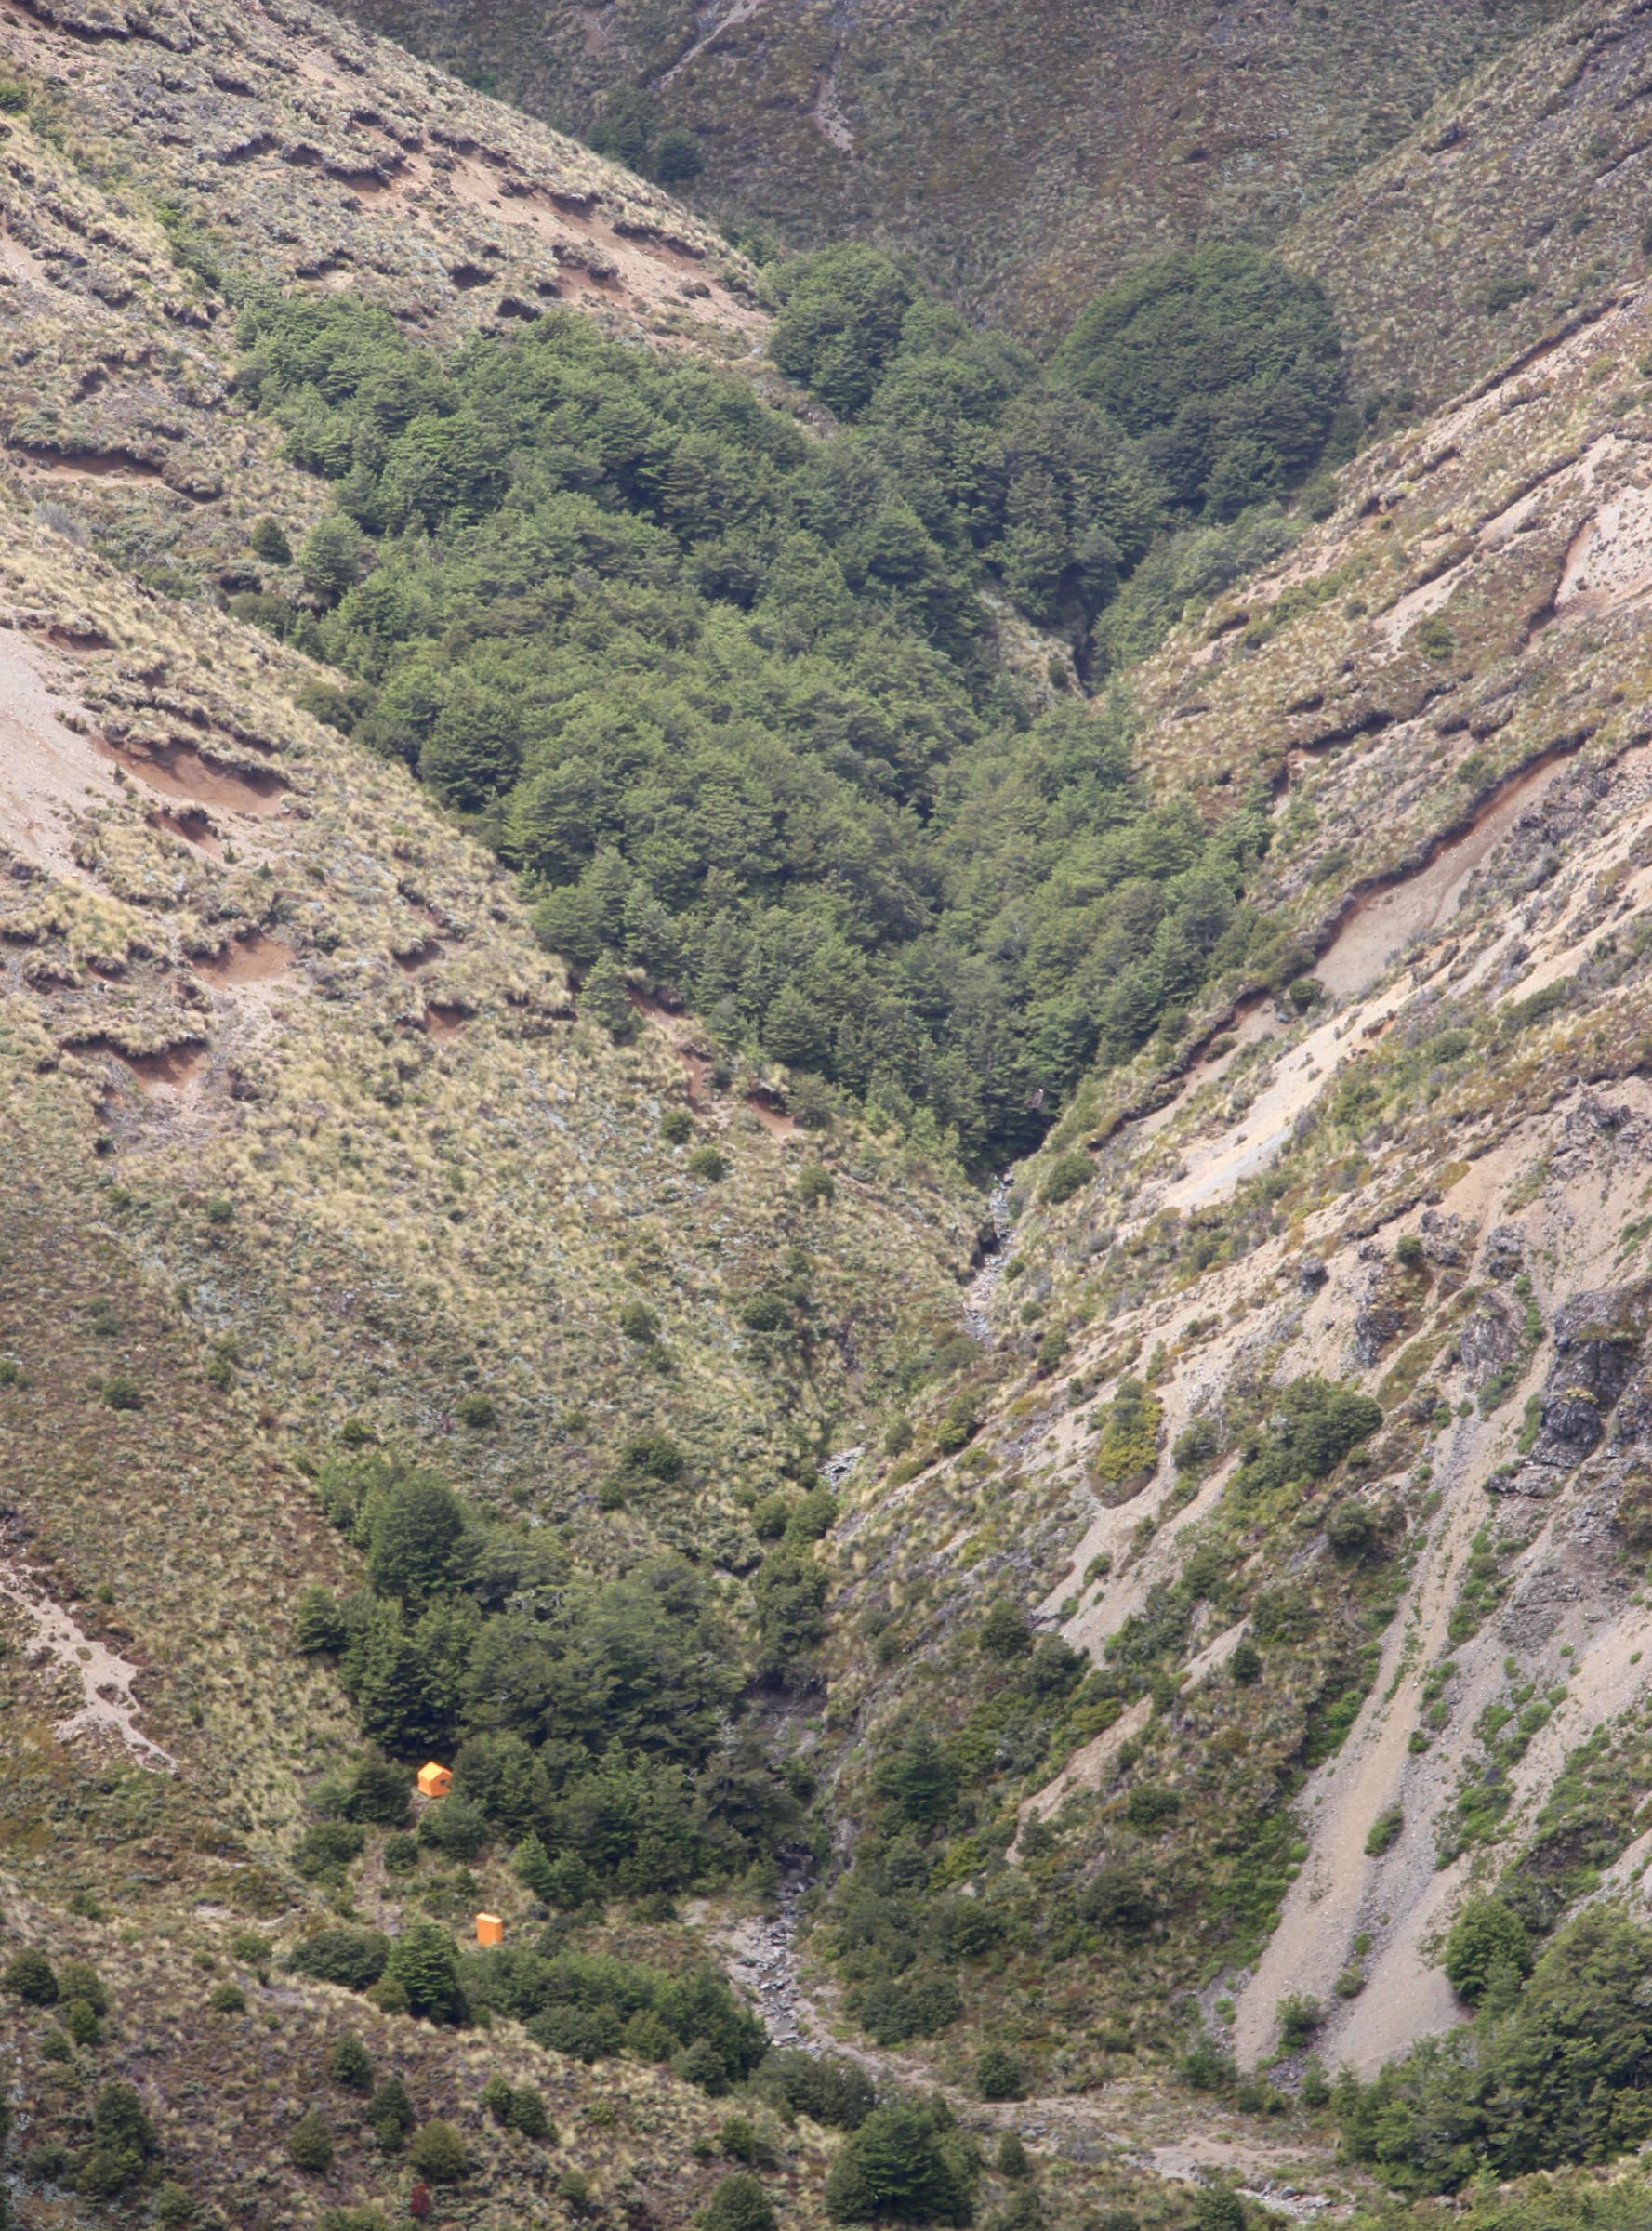
The route climbs Makahu Spur to the main crest, then turns south along the poled sub-alpine top track toward Studholme Saddle. The hut sits at 1,240 m in a tributary of Kiwi Creek and was relocated to its current position in April 2024, so treat older topo positions with caution and reference the current DOC page before departure. Return is on the same route unless the party is linked into a longer Mackintosh–Kiwi Saddle or Rogue Ridge itinerary. Note that the alternative Mackintosh approach is currently disrupted by the closure of Mackintosh car park for forestry operations.
Why it is essential
This is the day-scale route to the southern high country from Makahu Saddle and the most direct way onto the crest south of Kaweka J. Together with the Back Ridge crossing, it defines the two short “over the top” hut days from Makahu Saddle.
Equipment
- Mountain boots
- Windproof and waterproof shell
- Warm mid-layer, hat and gloves
- Map, compass and GPS with the current hut position pre-loaded
- Headlamp with spare batteries
- 2 L water, food for a full day
- Personal Locator Beacon
Hazards and notes
- Hut relocation April 2024 — some AllTrails and older topo lines may show the previous position
- Exposed sub-alpine top travel for the whole crest section
- Snow and NW gales on the crest, as elsewhere on the main range
- Mackintosh car park closed for forestry — do not plan a Studholme → Mackintosh through-trip on that basis without checking closure status
- Longer alternative approaches (Mackintosh 5–6 h, Cameron via Kiwi Saddle 7–7.5 h, Lakes car park over Rogue Ridge 3–4 h) exist but the Makahu Saddle line is the shortest
5. Middle Hill Hut via Kaweka Flats
Snapshot
Itinerary
From Makahu Saddle, the marked track drops north through beech gullies to Kaweka Flats Bivouac at about 1 hour, then continues 2 hours further through the manuka-kanuka to red beech transition to Middle Hill Hut at 980 m in an open, sunny clearing. The hut retains its 1963 open fireplace and was renovated in 2003 with a covered veranda. Return is on the same track. Statistics need care: DOC gives 5.7 km and 3 hours, while AllTrails records a longer 10.5 km variant with 565 m of gain — likely a different loop or line, and worth cross-checking against the current DOC page.
Why it is essential
Middle Hill is the reference bad-weather alternative from the Makahu Saddle road end — the only marked route from the car park that stays below the main tops and gives a full day out through forest rather than on the crest. It complements the four exposed top routes above with a lower, sheltered option.
Equipment
- Boots
- Waterproof shell
- Warm layer
- Water and food for a full day
- Map / GPS
- Headlamp with spare batteries
- Personal Locator Beacon if the party is planning to continue past Middle Hill
Hazards and notes
- Ford on Makahu Road 7.5 km from the road end can be affected by heavy rain and snowmelt
- Muddy and slippery in beech gullies after rain
- Source disagreement on statistics — treat AllTrails’ 10.5 km as an alternative-line figure until reconciled with DOC’s 5.7 km on the ground
- Winter snow and heavy frosts can persist at hut elevation despite the sheltered clearing
Further reading
| Resource | Link |
|---|---|
| DOC — Kaweka Forest Park | doc.govt.nz |
| DOC — Makahu Saddle Hut | doc.govt.nz |
| DOC — Dominie Hut | doc.govt.nz |
| DOC — Back Ridge Hut | doc.govt.nz |
| DOC — Studholme Saddle Hut | doc.govt.nz |
| DOC — Middle Hill Hut | doc.govt.nz |
| AllTrails — Kaweka J Summit Track | alltrails.com |
| AllTrails — Dominie Hut from Makahu Saddle | alltrails.com |
| AllTrails — Back Ridge Hut from Makahu Saddle | alltrails.com |
| AllTrails — Studholme Saddle Hut from Makahu Saddle | alltrails.com |
| AllTrails — Makahu Saddle to Middle Hill Hut | alltrails.com |
| Related — Central Kawekas essential day-hikes | /articles |
| Related — Southern Kaweka essential day-hikes | /articles |
| MetService — Hawke’s Bay regional forecast | metservice.com |
| Wikimedia Commons — Kaweka Range category | commons.wikimedia.org |