Regional overview
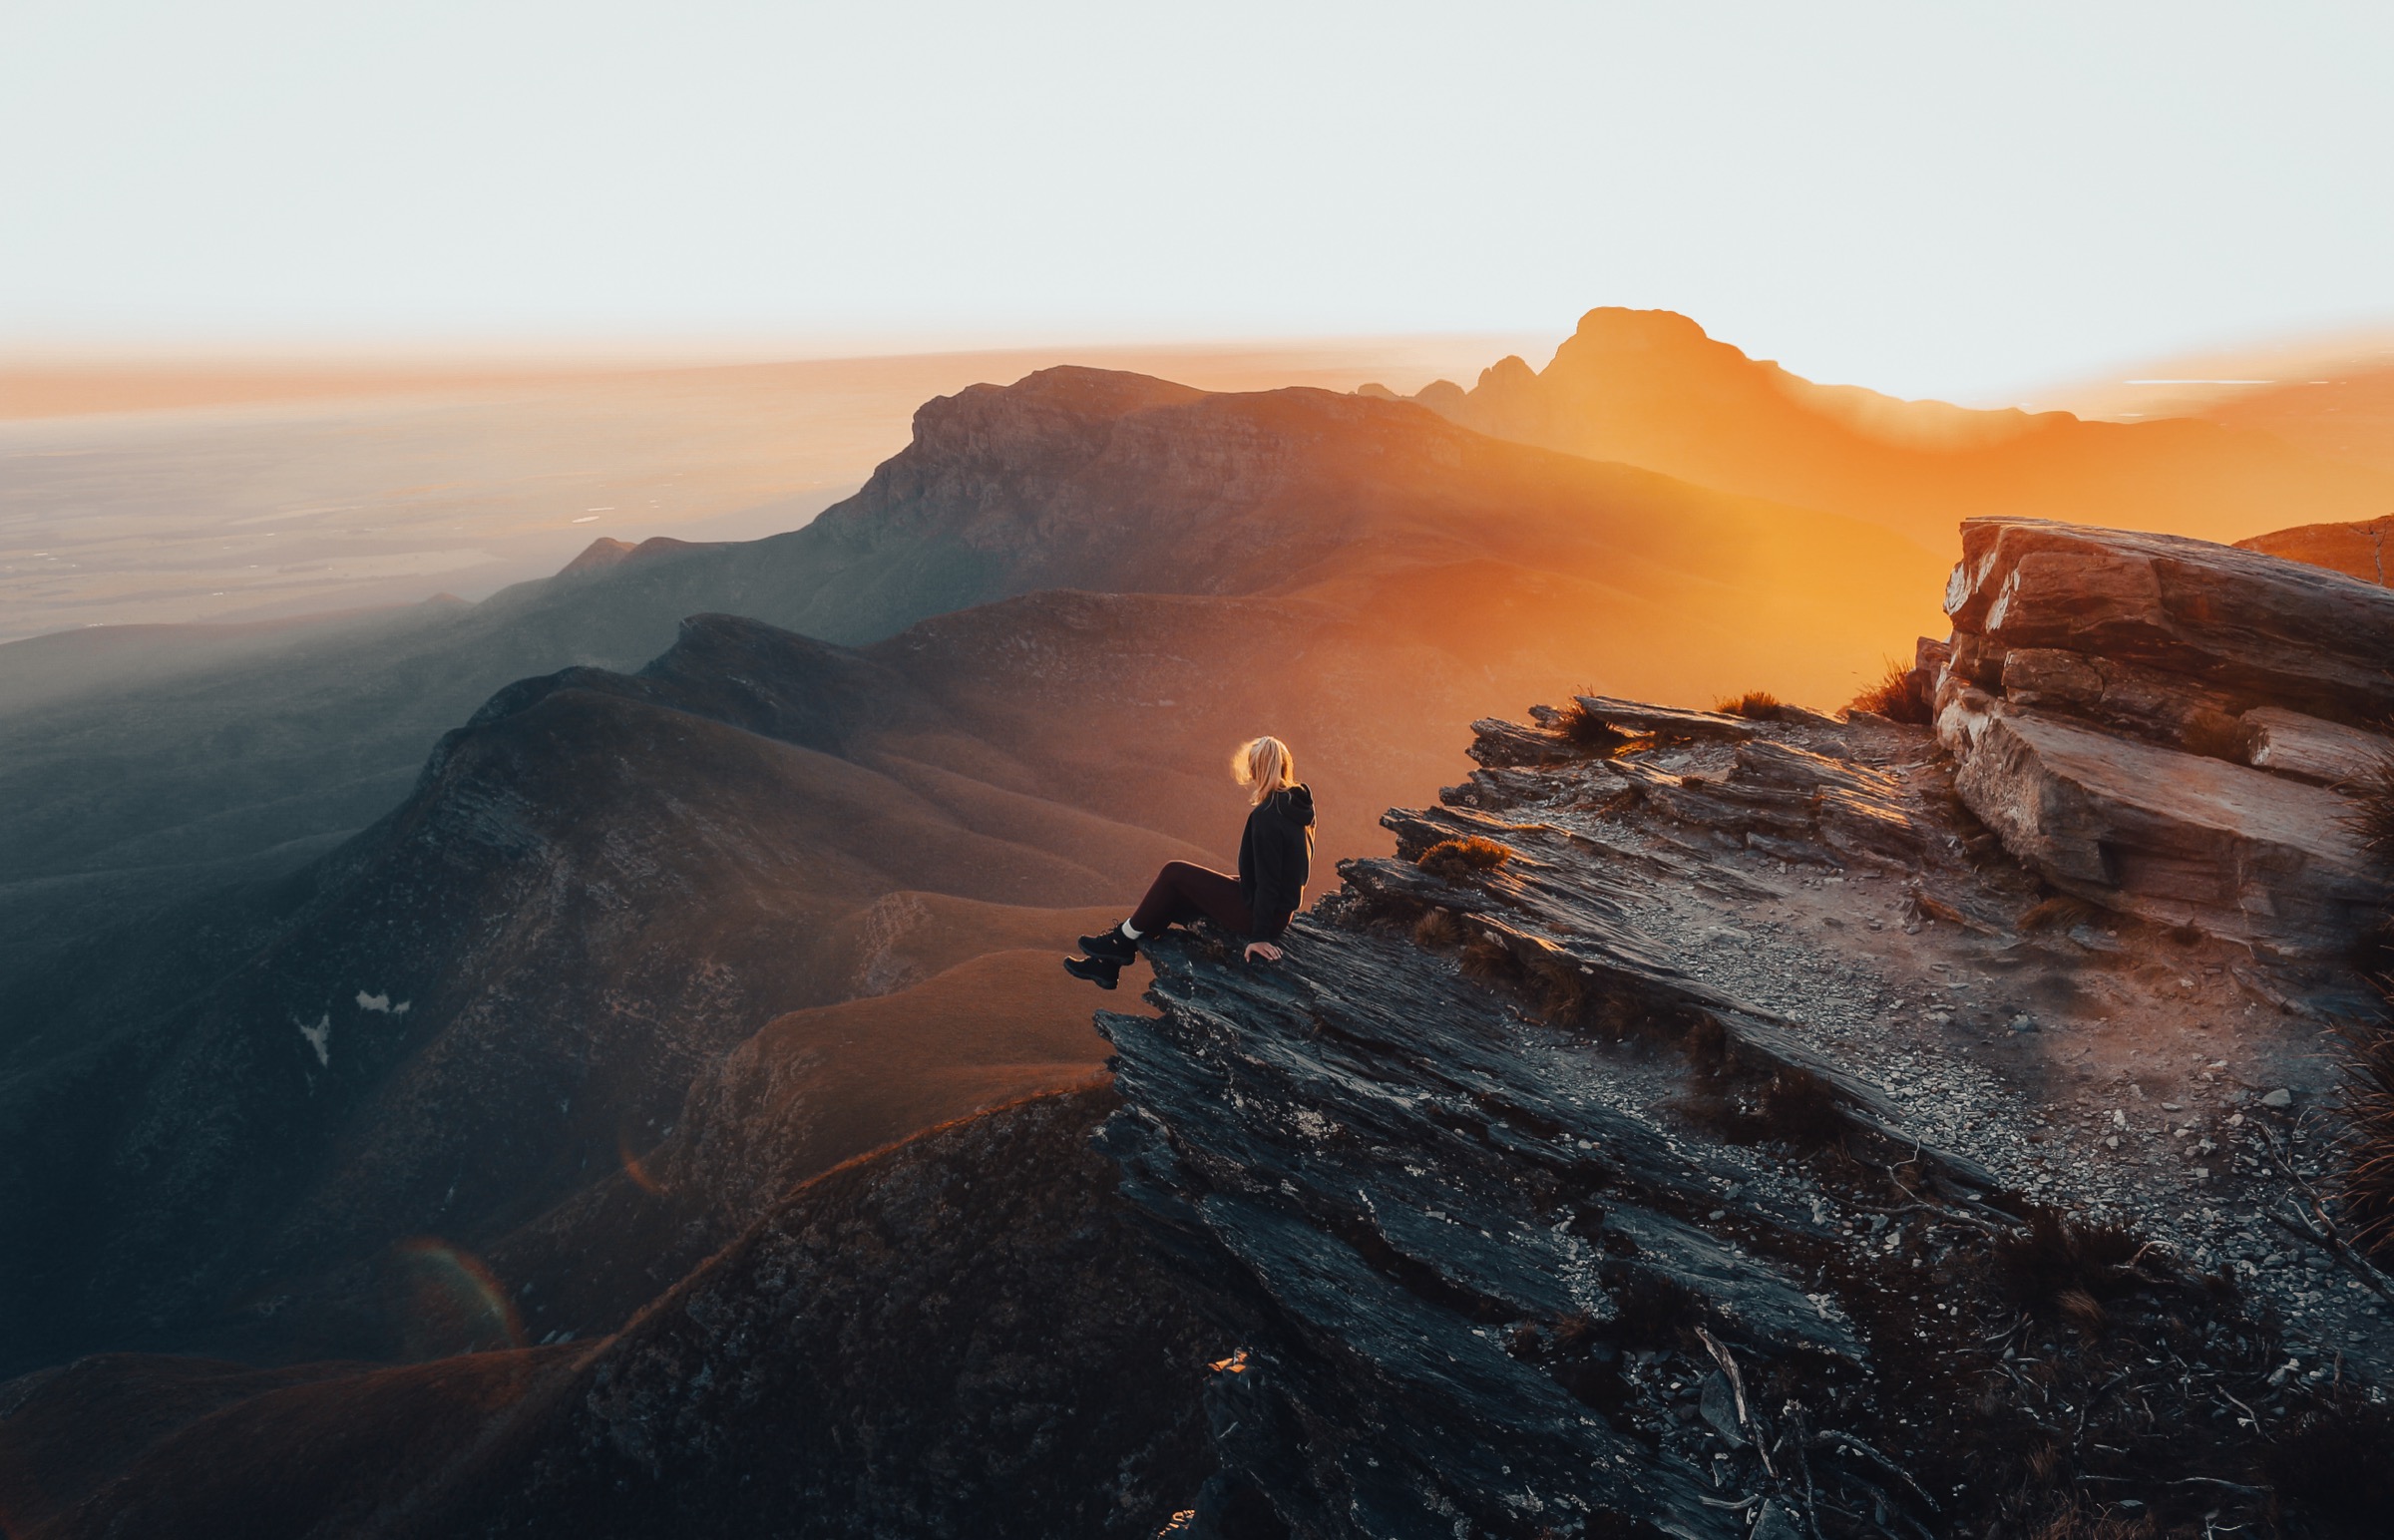
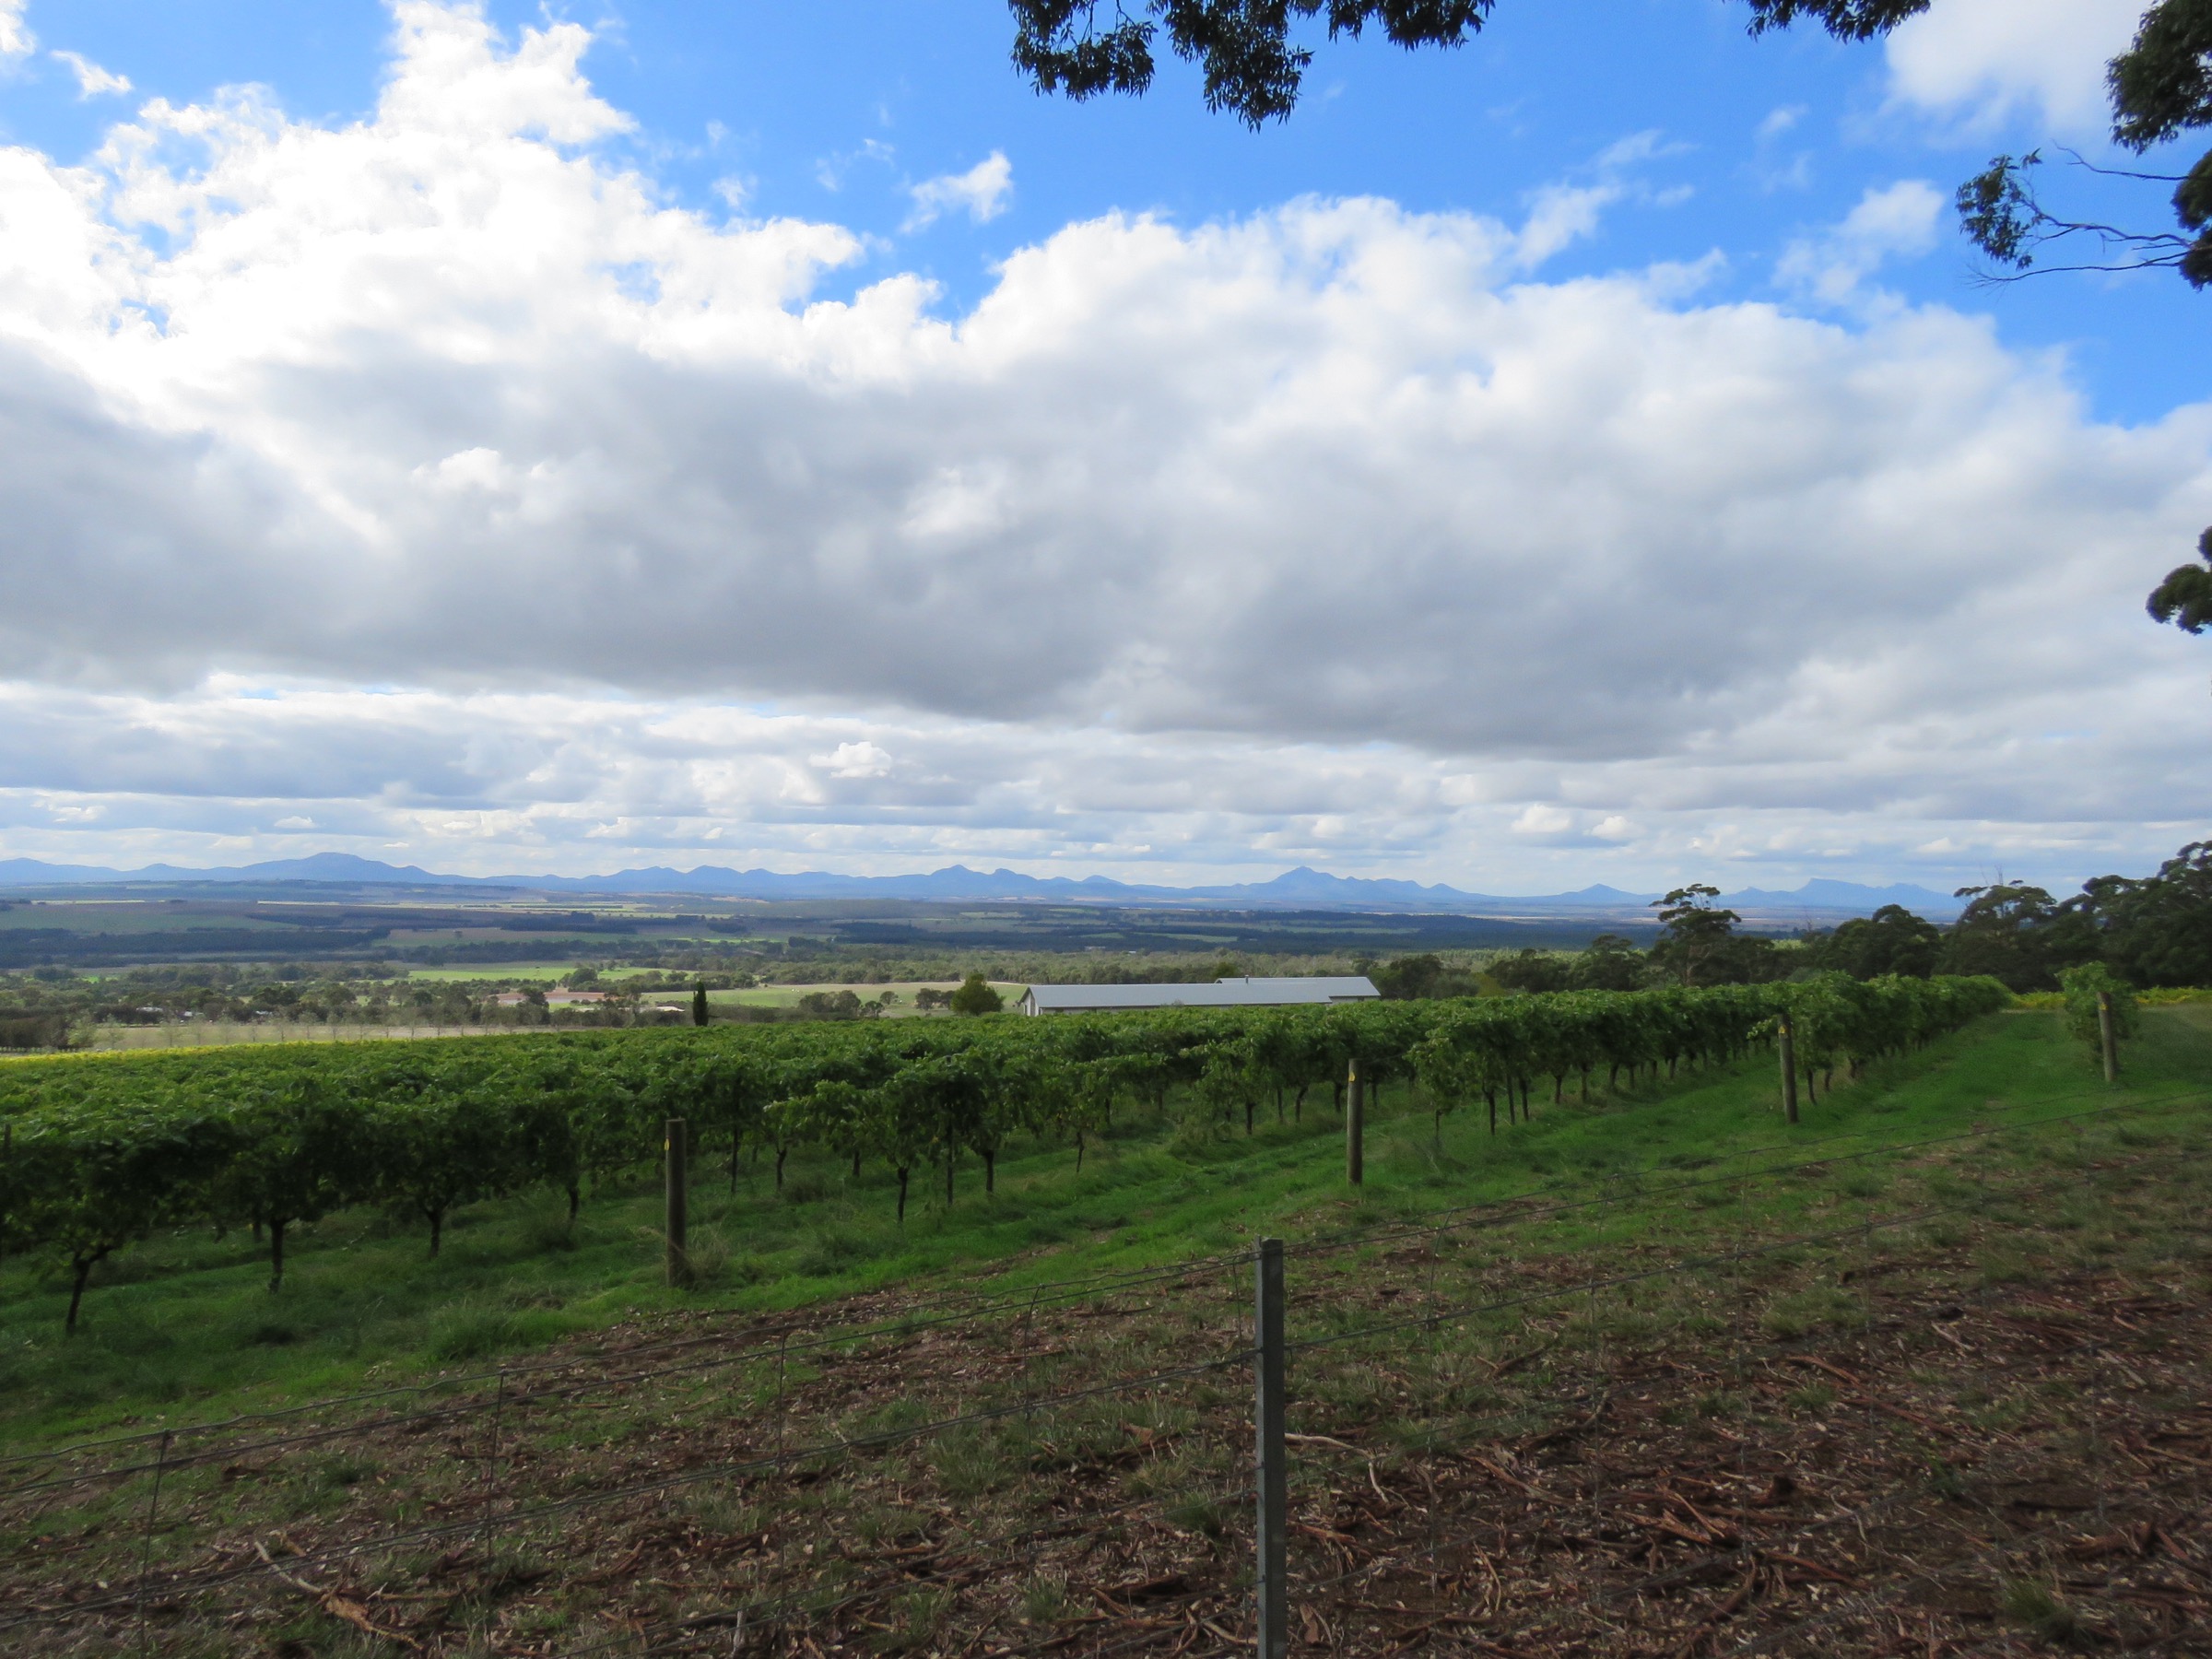
The central block of Stirling Range National Park runs roughly from Talyuberlup Peak in the west through Mount Magog, Toolbrunup Peak, Mount Hassell and Mount Trio to the eastern side of Chester Pass Road. It contains the highest cluster of peaks in Western Australia’s southern half and is the most heavily walked part of the range. Toolbrunup Peak (1,052 m) is the second-highest summit in the state’s south-west; Mount Trio (856 m) and Mount Hassell (827 m) sit north and south of the Chester Pass Road corridor and give more manageable summit days.
Geologically, the Stirlings are a folded belt of Proterozoic sandstones and shales — much older and softer than the granite domes of the Porongurups, and heavily eroded into sharp quartzite ridges. The soils are shallow, acidic and famously fragile; walkers must stay on marked routes. The range is Menang and Goreng (Koreng) Noongar country. The Noongar name for the range is Koi Kyeunu-ruff, understood by Elders to reference mist and cloud on the peaks; the individual Noongar names for peaks are not all publicly recorded, and DBCA asks visitors to treat the summits with quiet respect.
Weather is the defining feature. Peaks intercept Southern Ocean fronts and can go from clear to storm in under an hour. Lightning strikes on exposed summit ridges have killed walkers; several fatalities and rescues in the last two decades are directly attributed to being caught high on Toolbrunup or Bluff Knoll during frontal passages. Winter (June–August) brings the state’s only regular snow, and summer (December–February) brings extreme fire risk and heat above 35 °C. Autumn (March–May) and spring (September–November, peaking with the wildflower bloom) are the practical walking seasons.
Access is from Chester Pass Road, which cuts the park north–south, and from the unsealed Stirling Range Drive, which loops through the western half of the central block and passes the Central Lookout, Mount Magog and Talyuberlup trailheads. All central peaks lie inside Stirling Range National Park; a standard DBCA vehicle entry fee applies at some trailheads (Bluff Knoll to the east has fee infrastructure; central trailheads are typically fee-free at time of writing). Verify current arrangements at exploreparks.dbca.wa.gov.au before travel.
Selection rationale
The five walks were chosen to give a full picture of the central block in a single visit. Toolbrunup Peak is the signature strenuous summit — the second-highest in the south of Western Australia and the range’s most technical day walk. Mount Trio and Mount Hassell are the two moderate summits either side of Chester Pass Road, each with a distinct outlook, and are the recommended acclimatisation walks before a Toolbrunup or Bluff Knoll attempt. Talyuberlup Peak is the classic western outlier, a short, sharp scramble ending in a summit cave with views the length of the range. Central Lookout is the essential short walk — a 30-minute road-side spur off Stirling Range Drive that gives the widest single panorama of the central peaks and is the recommended first stop for anyone driving in for the day.
Summary
| # | Hike | Country | Route type | Distance | Gain | Max elevation | Difficulty |
|---|---|---|---|---|---|---|---|
| 1 | Toolbrunup Peak | Australia | Out-and-back | 4 km | ~536 m | 1,052 m | Grade 5 |
| 2 | Mount Trio | Australia | Out-and-back | 3.5 km | ~400 m | 856 m | Grade 4 |
| 3 | Mount Hassell | Australia | Out-and-back | 3 km | ~430 m | 827 m | Grade 4 |
| 4 | Talyuberlup Peak | Australia | Out-and-back | 2.6 km | ~362 m | 783 m | Grade 5 |
| 5 | Central Lookout | Australia | Out-and-back | ~0.8 km | ~33 m | ~510 m | Grade 2 |
1. Toolbrunup Peak
Snapshot
Itinerary
From the small car park at the end of the Toolbrunup access spur, the track heads south into open low woodland and begins climbing almost immediately. The first kilometre gains height steadily through banksia, myrtle and mallee heath on a rock-and-root path. Above the woodland the route enters a boulder-choked gully that forms the peak’s north face and climbs on hands as much as feet. Care with foot placement is essential; the gully holds loose scree and the route in places funnels rockfall from parties above.
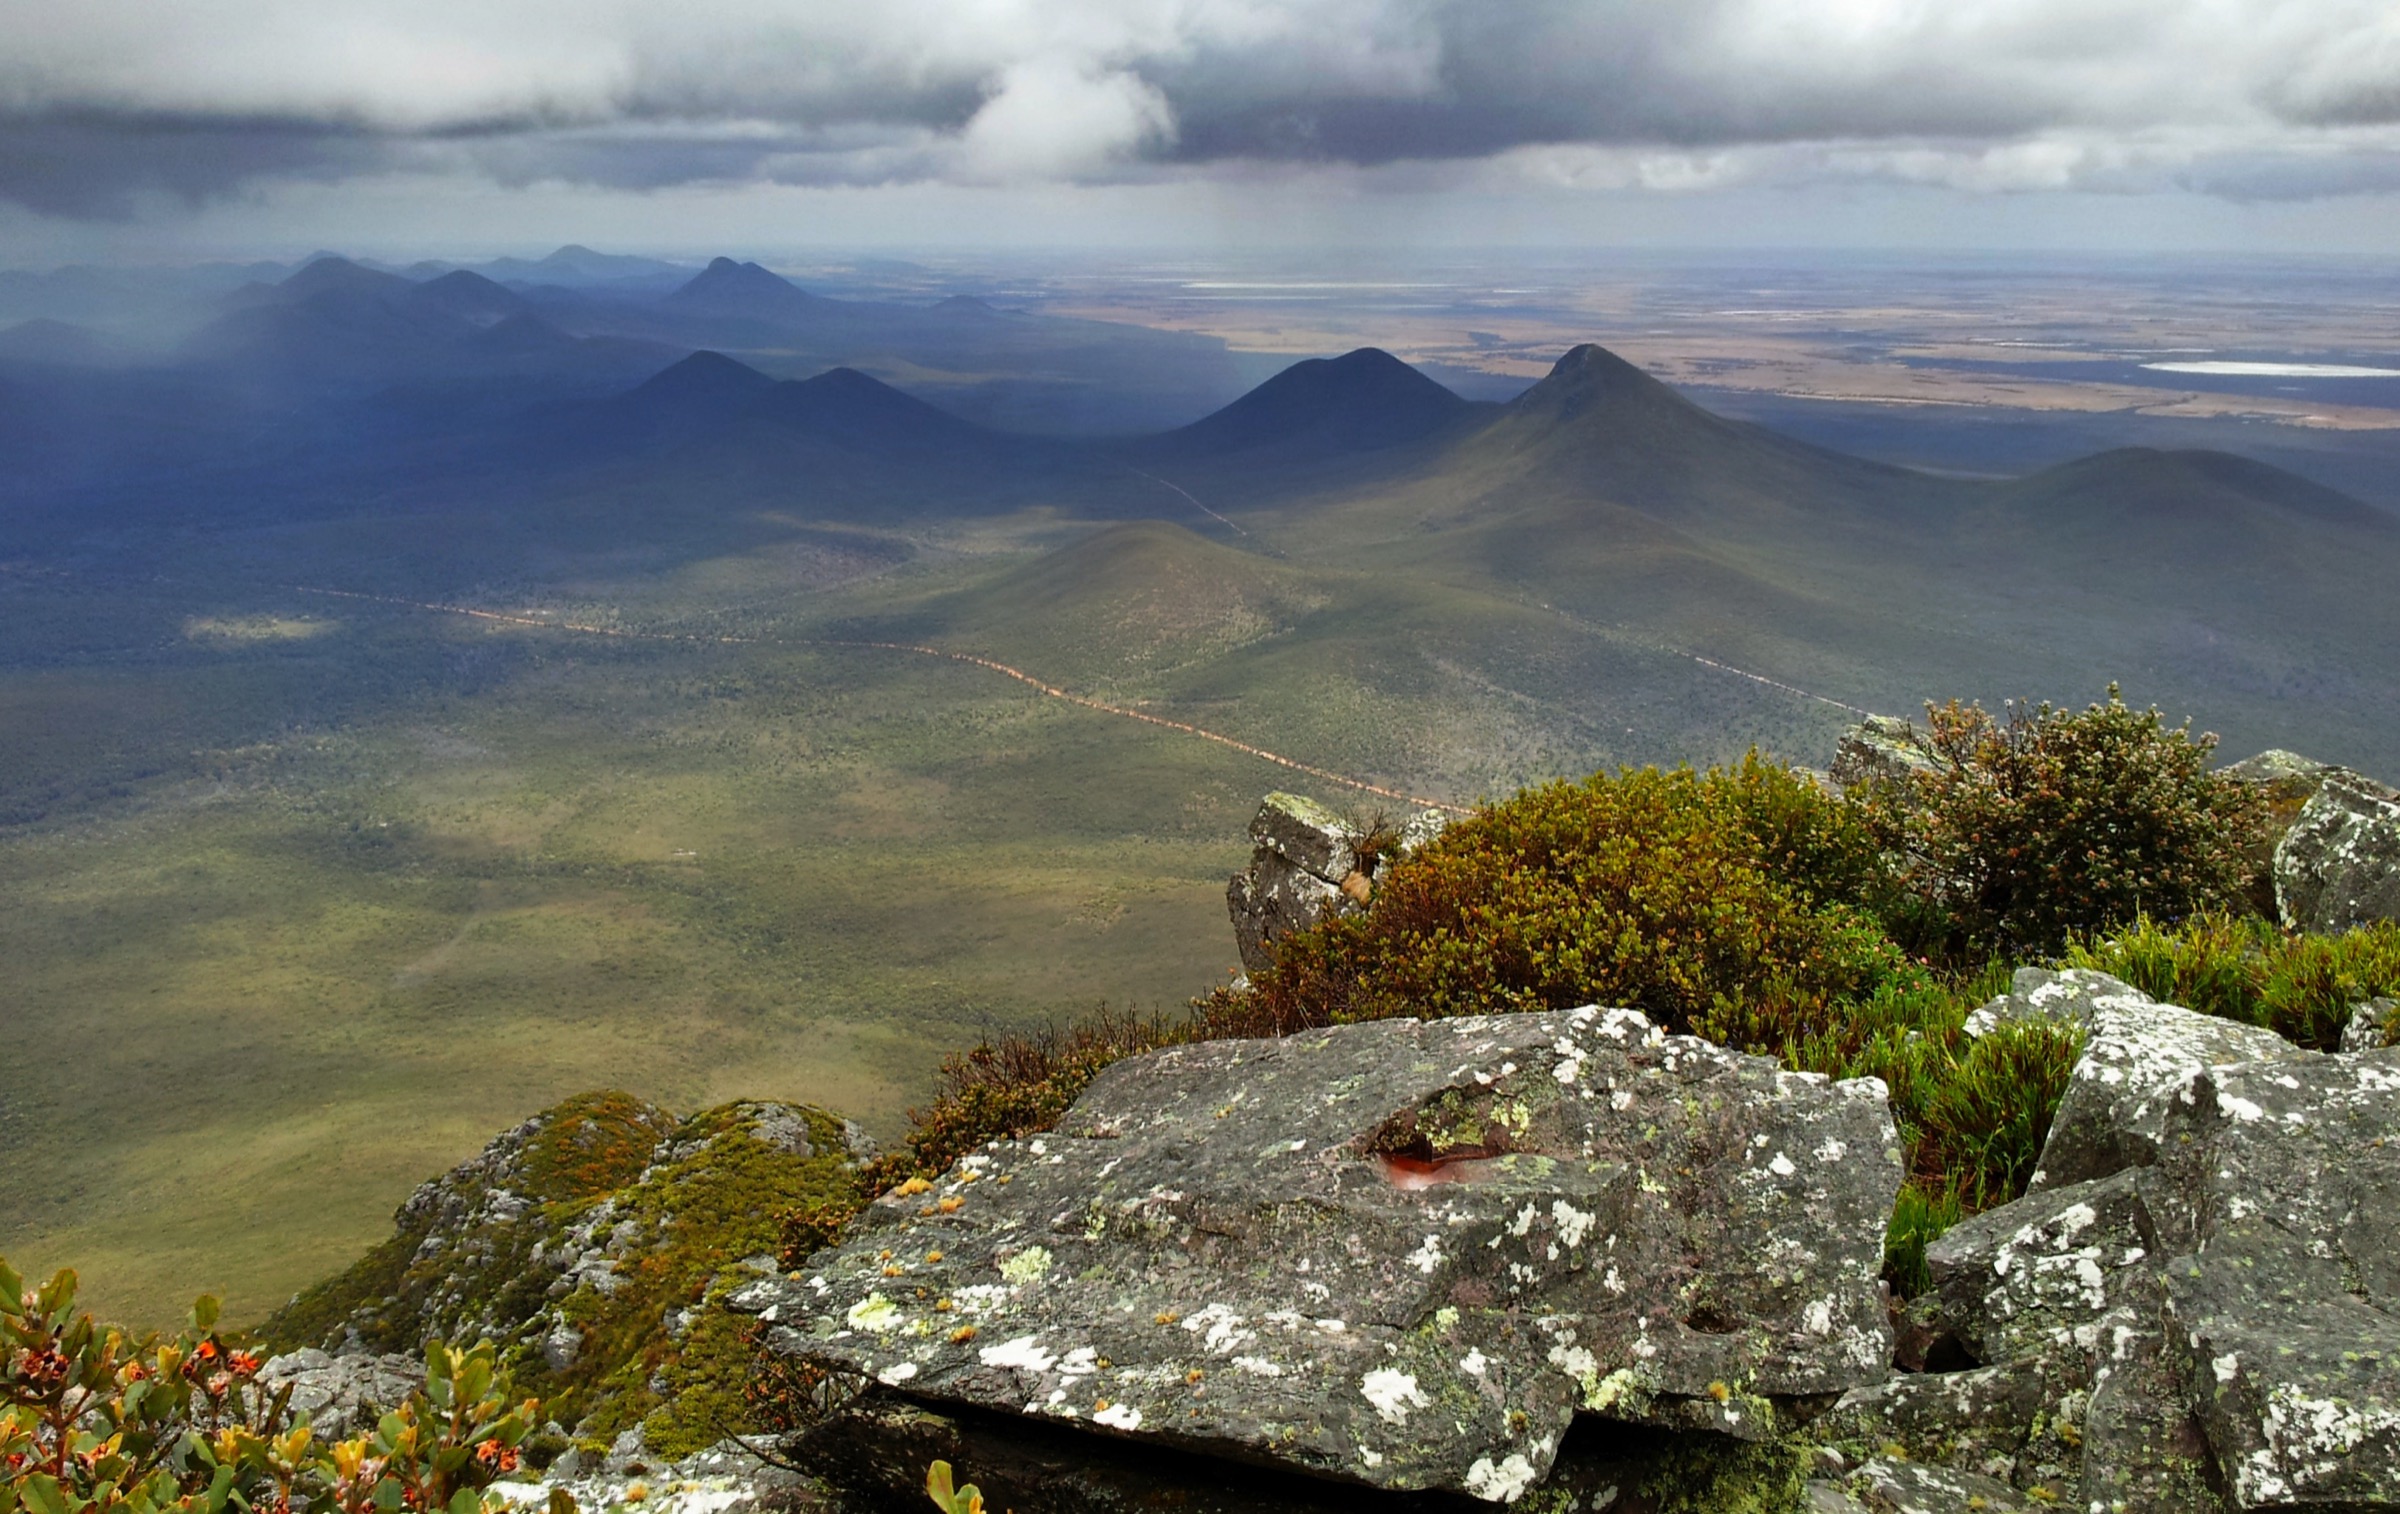
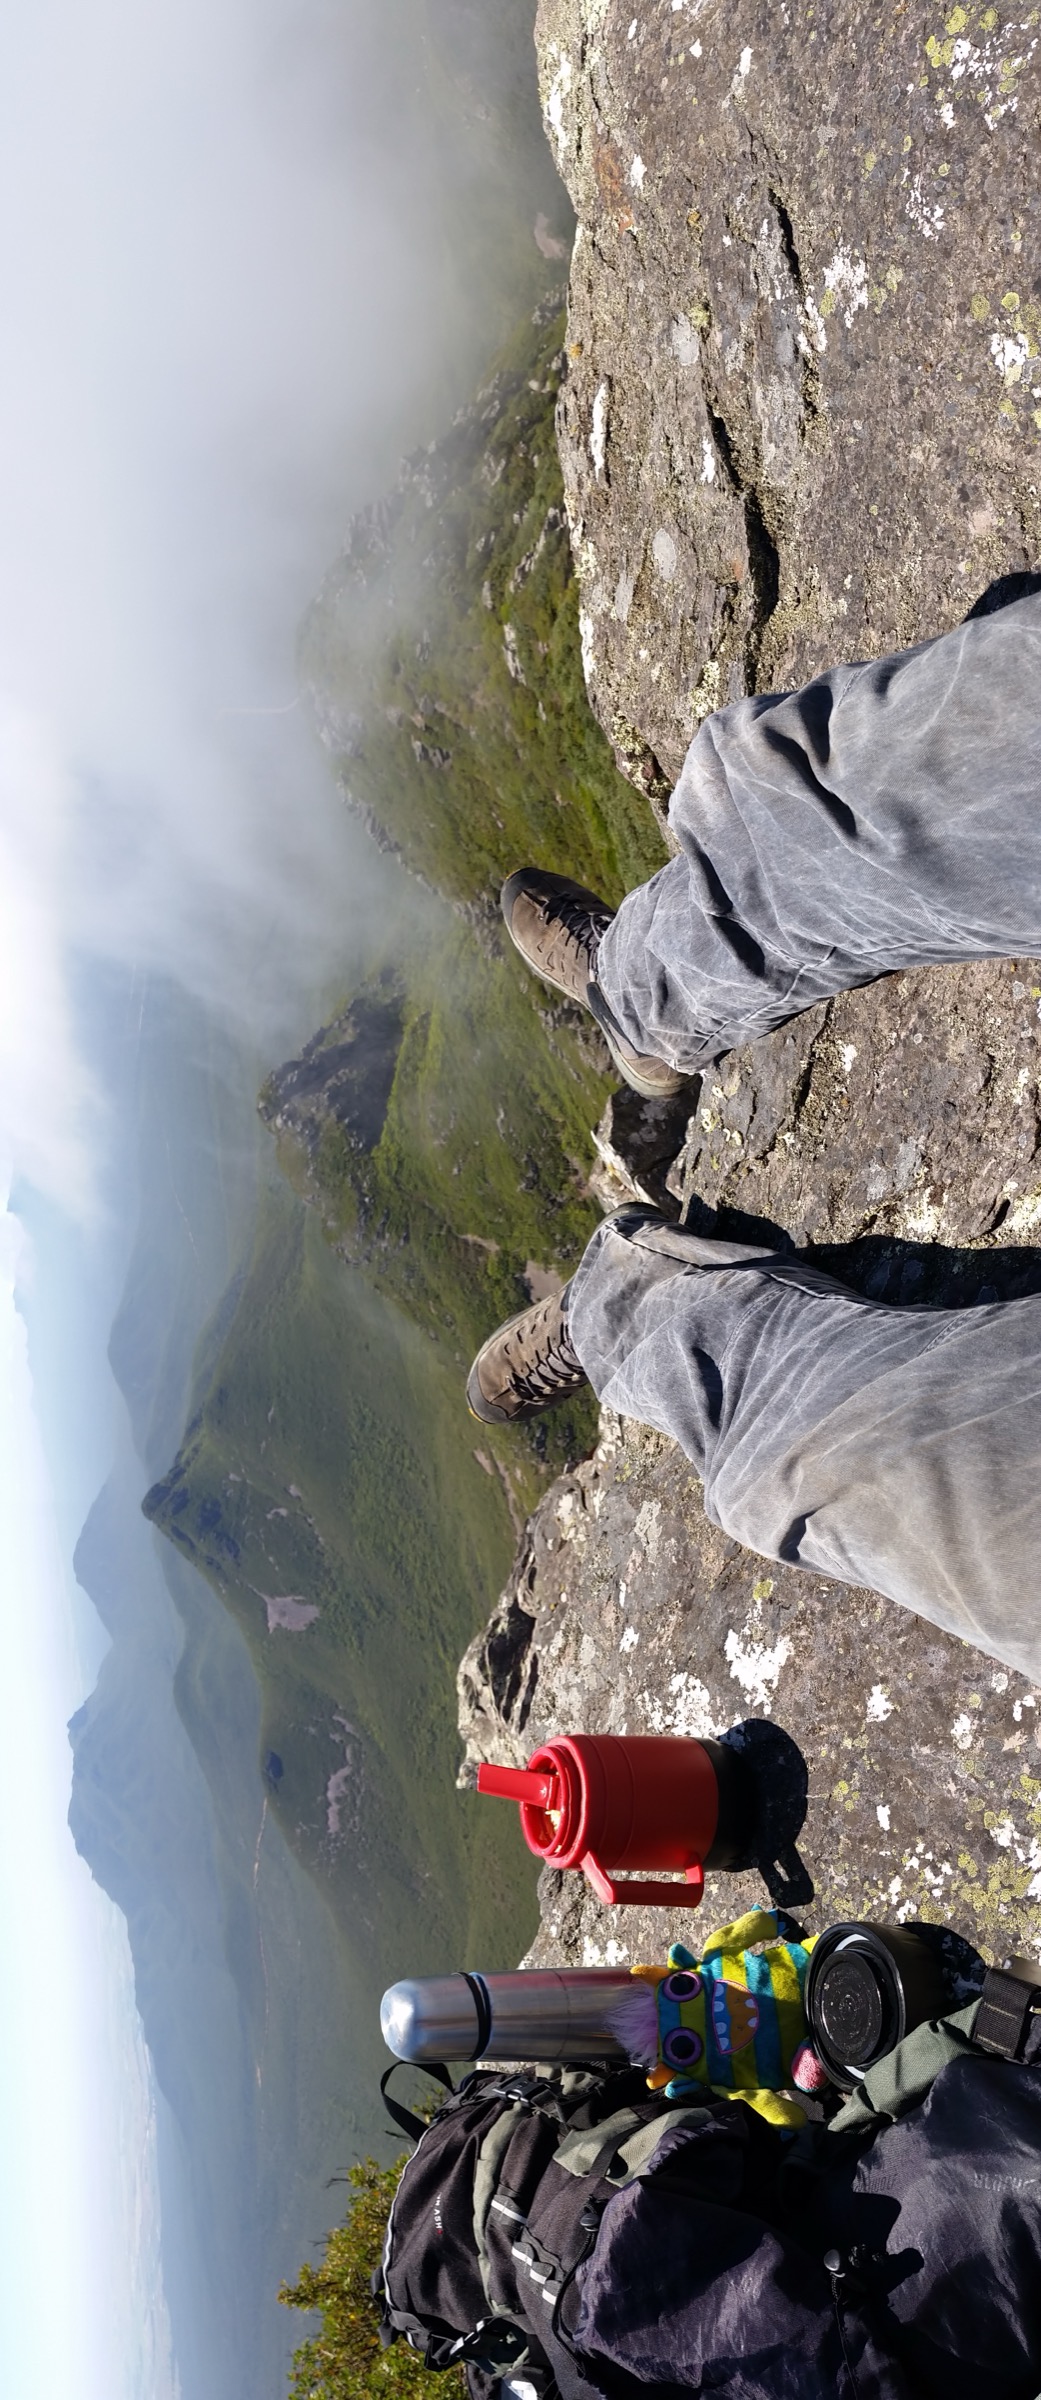
Near the top of the gully the track bears left and cuts up onto the summit ridge on quartzite slab. A short, exposed rock scramble leads to the summit cairn at 1,052 m. Views from the top cover the length of the Stirling Range — Bluff Knoll and Ellen Peak to the east, Mount Hassell close below, Talyuberlup and Mount Magog to the west, and the southern coastal plain toward Albany. Return by the same route; the descent is longer and more strenuous than the ascent because the loose gully requires care under gravity.
Why it is essential
Toolbrunup is the range’s classic strenuous summit and the second-highest peak in the south of Western Australia. It gives the most complete summit view of the central block and is the definitive test-piece for anyone building up to a self-supported traverse of the range. DBCA lists it as one of the four “peak” day walks in the park.
Equipment
- Sturdy hiking boots with good sole grip (essential on scree)
- Weatherproof shell and warm layer, even in summer
- Water: 2–3 litres per person
- Food for a long half-day
- Hat, sun protection, sunglasses
- Basic first-aid kit
- Emergency communicator (PLB or satellite messenger) recommended
- Trekking poles are useful for descent
- Helmet is worth considering if climbing behind a large party in the scree gully
Hazards and notes
The gully section is genuine scrambling, not walking, and the descent is where injuries most commonly occur. Weather is the primary hazard: fronts arrive quickly from the south-west, and lightning has killed walkers on the range’s exposed summits. Turn back at the base of the gully if visibility drops, wind rises, or cloud is dropping onto the ridge. There is no water on route. Snakes are possible in warmer months. Dogs are not permitted in Stirling Range National Park.
GPX / route file
| Source | URL | Format | Licence / terms | Reuse |
|---|---|---|---|---|
| DBCA “Explore Parks WA” — Toolbrunup Peak | exploreparks.dbca.wa.gov.au | Web description; no direct GPX | Copyright DBCA; text reuse restricted | Reference only |
| Trails WA — Toolbrunup Peak | trailswa.com.au | Web description; map view | Copyright Trails WA | Reference only |
| OpenStreetMap — Toolbrunup Peak track | osm.org | OSM way data | ODbL | Reusable with attribution |
| trailhiking.com.au — Toolbrunup Peak | trailhiking.com.au | Web + GPX download | Site-specific terms | Verify before reuse |
Sources
- DBCA — Explore Parks WA, Stirling Range National Park page
- Trails WA — Toolbrunup Peak trail entry
- trailhiking.com.au — Toolbrunup Peak trail entry
- OpenStreetMap track and elevation data
2. Mount Trio
Snapshot
Itinerary
From the Mount Trio car park the track climbs steeply through open woodland on the peak’s south-eastern flank. A steady zig-zag on packed rock and gravel gains most of the height in the first kilometre. The gradient eases briefly at a shoulder before a final rock-step section leads onto the summit ridge. The peak carries three distinct high points — the “trio” of the name — and the marked track ends at the middle summit at 856 m.
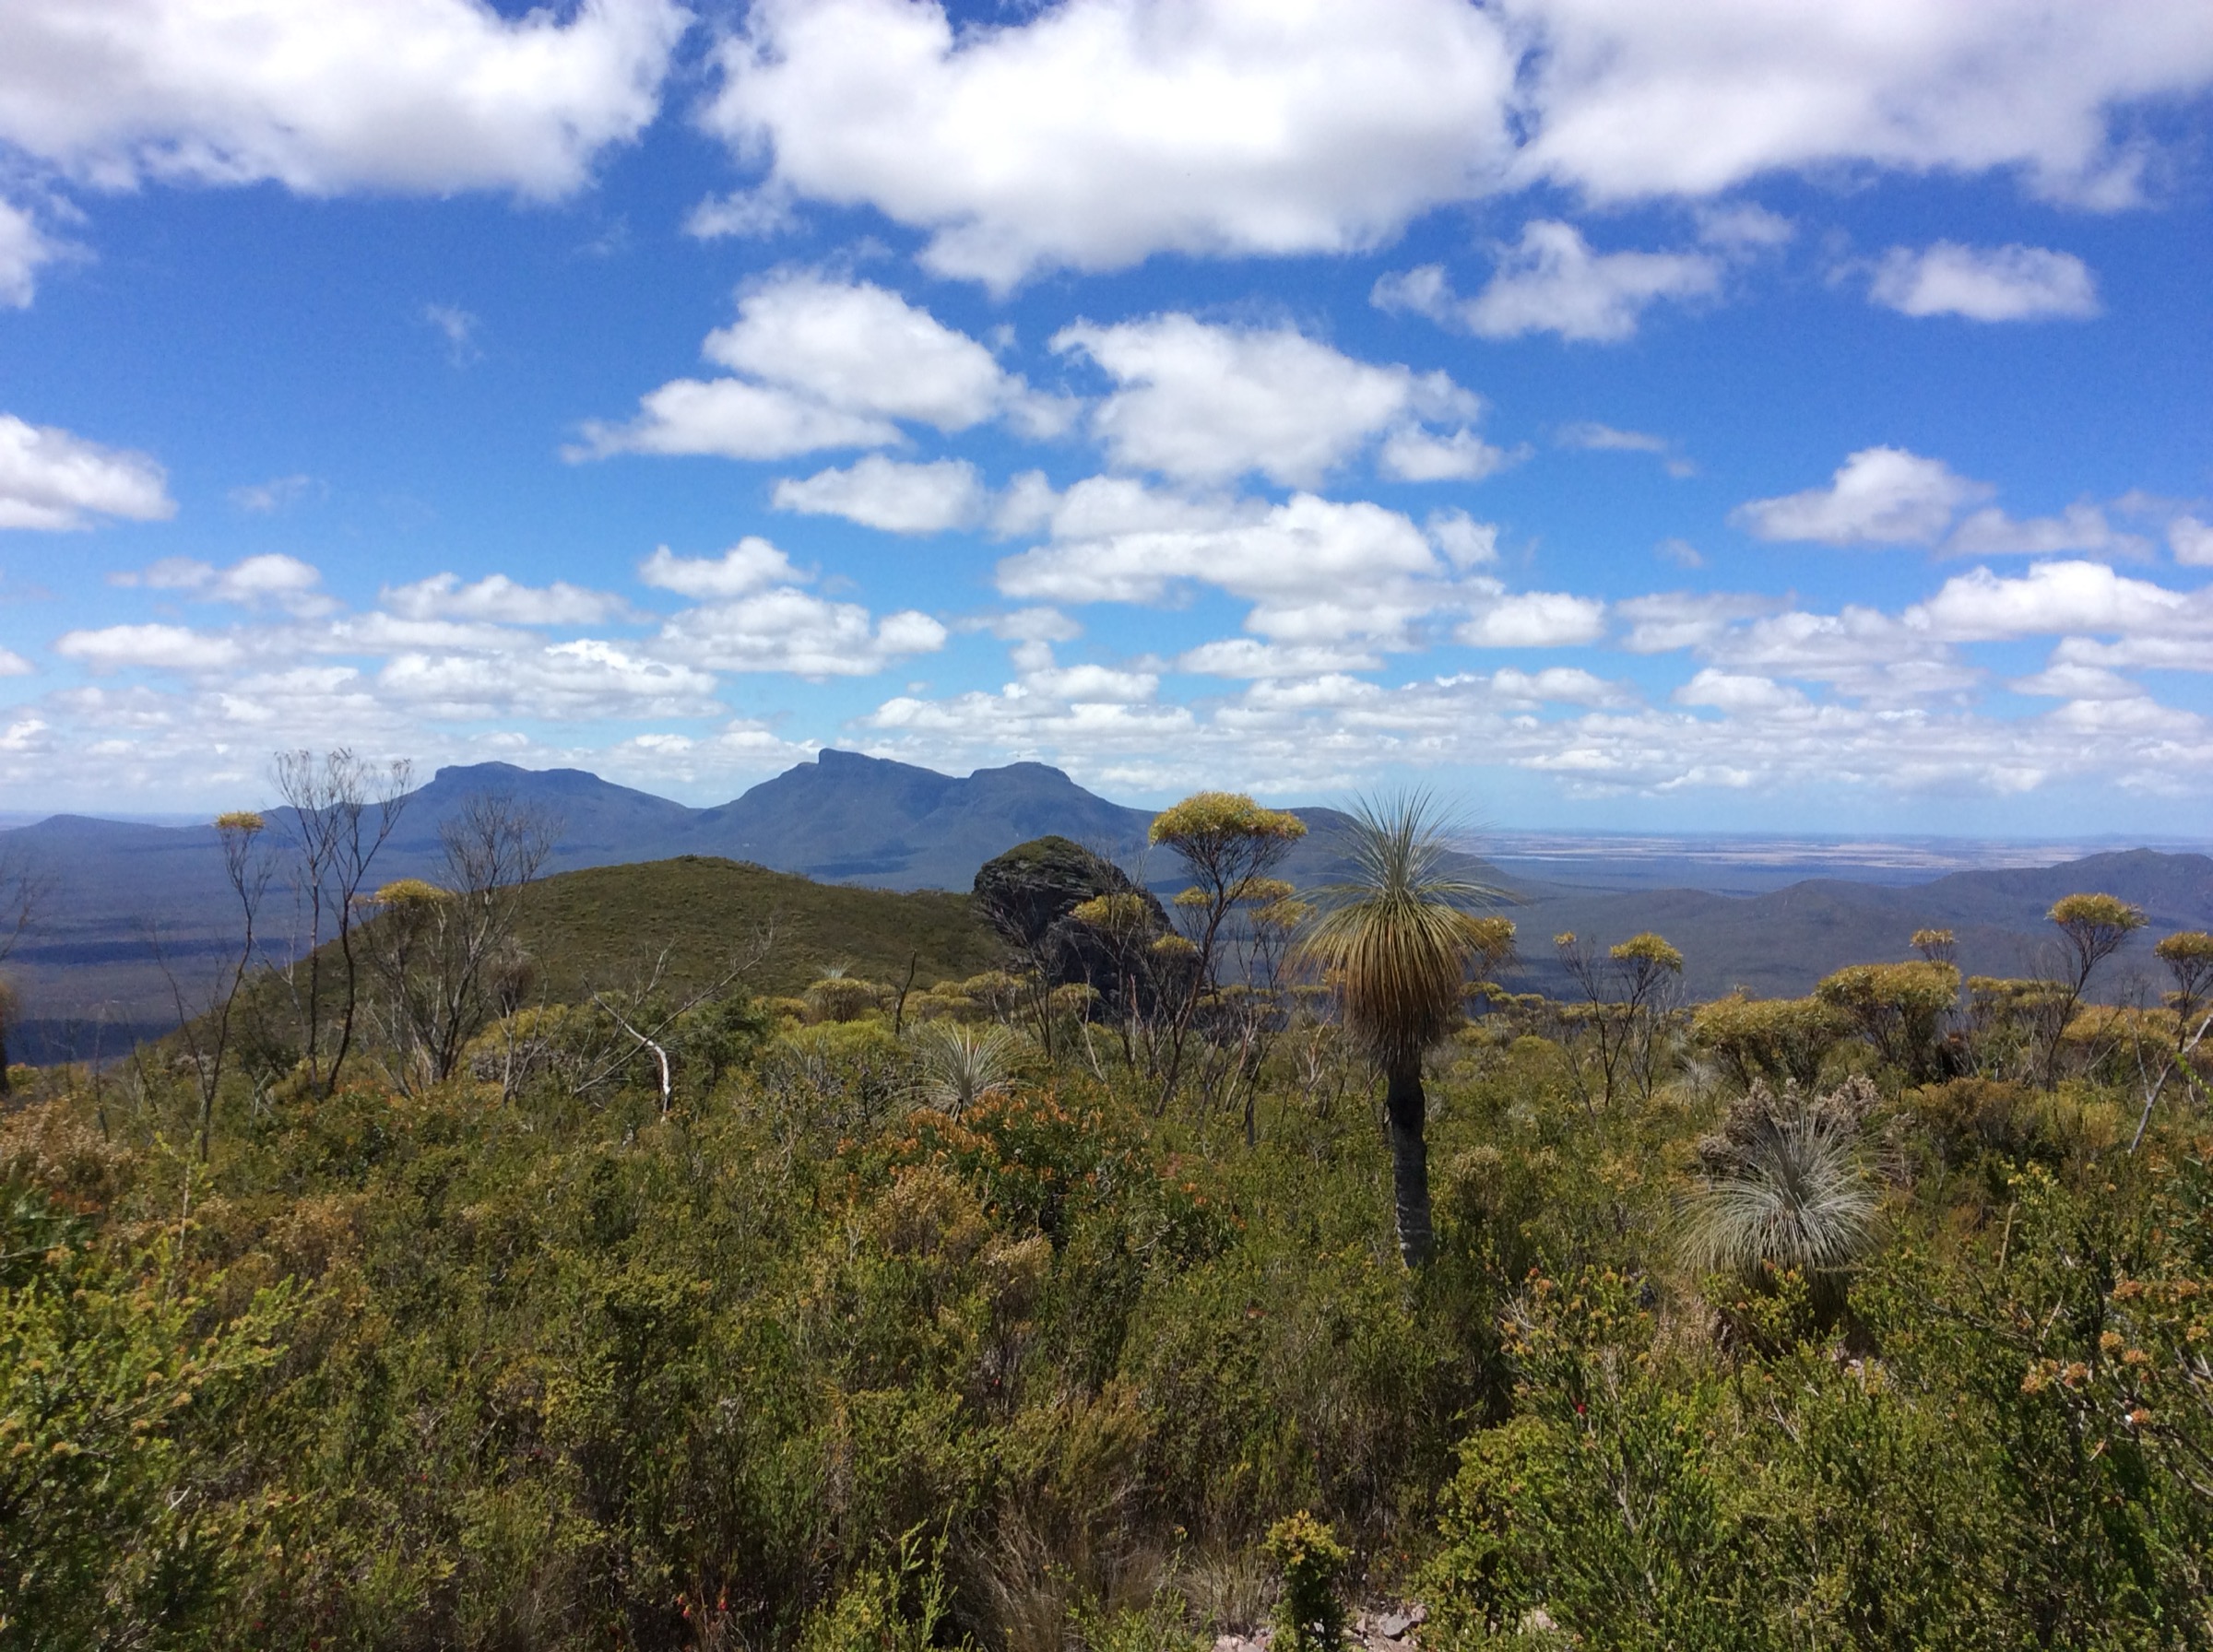
Views open across the northern plain to the wheatbelt and south across Chester Pass to Toolbrunup and Bluff Knoll. In wildflower season (September–November) the summit heath is one of the richest small floras in the range, with mountain bells (Darwinia) and several range-endemic species. Return by the same route.
Why it is essential
Mount Trio is the recommended half-day summit for anyone entering the range for the first time. It sits on the north side of Chester Pass Road with an unusually clear view over the taller central peaks, and its short length and moderate grading make it a manageable day even after a long drive from Perth or Albany.
Equipment
- Sturdy hiking boots
- Weatherproof shell and warm layer
- Water: 1.5–2 litres per person
- Food for a half-day
- Sun protection
- Trekking poles optional but useful on the steeper sections
Hazards and notes
The track is steep and gains most of its height in a single push, which is a common cause of turn-back on a hot day. Weather can shift quickly; carry warm layers even in summer. Wildflower dieback risk means that walkers must not leave the marked path. Dogs are not permitted.
GPX / route file
| Source | URL | Format | Licence / terms | Reuse |
|---|---|---|---|---|
| DBCA — Stirling Range NP page | exploreparks.dbca.wa.gov.au | Web description | Copyright DBCA | Reference only |
| Trails WA — Mount Trio | trailswa.com.au | Web description; map | Copyright Trails WA | Reference only |
| OpenStreetMap — Mount Trio track | osm.org | OSM way data | ODbL | Reusable with attribution |
| trailhiking.com.au — Mount Trio Hike | trailhiking.com.au | Web + GPX | Site-specific terms | Verify before reuse |
Sources
- DBCA — Explore Parks WA, Stirling Range National Park page
- Trails WA — Mount Trio Hike entry
- trailhiking.com.au — Mount Trio Hike entry
- OpenStreetMap track data
3. Mount Hassell
Snapshot
Itinerary
The track starts from a small pull-off on Stirling Range Drive and climbs directly onto the peak’s western spur through low mallee heath. The first section is a steady climb on a well-marked path; the middle section opens onto an exposed spur with clear views back to Toolbrunup. The upper section becomes rockier with short scrambly steps and the track picks a line up the peak’s flank onto a broad summit shoulder at 827 m.
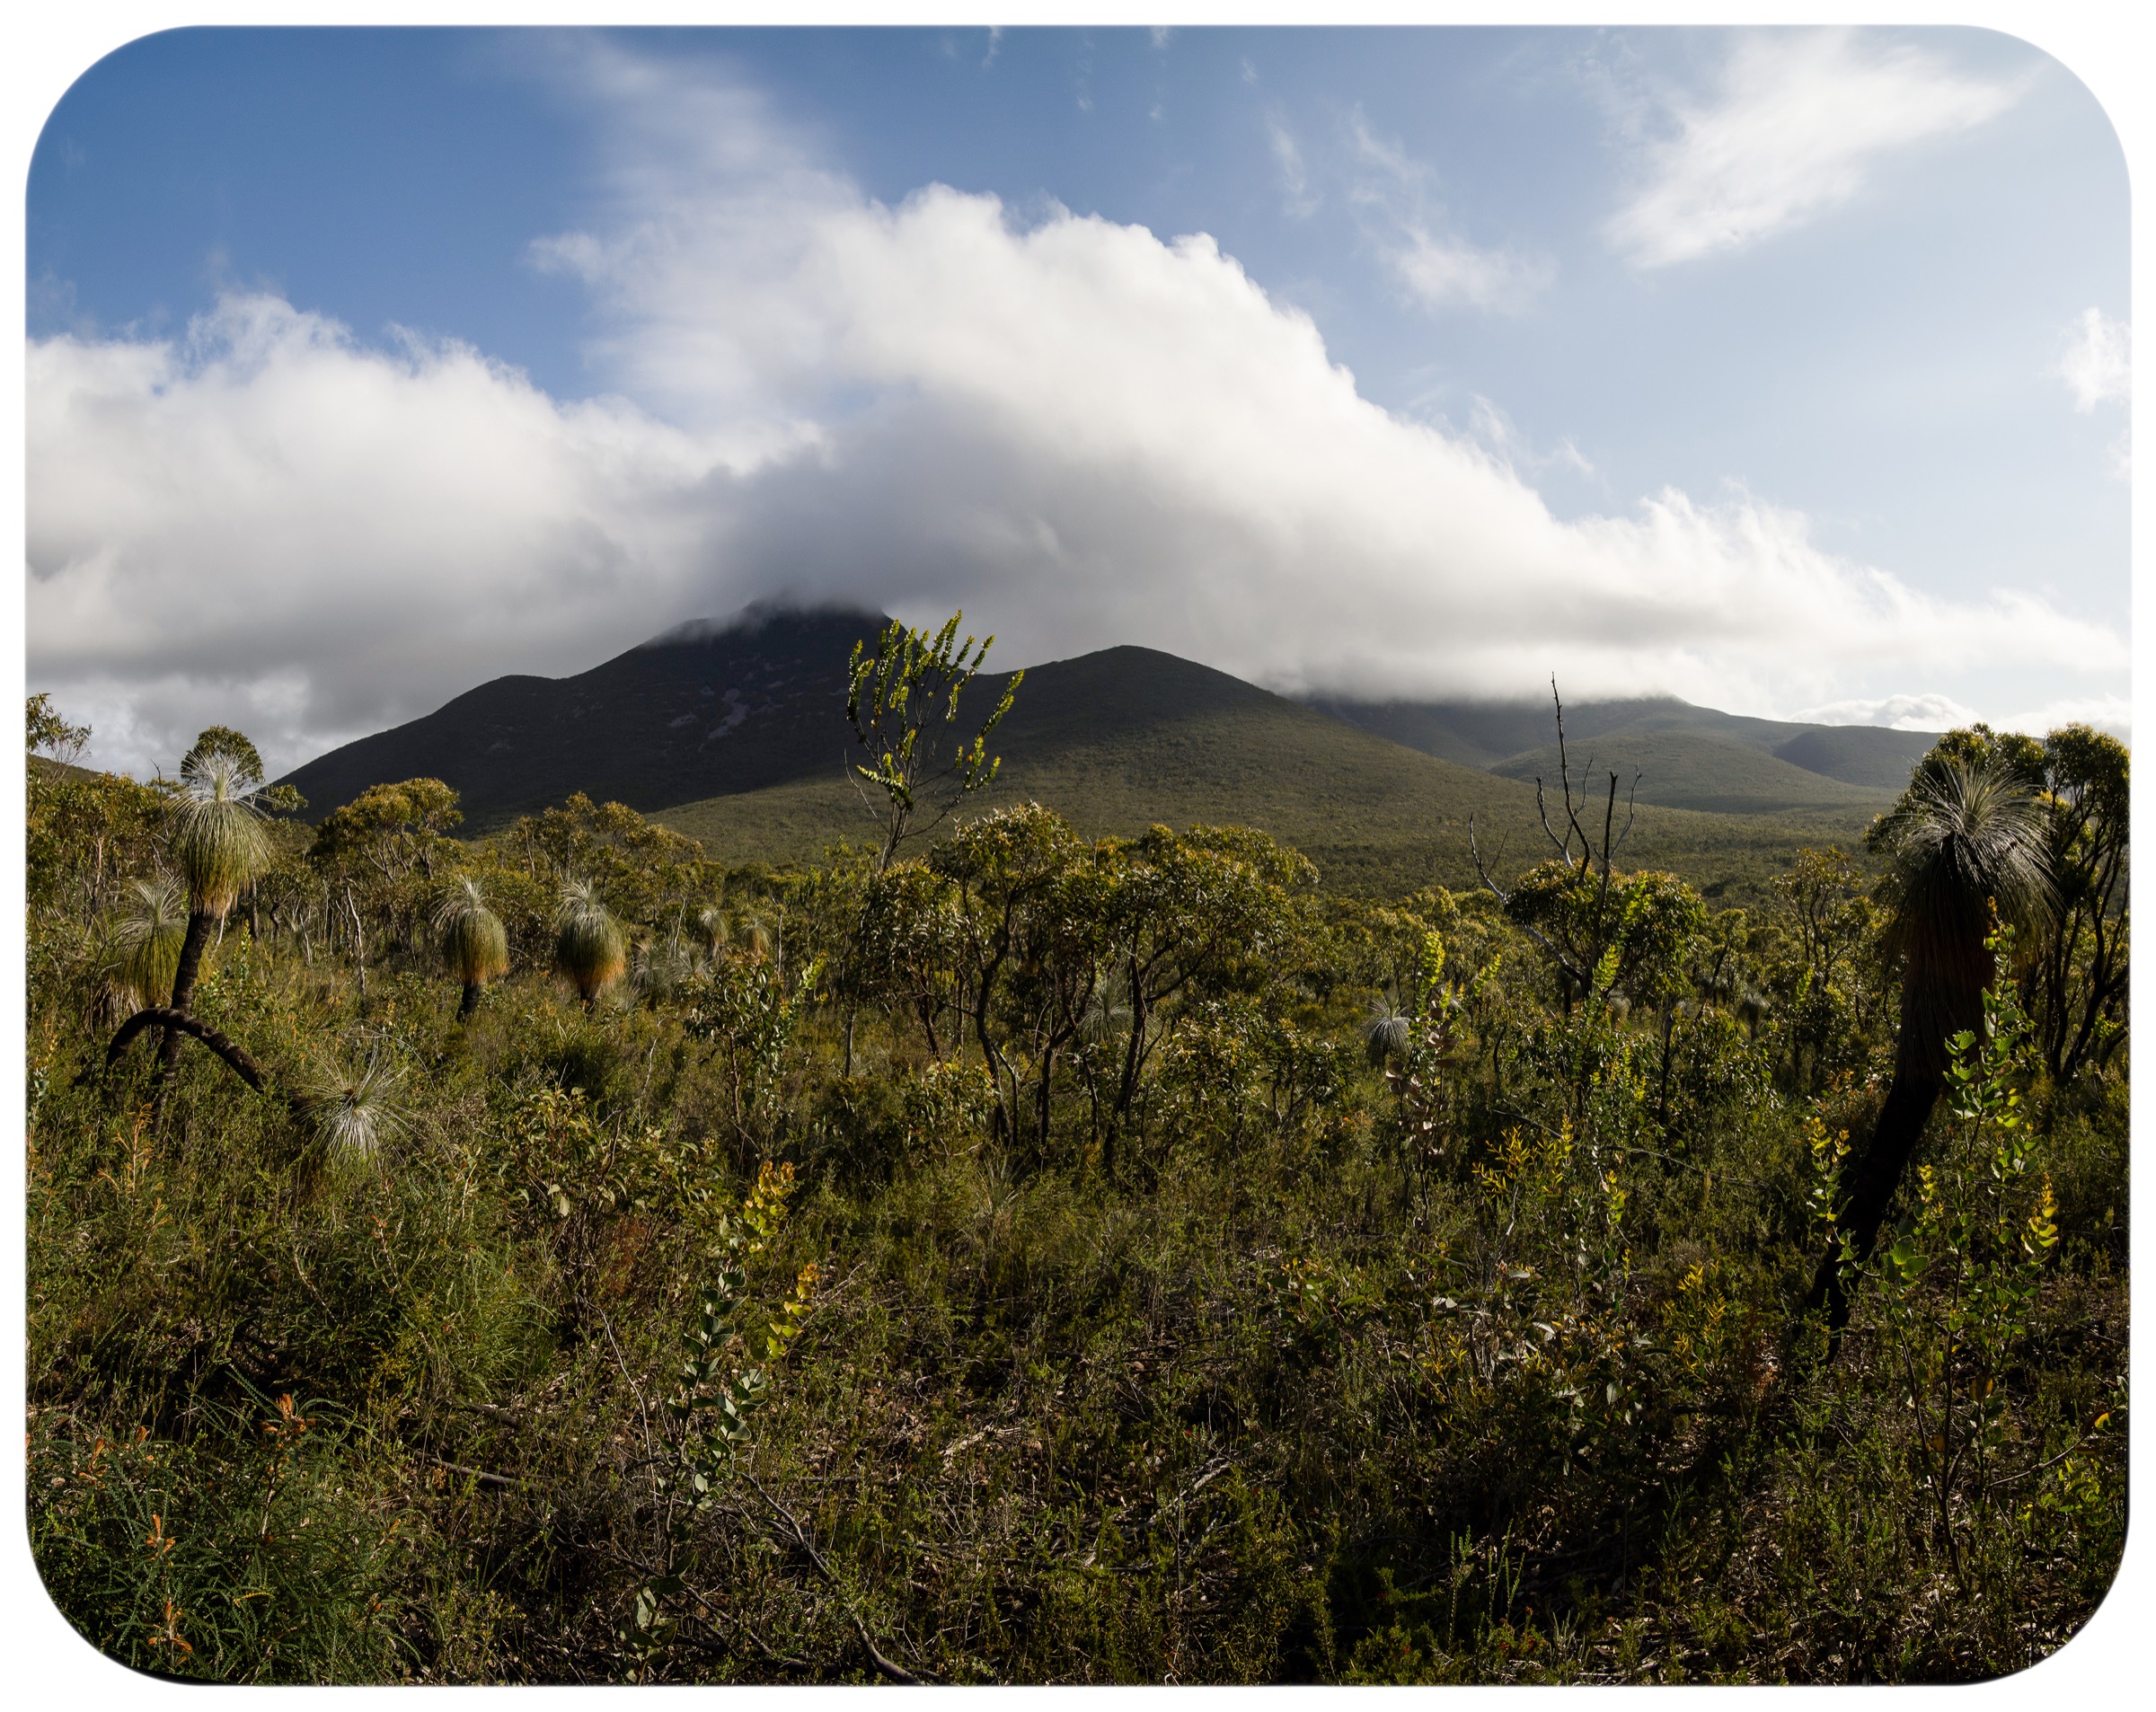
Views from the summit look east to Toolbrunup, west to Talyuberlup and Mount Magog, and south over the coastal plain. Return by the same route.
Why it is essential
Mount Hassell is the natural pair to Mount Trio. Sitting on the opposite side of Chester Pass Road, it gives the classic view of Toolbrunup’s north face and is often walked as a warm-up before a Toolbrunup attempt. It is one of the four DBCA-listed “peak” walks in the park.
Equipment
- Sturdy hiking boots
- Weatherproof shell and warm layer
- Water: 1.5–2 litres per person
- Sun protection
- Trekking poles optional
Hazards and notes
The upper track has short rocky steps and can be greasy after rain. Weather can shift quickly. Wildflower dieback control requires all walkers to stay on the marked path; boot-cleaning stations are provided at some trailheads. Dogs are not permitted.
GPX / route file
| Source | URL | Format | Licence / terms | Reuse |
|---|---|---|---|---|
| DBCA — Stirling Range NP page | exploreparks.dbca.wa.gov.au | Web description | Copyright DBCA | Reference only |
| Trails WA — Mount Hassell | trailswa.com.au | Web description; map | Copyright Trails WA | Reference only |
| OpenStreetMap — Mount Hassell track | osm.org | OSM way data | ODbL | Reusable with attribution |
| trailhiking.com.au — Mount Hassell | trailhiking.com.au | Web + GPX | Site-specific terms | Verify before reuse |
Sources
- DBCA — Explore Parks WA, Stirling Range National Park page
- Trails WA — Mount Hassell Hike entry
- trailhiking.com.au — Mount Hassell Hike entry
4. Talyuberlup Peak
Snapshot
Itinerary
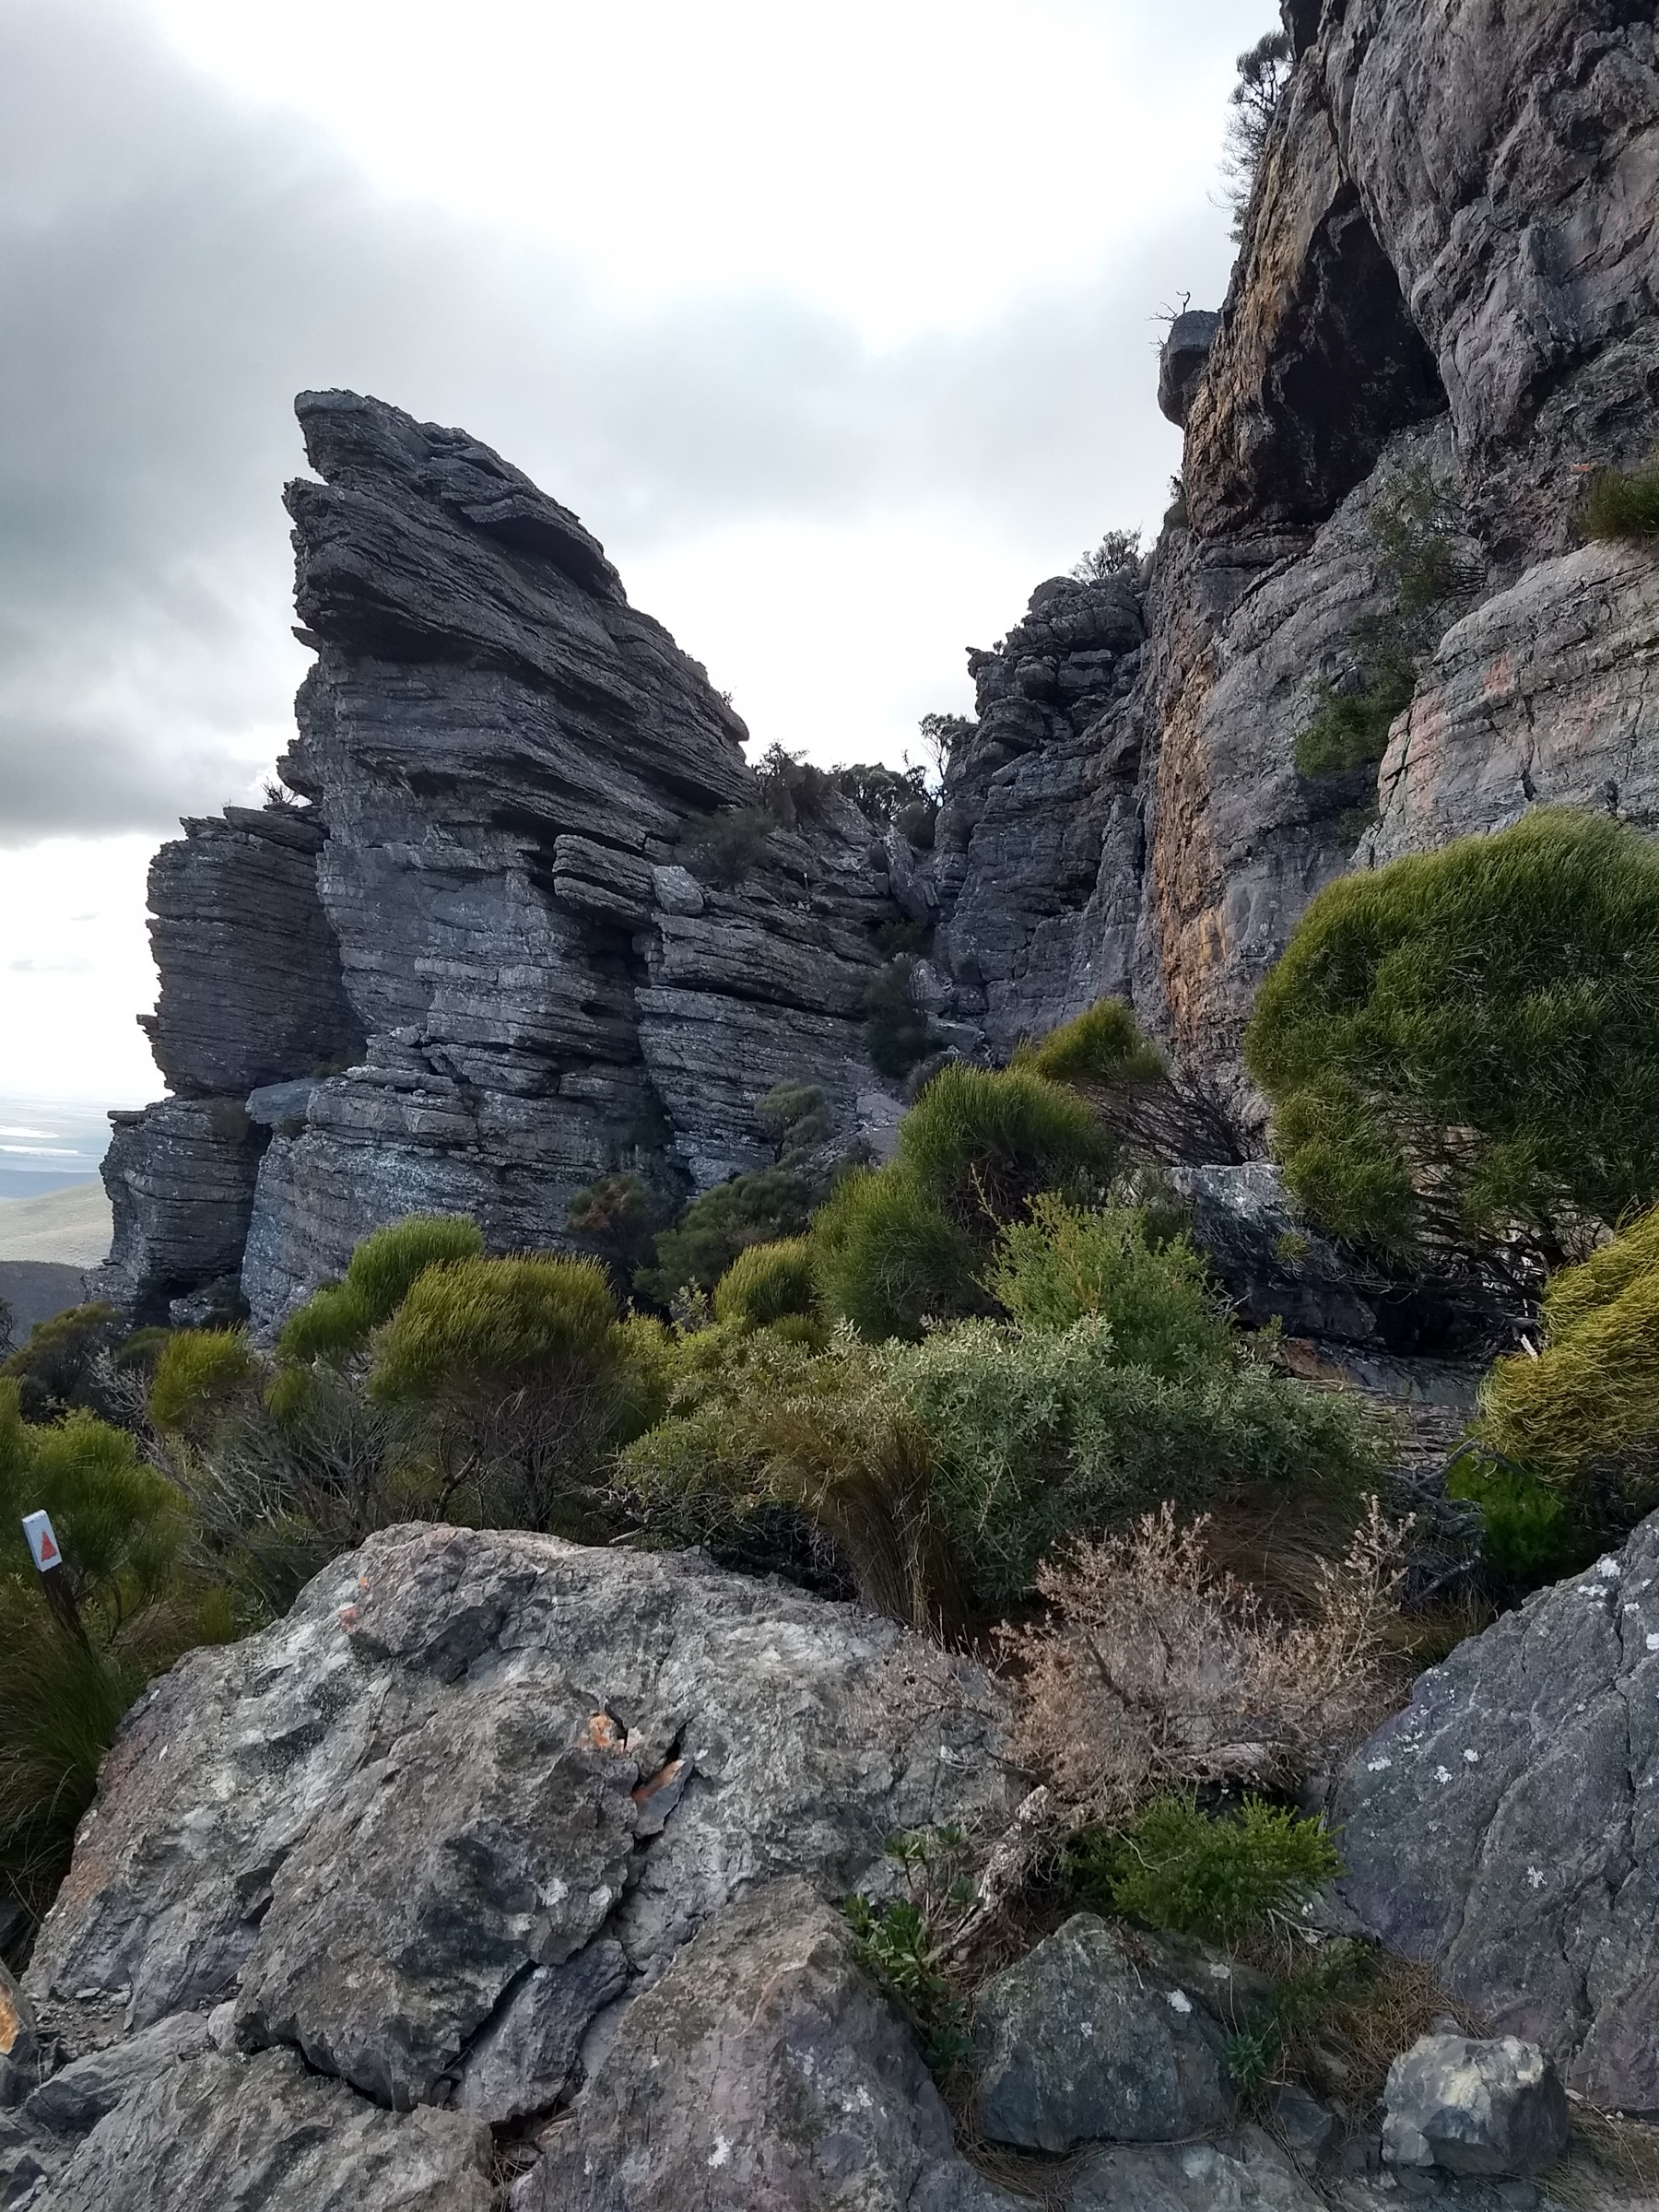
From a small pull-off on Stirling Range Drive the track climbs north-east through low mallee heath toward Talyuberlup’s south face. The first section is a steady walk on packed track. Above the woodland the track picks up a defined ramp between rock outcrops and gains height quickly. The final 200 m of ascent works up between broken cliffs on hands as much as feet, and the route emerges at a distinctive summit cave near the top of the peak.
From the cave a short exposed step leads onto the summit at 783 m. The view is one of the finest in the central block — Mount Magog immediately west, Toolbrunup and the eastern peaks in profile to the east, and the coastal plain south to the ocean. Descend by the same line; the upper scramble is more committing on the way down.
Why it is essential
Talyuberlup is the shortest of the range’s serious summit scrambles and gives the widest single view of the central block. It is often the first “big scramble” for walkers building up to Toolbrunup and Bluff Knoll, and the summit cave is one of the range’s photographed features.
Equipment
- Sturdy hiking boots with grippy soles
- Weatherproof shell and warm layer
- Water: 1.5–2 litres per person
- Sun protection
- Helmet worth considering if walking behind others in the scramble section
- Gloves useful on the upper rock
Hazards and notes
The upper scramble includes exposed moves and unprotected drops. Wet rock is dangerous. Weather is a serious hazard: lightning strikes have killed walkers on the range’s exposed summits, and Talyuberlup’s isolated cone makes it a lightning target. Do not commit to the upper section if cloud is dropping or wind is rising. Stirling Range Drive is unsealed and can be closed after heavy rain. Dogs are not permitted.
GPX / route file
| Source | URL | Format | Licence / terms | Reuse |
|---|---|---|---|---|
| DBCA — Stirling Range NP page | exploreparks.dbca.wa.gov.au | Web description | Copyright DBCA | Reference only |
| Trails WA — Talyuberlup Peak | trailswa.com.au | Web description; map | Copyright Trails WA | Reference only |
| OpenStreetMap — Talyuberlup Peak track | osm.org | OSM way data | ODbL | Reusable with attribution |
| trailhiking.com.au — Talyuberlup Peak | trailhiking.com.au | Web + GPX | Site-specific terms | Verify before reuse |
Sources
- DBCA — Explore Parks WA, Stirling Range National Park page
- Trails WA — Talyuberlup Peak Hike entry
- trailhiking.com.au — Talyuberlup Peak Hike entry
5. Central Lookout
Snapshot
Itinerary
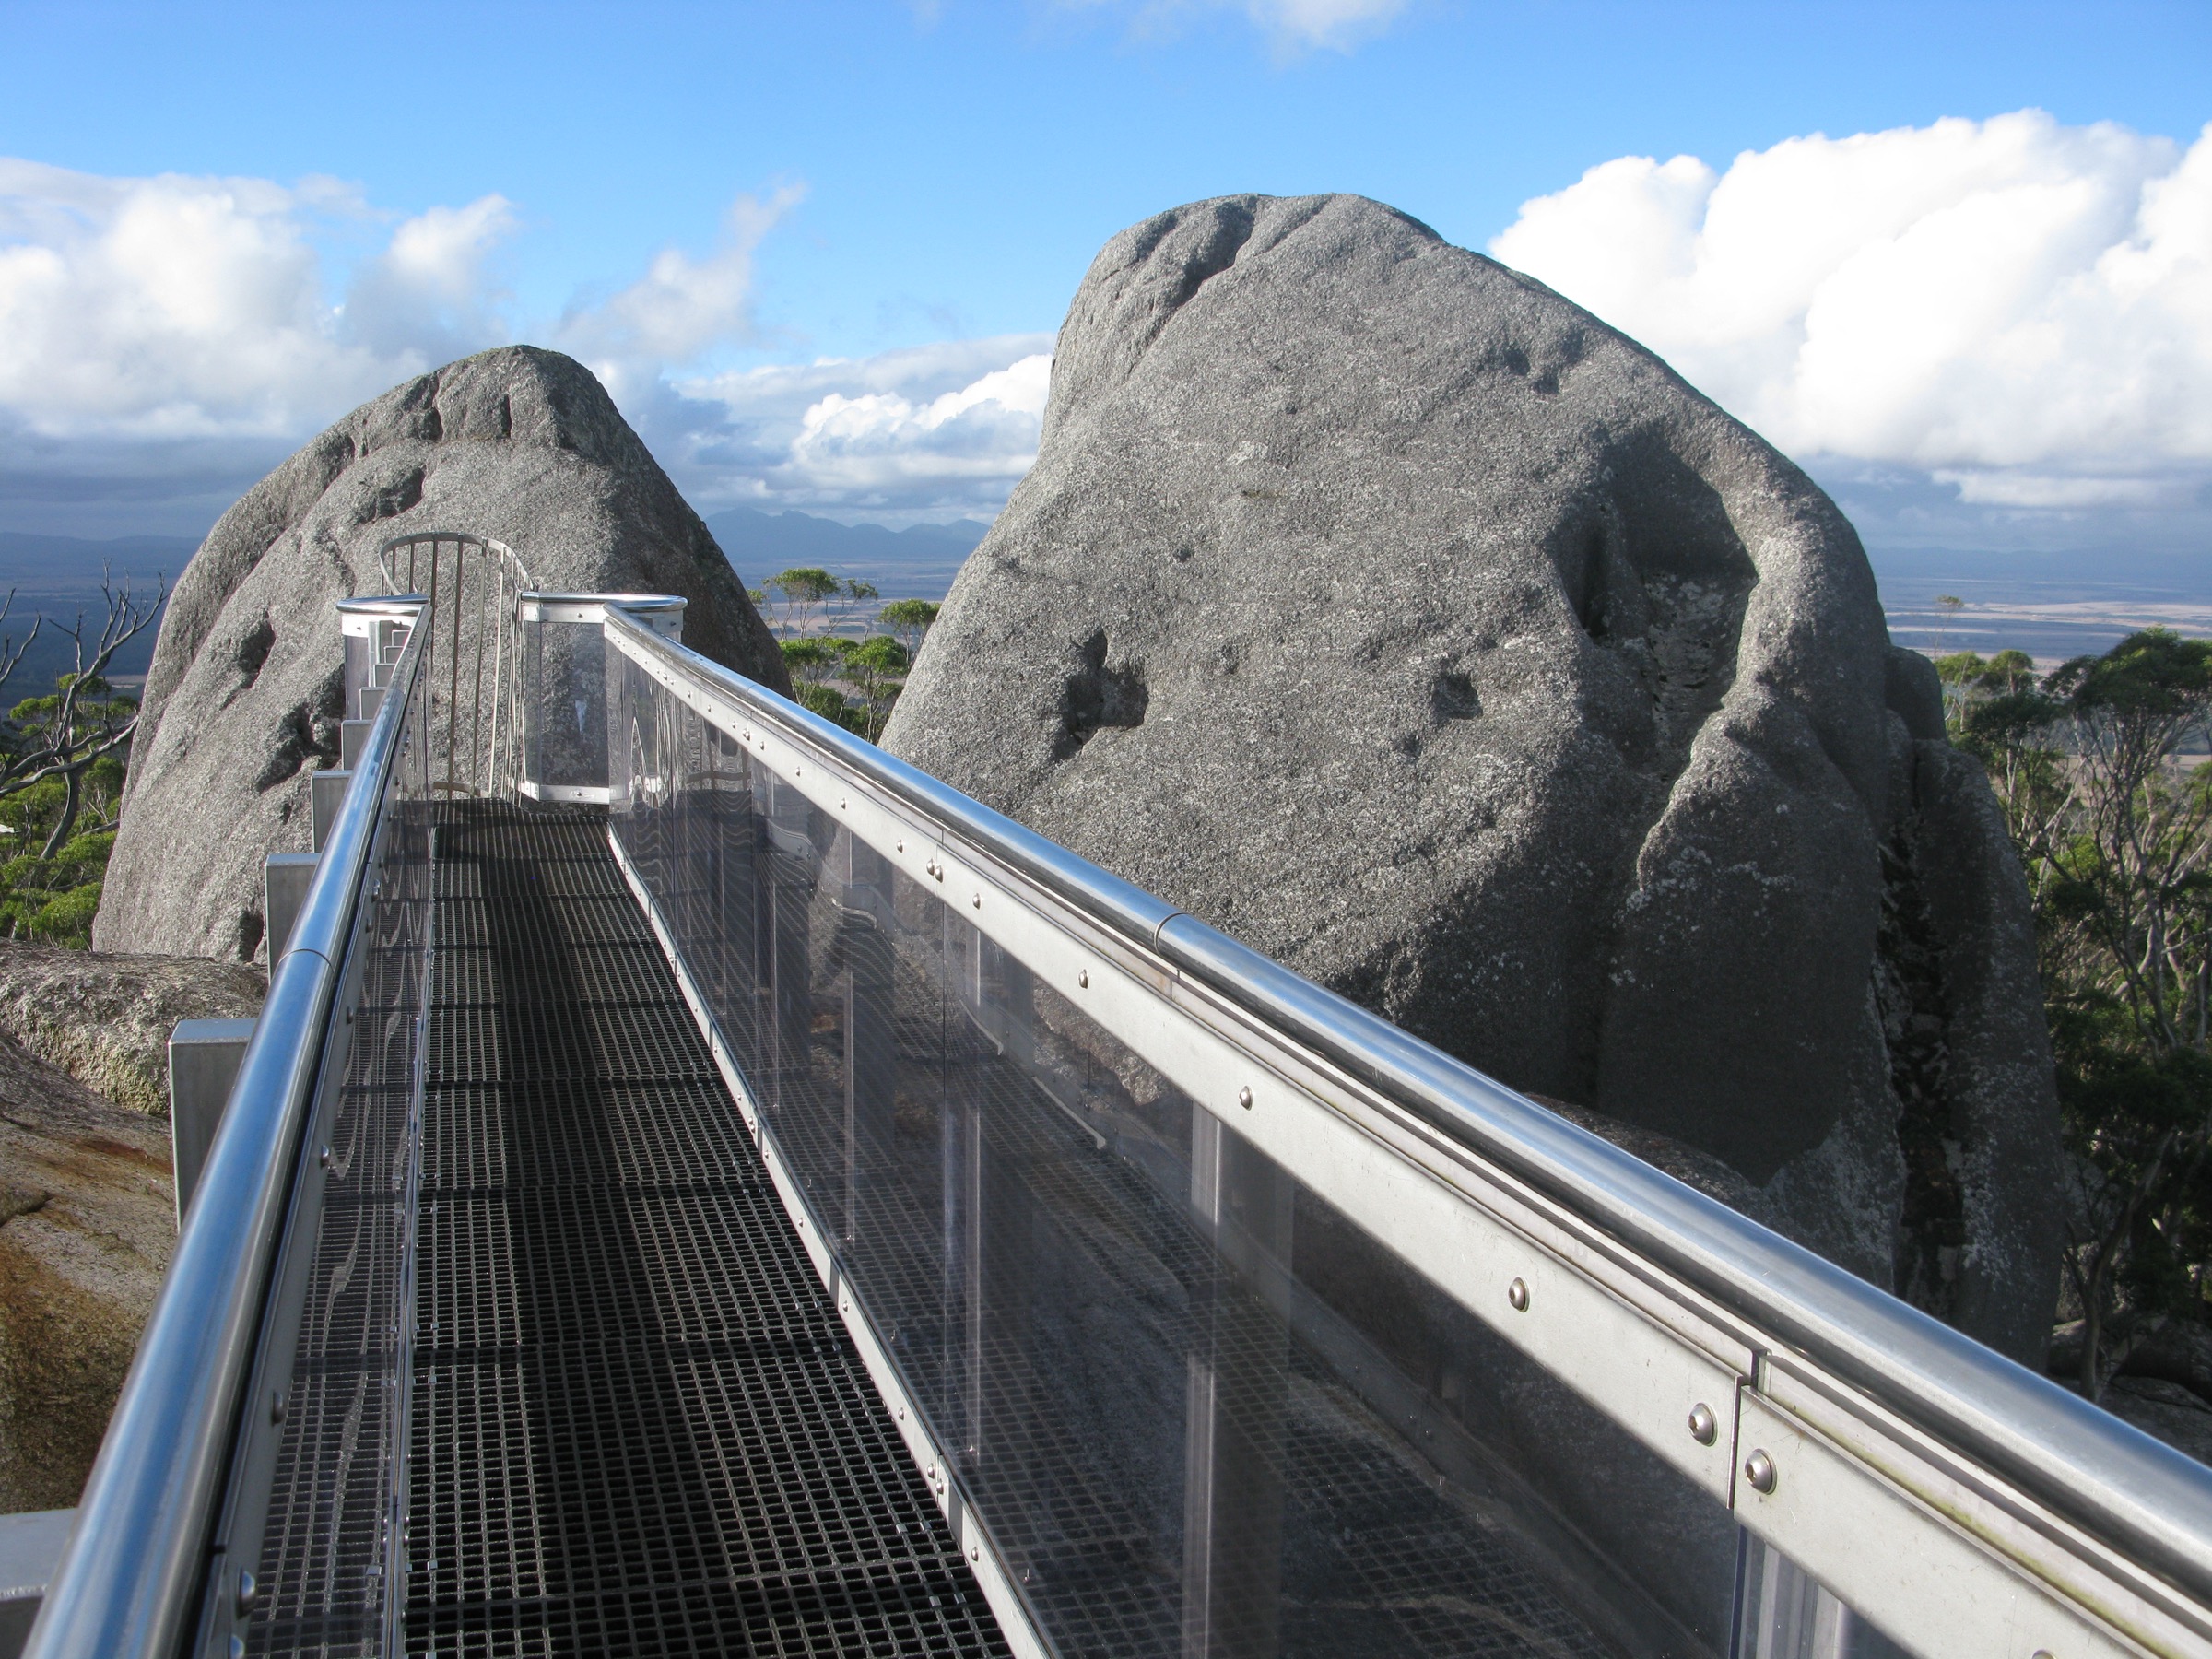
A short signposted spur off Stirling Range Drive climbs a low ridge on a formed path with steps. The path ends at a viewing platform on the ridge crest with an interpretive panel identifying the surrounding peaks. Toolbrunup, Mount Magog and Talyuberlup are all clearly visible; on a clear day Bluff Knoll is picked out to the east.
Why it is essential
Central Lookout is the essential short walk of the central block and the recommended orientation stop for any first visit to the range. Thirty minutes off the drive gives the widest single panorama of the central peaks and, with the interpretive panel, an immediate mental map of the range.
Equipment
- Standard walking shoes
- Water and sun protection
- Warm layer if walking early or late in the day
Hazards and notes
The path is well made but exposed at the platform. Stirling Range Drive is unsealed and can be closed after heavy rain. Dogs are not permitted.
Photos
Photo status: No licence-compatible image of Central Lookout was found in this pass. The Toolbrunup, Trio, Hassell and Talyuberlup images above cover the peaks visible from the platform.
GPX / route file
| Source | URL | Format | Licence / terms | Reuse |
|---|---|---|---|---|
| DBCA — Stirling Range NP page | exploreparks.dbca.wa.gov.au | Web description | Copyright DBCA | Reference only |
| OpenStreetMap — Central Lookout spur | osm.org | OSM way data | ODbL | Reusable with attribution |
Sources
- DBCA — Explore Parks WA, Stirling Range National Park page
- OpenStreetMap track data
Region-level sources
| Source | Type | Notes |
|---|---|---|
| DBCA — Explore Parks WA, Stirling Range National Park | Official park authority | Primary source for trail listings, grading and closures |
| Trails WA — trailswa.com.au | State trail portal | Trail statistics and printable maps |
| trailhiking.com.au — trailhiking.com.au | Independent trail database | Route notes and GPX downloads |
| OpenStreetMap — openstreetmap.org | Community map | Track geometry cross-checking |
| Bureau of Meteorology — bom.gov.au | Federal weather bureau | Frontal timing and lightning risk |
Further reading
Nearby Stirling Porongurup guides on Storm
- Bluff Knoll and Eastern Stirling Range
- Porongurup Range
-
Storm — Australia | Bluff Knoll and Eastern Stirling Range: Essential Day-Hikes
- Storm — Australia | Western Stirling Range: Essential Day-Hikes
- Storm — Australia | Porongurup Range: Essential Day-Hikes
Missing data / follow-up work
- Trailhead elevations are given as approximate DEM readings; no DBCA-published trailhead elevations were located.
- No official DBCA-provided GPX file was found for any central-block route; the OpenStreetMap way data is the most reliable geometry source.
- No licence-compatible image was found for Central Lookout; a public-domain or CC image from the platform would strengthen that section.
- Vehicle-fee status at central trailheads should be reconfirmed against DBCA at time of publication.